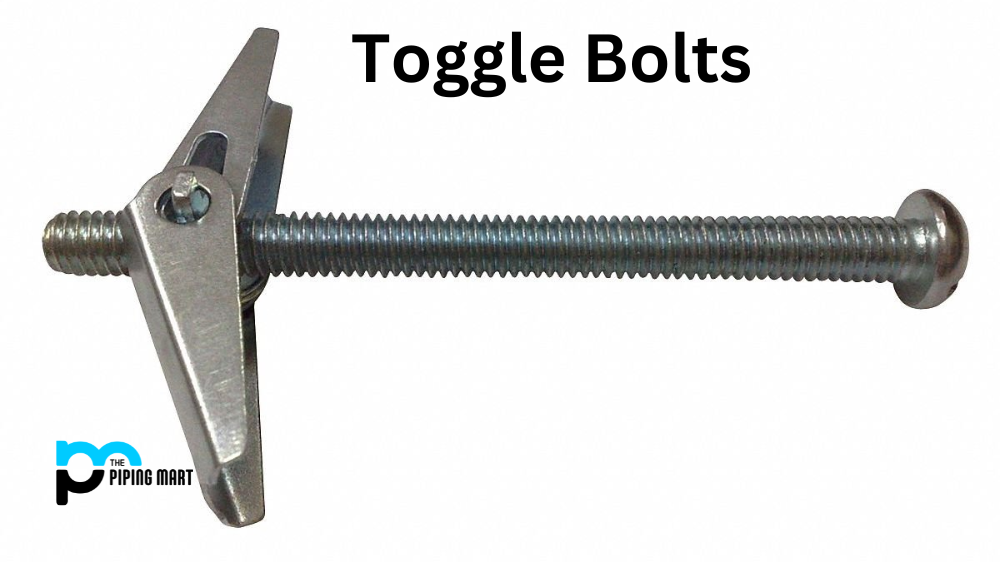
Installing heavy items on walls is a challenging task. Without proper support, they can fall and cause serious damage. One of the best ways to tackle this problem is using toggle bolts. These anchors are designed to hold heavy objects in drywalls and other hollow surfaces. However, installing them can be tricky, especially if you need to become more familiar with the process. In this article, we’ll provide you with a step-by-step guide on installing toggle bolts and making your life much easier.
A Step-by-Step Guide About How to Install Toggle Bolts
Choose the Right Toggle Bolt
Before starting, select the right toggle bolt for your needs. The bolt size should depend on the weight and size of the object you intend to mount. It would help if you also considered the thickness of the wall. Once you have the right size, choose the toggle bolt type. Two main kinds of toggle bolts are the strap and the spring-loaded wing. Strap toggle bolts are perfect for heavy-duty applications, while the spring-loaded wing toggle bolts can be used in delicate applications.
Measure and Mark the Wall
Once you have determined the right size toggle bolt, the next step is to measure and mark the spot where you want to hang the object. Use a pencil to mark where you want to drill the hole. Make sure you measure and mark carefully, as the hole’s location will impact the object’s stability.
Drill a Hole
Once you have the right type and size, drill a hole in the wall where you want to mount the object. Make sure the hole is slightly larger than the bolt’s diameter and deep enough to accommodate the entire bolt, screw, and anchor. The easiest way to drill a hole is by using a drill bit. Remember to wear protective gear like goggles and a mask to prevent debris from entering your eyes and nose.
Insert the Toggle Bolt
After drilling the hole:
- Place the bolt into the wall and clip the toggle wings into the sides.
- Please ensure the wings are fully compressed to fit into the hole. You can also use a hammer to tap the toggle bolt into place.
- Remove the bolt and drill a larger hole if the wings don’t compress fully.
- Once the wings are in place, tighten the bolt with a screwdriver or drill.
Insert the Screw
After the toggle bolt is in place, insert the screw into the bolt’s head and tighten it to the desired torque. Don’t overtighten the screw, as it can damage the drywall or other hollow surfaces. Make sure there’s enough space between the object and the wall so that the screw doesn’t fasten too tightly.
Tighten the Bolt
The final step is to tighten the bolt. Use a screwdriver to tighten the bolt, ensuring the wings are snug against the back of the wall. Keep tightening until the bolt and wings are secure, and do not wobble.
Check the Bolt’s Stability
After securing the object:
- Give it a gentle push to see if it’s stable.
- If it moves or feels loose, remove the screw and bolt, and redo the entire process with a larger toggle bolt.
- If you’re confident that the object is stable and secure, close the mounting caps, and you’re done.
Conclusion:
Now that you’re familiar with the process, installing toggle bolts should be easy. Always remember to choose the right size and type of toggle bolt before drilling. And don’t forget to insert the bolt and screw carefully to avoid damaging your surfaces or causing accidents. With these simple steps, you can securely mount heavy items on your walls and enjoy a safe and stable living space.
Rachana is a dedicated and ambitious young woman who has made a name for herself in the metal industry. From her earliest days in the industry, Rachana showed a natural talent for problem-solving and a keen eye for detail. In her free time, She enjoys reading up on the latest advancements in the industry, as well as exploring new ways to innovate and improve upon existing processes.