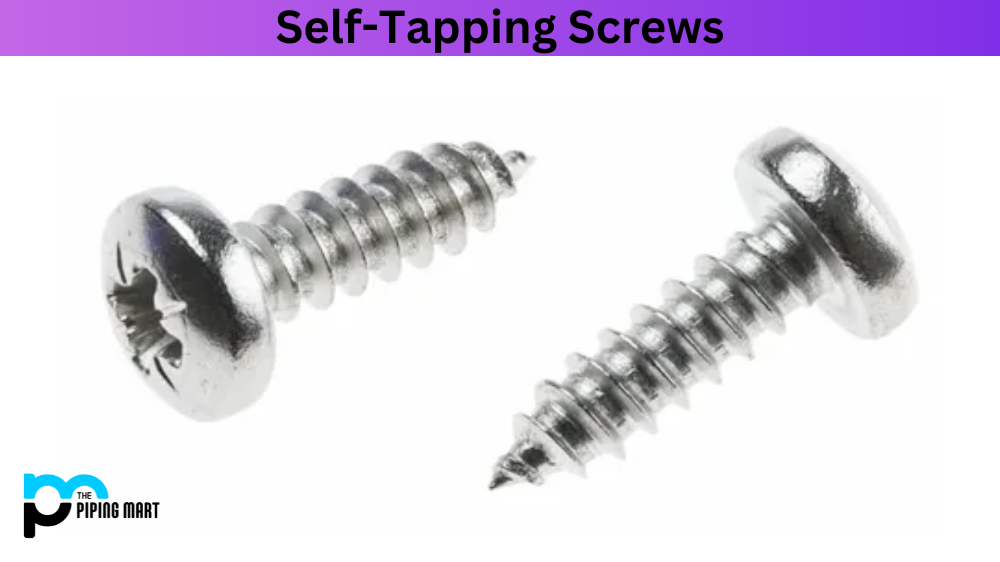
Self-tapping screws are useful fasteners that can be used in various DIY projects. They come in different sizes, materials, and shapes, making them versatile for various applications. However, using them can be challenging, especially if you’re unfamiliar with their different installation types and techniques. Fortunately, you’re in the right place. This blog post will look closely at self-tapping screws, their benefits, and how to use them correctly in your next DIY project.
Choose the Right Type and Size of Self-tapping Screw
Before purchasing a self-tapping screw, you must determine what type best suits your project. Consider the material you’re working with – whether wood, metal, or plastic. Self-tapping screws are designed to work best with specific materials, and using the wrong type may result in a weak connection or damage to the material. After selecting the right type, choose the appropriate size based on the thickness of the material you’re joining.
Prepare the Material before Installation.
Before installing a self-tapping screw, make sure the hole you’re drilling is the right size. The hole should be slightly smaller than the diameter of the screw to allow it to thread into the material tightly. It’s best to use a drill bit for hard materials like metal to create a pilot hole. This makes it easier to insert the screw and helps to prevent the material from splitting.
Use the Correct Tools for Installation.
The right tools can make all the difference when installing self-tapping screws. A power drill or screwdriver is the best tool for drilling the hole and driving the screw into the material. However, be cautious not to overdrive the screw, which may cause the material to crack or split. If you’re installing multiple screws, it’s best to use a drill bit with a depth stop to ensure they’re inserted at the same depth.
Thread the Screw Slowly and Steadily.
One of the unique features of self-tapping screws is that they have a thread that cuts into the material as they’re screwed in. To ensure that the screw threads properly, insert it slowly and steadily. This will allow the screw to push through the material quickly, reducing the risk of stripping the threads. It’s also important to apply gentle pressure to the screw, especially when working with harder materials, to prevent it from breaking.
Know When to Stop.
Self-tapping screws are designed to drill into the material, but sometimes they can get stuck. This can happen when the material is too hard or soft, or the screw is the wrong size. If the screw gets stuck, stop immediately and undo it using a reverse drill bit. Attempting to force the screw can damage it or the material and not fix the problem.
Conclusion:
In summary, using self-tapping screws isn’t rocket science but requires attention to detail and patience. Choosing the right type and size, preparing the material, using the correct tools, threading the screw steadily, and knowing when to stop are essential tips that help you achieve a strong and clean connection. With these tips, you can easily tackle your next DIY project. Good luck, and happy DIYing!

Abhishek is a seasoned blogger and industry expert, sharing his insights and knowledge on various topics. With his research, Abhishek offers valuable insights and tips for professionals and enthusiasts. Follow him for expert advice on the latest trends and developments in the metal industry.


