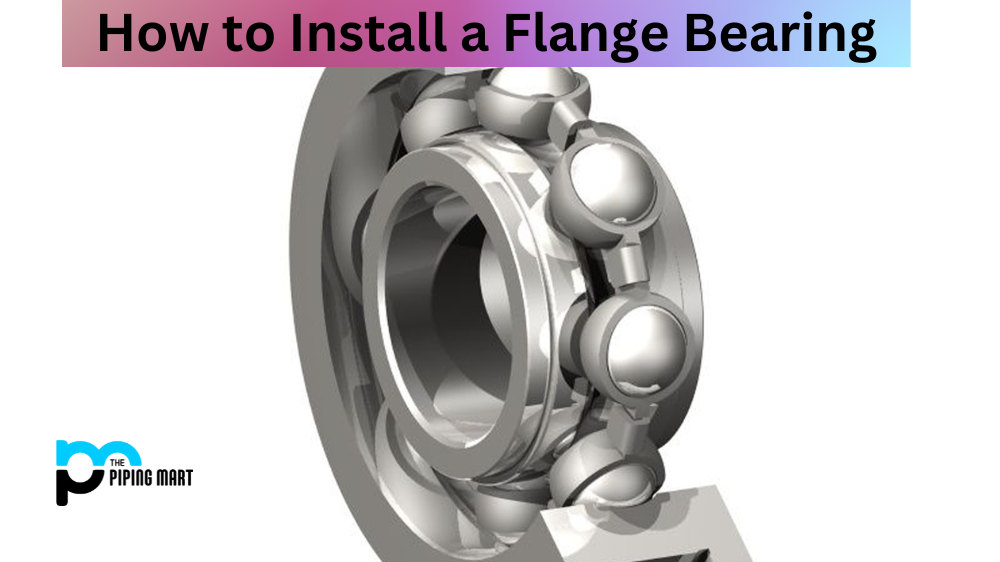
A flange bearing is an essential part of many machines, and you may need to install one yourself at some point. Fortunately, the process is relatively simple and straightforward—as long as you have the right tools and know what to do. In this blog post, we’ll provide detailed instructions on the five essential steps for correctly installing a flange bearing. These steps will help ensure a smooth and successful installation process, allowing you to maintain the efficiency and reliability of your machinery.
Step 1: Gather Your Tools
Before you start, make sure that you have all the tools that you need for the job. This includes a wrench, a socket set, a screwdriver, and any special tools required by your specific bearing model. It’s always better to have too many tools handy than not enough!
Step 2: Prepare the Area
Now that you have all your tools ready to go, it’s time to prepare the area where your new flange bearing will be installed. Start by cleaning away any rust or dirt from the area so that nothing interferes with the installation process. You should also check for any potential obstructions in the mounting surface before proceeding.
Step 3: Install the Bearing
Once everything is clean and clear, it’s time to install your new bearing. Start by applying lubrication around both parts of the bearing assembly before securely bolting them together with your socket set or wrench. Make sure that all bolts are tightened evenly so that there is no uneven pressure on either side of the assembly. Once everything is securely bolted together, it’s time to move on to step 4!
Step 4: Test Your Work
Now that your bearing is installed, it’s important to make sure everything works properly before moving on to step 5. To do this, rotate each bolt several times clockwise and counterclockwise while checking for any resistance or friction — if there is any resistance or friction present, then something may be misaligned and needs adjustment. If everything goes smoothly, then you’re good to proceed!
Step 5: Final Check
Once you’ve finished testing your work in step 4, it’s time for one final check before calling this job done! Give each bolt one last once-over with your wrench or socket set just in case anything has come loose during testing — if everything looks good, then congratulations! You’ve successfully installed a flange bearing!
Conclusion:
Installing a flange bearing can seem like an intimidating task, but it doesn’t have to be! By following these five simple steps—gathering tools; preparing the area; installing the bearing; testing your work; and performing a final check—you can ensure that your installation goes smoothly every time. So don’t hesitate — to grab those tools and get started today! With proper preparation and attention to detail, anyone can successfully install their own flange bearings in no time at all!

Pipingmart is a B2B portal that specializes in metal, industrial and piping items. Additionally, we share the latest information and information about materials, products and various types of grades to assist businesses that are involved in this business.


