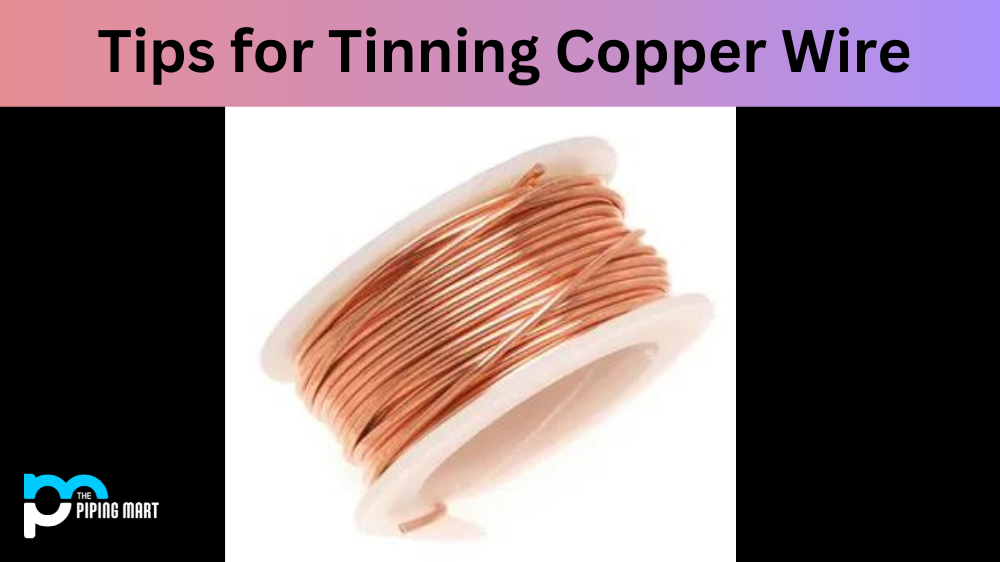
Tinning copper wire is an important step in many electrical projects. Not only does tinning help protect the wire from oxidation and corrosion, but it also makes soldering easier and more efficient. If you’re new to tinning copper wire, this guide will provide you with all of the essential tips you need to do it right!
Tinning Copper Wire
Tinning copper wire is an efficient way for protecting electrical wiring from corrosion and oxidation. It also makes soldering much easier and improves the appearance of the wiring. Tinning involves coating the wires with a thin layer of solder so that the wire itself becomes enclosed in a protective sheath. This helps to extend the life of the electrical components, making them more reliable and durable. The process can be done on either new or old wires, although it works best on those that have been stripped and re-tinned. Tinning copper wire takes skill and precision, but it is one of many ways to ensure quality craftsmanship in any electric project.
Copper wire tinning process
The copper wire tinning process is used to extend the lifetime of certain types of wires by applying a thin layer of tin to their surfaces. This process is necessary for protecting components in some electrical equipment, including those exposed to humid conditions. Tinning ensures that corrosion of vital parts within the wiring system is prevented and can often restore wires that were previously damaged due to wear and tear. The copper wire tinning process requires expert knowledge, as the thickness of the tin coating must be precise in order for it to effectively protect from external elements. Additionally, this process needs to be done with great care since any changes made to an already corroded copper wire can render it completely useless.
Step 1: Prepare Your Materials
Before you begin, make sure that you have all of the necessary materials on hand — a soldering iron, soldering paste (not flux), a soft sponge for cleaning, some sandpaper for scuffing the wires, and tinning paste or solder. It’s also important to make sure that your workspace is clean and free from dirt or debris.
Step 2: Clean Your Wires
The key to successful tinning is a clean surface. Start by using a damp sponge to scrub your wires with soapy water; then use dry sandpaper to scuff them lightly. This will remove any dirt, grease, or other contaminants that could interfere with the tinning process.
Once your wires are clean, use a lint-free cloth to dry them off completely. You don’t want any moisture left on the wires before you start soldering!
Step 3: Apply The Solder Paste
When your wires are totally dry, apply a thin layer of solder paste along the length of each one. This will act as an adhesive between the wire and the tinning agent (either solder or paste). Make sure that you spread it evenly along the entire length of each wire — if there are any gaps in coverage, they won’t be effectively sealed off when you start soldering!
Once your solder paste has been applied to both wires, it’s time to move on to step 4
Step 4: Apply The Tinning Agent
Now that your wires are ready to go, it’s time to apply either solder or tinning paste directly onto them. For best results, make sure that you’re applying an even coat – too much agent can cause problems down the line! Once both wires have been coated with either solder or paste, let them sit for about five minutes before moving on. Step 5: Heat The Wires Now that both of your wires have had time to cool down after being coated with their respective agents (solder or paste), it’s time for the final step – heating up those wires! Grab your trusty soldering iron and heat up each wire until they become shiny and metallic-looking; this means that they have been properly “tinned” and ready for whatever project lies ahead!
Conclusion:
Tinning copper wire is essential in order to ensure proper connectivity in electrical projects such as wiring circuits and creating connections between components. By following these five steps – preparing materials, cleaning wires, applying solder/paste, coating with agent(s) of choice, and heating up – you can easily learn how to successfully tin copper wire like a pro! With some practice and patience (and maybe a few burnt fingers!), soon enough, your projects will be looking better than ever before – happy soldering!

A passionate metal industry expert and blogger. With over 5 years of experience in the field, Palak brings a wealth of knowledge and insight to her writing. Whether discussing the latest trends in the metal industry or sharing tips, she is dedicated to helping others succeed in the metal industry.


