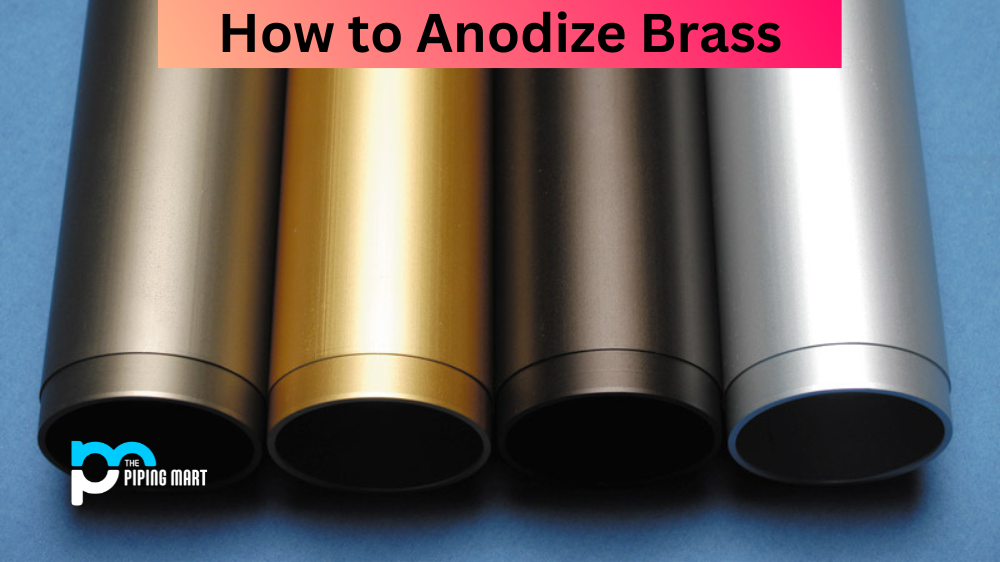
Anodizing is a process that can be used to coat metal with a protective layer. It is often used on metals like aluminum and titanium, but it can also be used on brass. Anodizing brass involves immersing the brass in an electrolyte solution and running an electrical current through the metal, resulting in a durable, corrosion-resistant coating. Let’s take a look at how to anodize brass step-by-step.
Step 1: Clean Your Brass
Before you can begin anodizing your brass, you need to make sure it is clean. Start by removing any dirt or debris from the surface of the brass using soap and water. Then, give the brass a more thorough cleaning using a degreaser or other chemical cleaner. Once the surface of the brass is clean, rinse it thoroughly with warm water to remove any residue from the degreaser.
Step 2: Prepare Your Anodizing Solution
The next step is to prepare your anodizing solution. The most common solution for anodizing brass contains ten parts distilled water and 1 part phosphoric acid (H3PO4). Mix these two ingredients together in a non-metallic container until they are fully combined. You may also need to add additional chemicals or additives depending on what type of finish you are looking for in your finished product.
Step 3: Apply the Solution to Your Brass
Once your solution is ready, apply it generously to your cleaned brass object using either a brush or spray bottle. Make sure that all areas are covered evenly, then leave it aside for 30 minutes so that the solution has time to set into the metal and penetrate its surface properly. After 30 minutes have passed, rinse off any remaining solution with warm water and dry off your object before moving on to the next step.
Step 4: Set Up Your Anodized
Now that your object is ready for anodizing, you need to set up your anodizer machine according to its instructions. This will involve connecting power cables from both ends of the machine as well as setting up any other components that may be necessary for proper functioning (such as temperature control systems). Once everything has been connected properly, you can move on to step five!
Conclusion:
When done correctly, anodizing can create a durable protective layer on your brass objects which helps them resist corrosion and wear over time. Although it might seem intimidating at first glance, following this four-step guide should help make sure that you get great results when anodizing your own projects! If you’re still feeling unsure about how best to go about this process or if you have any further questions about how exactly anodizes work, don’t hesitate to reach out for more assistance—there are plenty of resources available online that can help point you in the right direction! With enough practice and patience, soon enough, you’ll be able to produce stunningly beautiful pieces of art made entirely out of plated and anodized brass!
A passionate metal industry expert and blogger. With over 5 years of experience in the field, Palak brings a wealth of knowledge and insight to her writing. Whether discussing the latest trends in the metal industry or sharing tips, she is dedicated to helping others succeed in the metal industry.