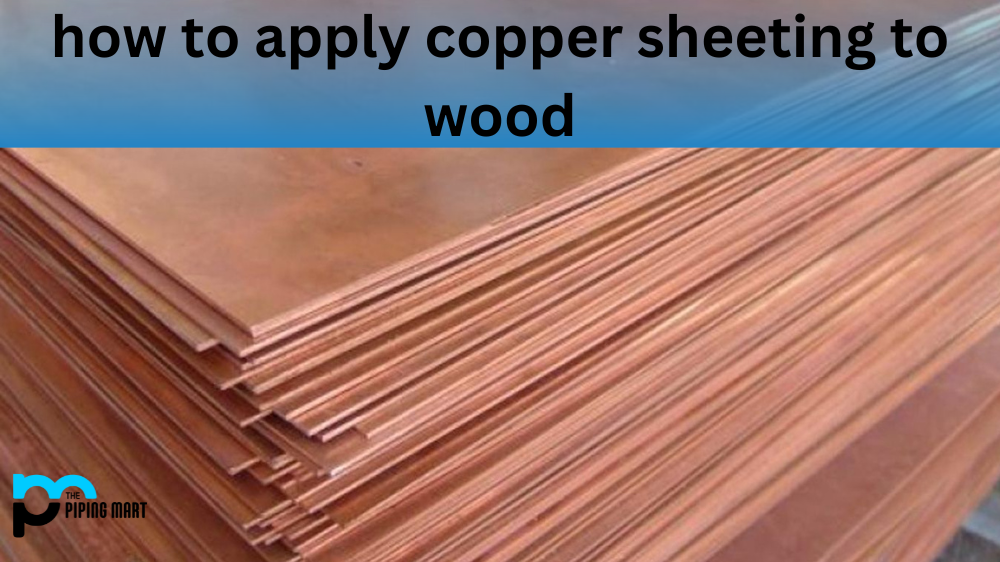
Copper sheeting is a great way to add an elegant and unique touch to wood projects. Whether you are looking for the perfect material to finish a DIY project or make an artistic statement, copper sheeting can add something special. Let’s look at what makes up copper sheeting and how you can apply it to wood surfaces.
Materials Needed
Before getting started, you must ensure that you have all the materials necessary for applying copper sheeting. This includes adhesive, backing paper, copper sheeting, glue, masking tape, protective gloves, scissors, sandpaper, and sealant. It’s also important to wear protective gloves during this process, as some of these materials can be irritating or toxic if exposed to the skin for too long.
Prepping the Wood Surface
Once you have gathered all your supplies, the next step is prepping the wood surface. Begin by sanding down any rough areas on the wood surface and then wiping them down with a damp cloth or sponge. Make sure to remove any excess dust or dirt before continuing with the application process.
Applying Copper Sheeting
Now it’s time to apply your copper sheeting! Start by cutting your sheet into smaller pieces that fit within the dimensions of your wood surface area. Use masking tape along all edges of your copper sheets before applying them, so they stay in place while working with them. Then peel away the backing paper from each piece and gently press each one onto its corresponding area on your wood surface using even pressure throughout (this will ensure an even bond). Once everything is in place and secured firmly against your wood surface, use glue along all edges of each piece of copper sheeting for extra security (just enough so that it doesn’t seep through any gaps). Finally, apply sealant along all edges of each piece after waiting 24 hours for the glue to dry completely – this will help protect against rust or discoloration caused by moisture over time.
Finish With Protective Coating After allowing 24 hours for everything to dry completely (and ensuring there are no bubbles or gaps); it’s time for one final step – applying a protective coating over your newly installed copper sheets! Apply two coats of protective coating evenly over each piece and allow them both 30 minutes drying time before giving everything a final once-over with some fine-grit sandpaper; this will help smooth out any bumps or visible imperfections left behind by the adhesive/glue residue. Once this is done, you should have a flawless finish ready for display!
Conclusion:
Applying copper sheeting to wood surfaces is easy once you have gathered all of your materials and know what steps to follow! With some patience and careful attention to detail, anyone can achieve beautiful results when applying copper sheets – just remember not to rush through any part of the installation process, as precision is key when it comes to getting those perfect results! Now go forth and express yourself through beautiful works of art featuring stunningly crafted pieces made from gorgeous copper sheets.
Meet Bhavesh, a seasoned blogger with a wealth of knowledge and experience. From metal products manufacturing to retail, Bhavesh has a diverse background in various industries and is dedicated to sharing his insights and expertise with readers.