Whether it’s a stainless steel sink or appliances, scratches can quickly ruin the look of any metal surface. Thankfully, removing scratches from stainless steel is much easier than you might think. In this blog post, we’ll discuss removing scratches and restoring your stainless steel surfaces to their original condition.
Step 1: Clean the Stainless Steel Surface
Before you can start buffing out the scratch, you must ensure that your stainless steel surface is clean. You should wipe down the area with a damp cloth and mild detergent to remove any dirt or debris that may be present on the surface. Once you are finished cleaning the surface, use a dry cloth to remove any excess moisture.
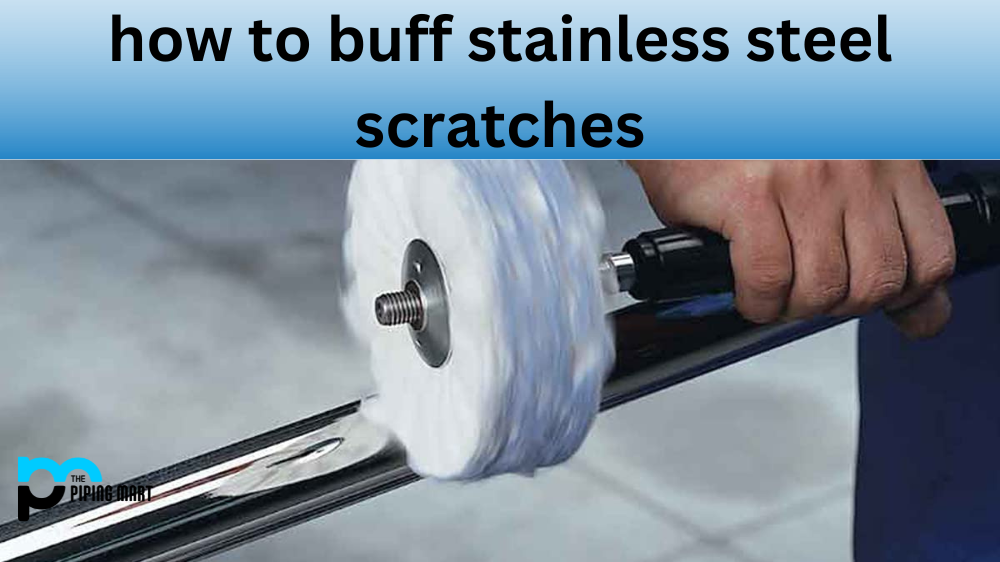
Step 2: Buff Out The Scratch
Once your stainless steel surface is clean and dry, you can begin buffing out the scratch. To do this, use a soft cloth and some rubbing compound or polishing compound (depending on your appliance’s finish). Rub the compound into the scratch using small circles until it fills in. If you are dealing with deeper scratches, you may need to use a drill-mounted or electric buffer for the best results.
Step 3: Apply Finishing Wax
Once the scratches have been removed from your stainless steel surface, it’s time to apply finishing wax. This will help protect your appliance by creating an invisible shield against future scratches and other damage. Simply apply a thin layer of wax to the entire area using a clean cloth and then give it time to sit before wiping away any excess with another clean cloth.
Conclusion:
Removing scratches from stainless steel surfaces isn’t as difficult as it might seem! By following these simple steps—cleaning the surface, buffing out the scratch, and applying finishing wax—you can quickly restore your stainless steel surfaces to their original condition. So don’t let those pesky scratches ruin your appliances—get them taken care of today!
Rachana is a dedicated and ambitious young woman who has made a name for herself in the metal industry. From her earliest days in the industry, Rachana showed a natural talent for problem-solving and a keen eye for detail. In her free time, She enjoys reading up on the latest advancements in the industry, as well as exploring new ways to innovate and improve upon existing processes.