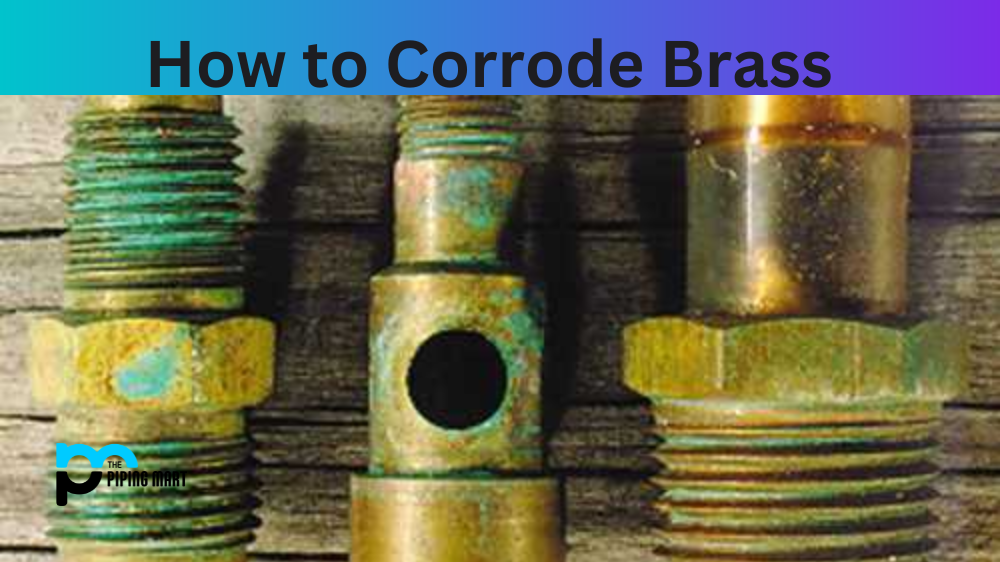
Corroding brass is a simple process that can be used to add an aged, antique look to your DIY projects. Whether you’re looking to create a vintage-style jewelry piece or give a new door knocker some age, this guide will show you how to corrode brass effectively and safely.
Basics of Corroding Brass
The most important thing to understand before attempting to corrode brass is that the result may vary depending on the type of brass you are using. Generally speaking, it’s best to use yellow and red brasses as they are easier to corrode than other types. Before beginning the corrosion process, make sure you have all the required materials, including a container with lid, white vinegar, salt, and baking soda.
Step 1: Mixing Your Solution
Fill your container with enough white vinegar so that it covers your brass object completely. Then add two tablespoons of salt for every cup of vinegar and stir until dissolved. Put the lid on the container and allow it to sit for at least 12 hours in a cool place away from direct sunlight. This will give your solution time to work its magic. Once done, remove the lid and add one tablespoon of baking soda for every cup of liquid in the container. Stir it up until all ingredients are combined thoroughly.
Step 2: Submerging Your Brass Object
Using tongs or gloves (to avoid contact with the solution), submerge your brass object into the mixture and let it sit for at least 15 minutes—more if desired. During this time periodically check on the status of your object by carefully removing it from the solution and rinsing off any excess solution with cold water if necessary. Depending on how much corrosion you want on your object, repeat steps one and two until you have achieved your desired effect. If there is too much corrosion happening too quickly simply reduce the amount of time spent submerged in step two each time you repeat this process.
Step 3: Finishing Up & Cleaning
Once finished submerging your object in step two simply rinse off any remaining solution from its surface using cold water only (hot water may damage or destroy whatever aged look was achieved). Allow your piece to air dry completely before handling further or applying any protective coatings such as lacquer or varnish if desired (recommended). Enjoy!
Conclusion:
With these easy steps anyone can achieve an aged look on their next DIY project by successfully corroding brass themselves! All that’s needed is some basic materials like vinegar, salt, baking soda, and a few supplies like gloves or tongs—plus some time—and you’re ready to get started aging those beautiful pieces today! Good luck!
A passionate metal industry expert and blogger. With over 5 years of experience in the field, Palak brings a wealth of knowledge and insight to her writing. Whether discussing the latest trends in the metal industry or sharing tips, she is dedicated to helping others succeed in the metal industry.