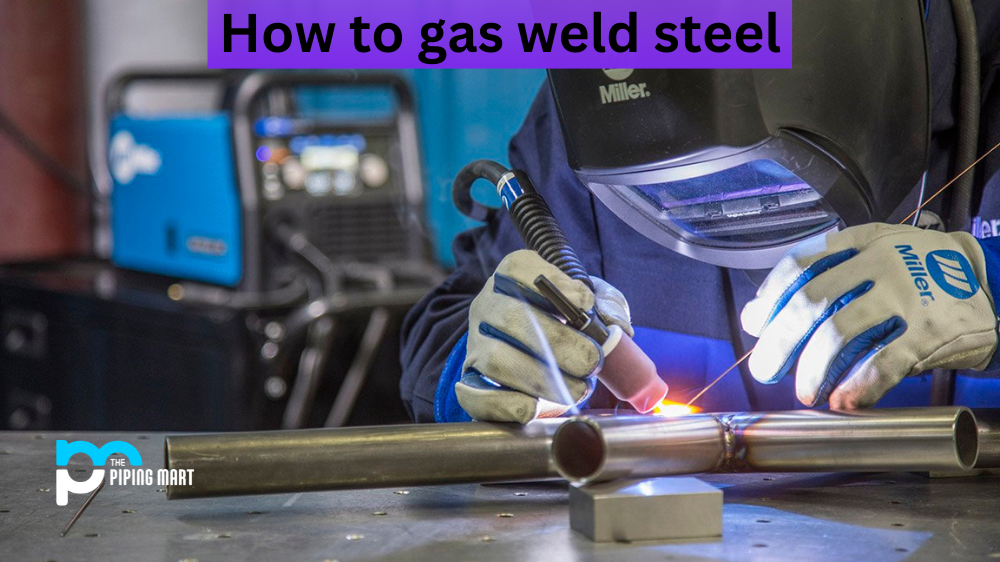
Gas welding is a popular choice for many metal workers because it produces strong, durable welds that can join together steel and other metals. In this article, we’ll explore the process of gas welding steel and provide a step-by-step guide to help you get started. Whether you’re an experienced welder or just starting out, this guide will walk you through the basics of gas welding steel.
What You Need to Get Started
Before you start your project, it’s important to make sure that you have all the necessary supplies. For gas welding steel, you will need a gas welding torch with oxygen and acetylene tanks; safety glasses; welding gloves; wire brushes; a hammer; a chipping hammer; a vise; and clamps to hold the pieces in place while you work. You may also want to invest in flux core rods and flux core wire for additional support if needed.
Step 1: Preparing Your Work Area
Before beginning your project, it’s important to make sure that your workspace is clean and organized. Take the time to clear away any clutter so that there are no distractions while you work. Make sure that your equipment is in good working order and that all hoses are connected properly before turning on the gas tanks. It’s also important to make sure that your safety gear is in good condition—you don’t want any loose strands of fabric getting caught in the torch flame!
Step 2: Setting Up Your Torch
Once your workspace is prepped, it’s time to set up your torch. Start by connecting both oxygen and acetylene tanks securely with their respective hoses (make sure they are connected tightly). Next, open both valves until there is an audible hissing sound from each tank – this indicates that they are both full of air. Now turn on the regulator valve for each tank until pressure builds up inside them (you should be able to hear them pressurize). Now adjust the flame size according to what type of weld you plan on making – for most steel welds, a small flame will do just fine. Finally, light the torch using either an electronic ignition spark or a manual lighter or match. Once lit, adjust the flame size as needed until it is correct for your project.
Step 3: Welding Steel Together
Now comes the fun part – actually welding! To begin, position one piece of steel onto another so that they overlap slightly where they need to be joined together (around 1/8 inch). Clamp them into place using vise grips or clamps, then take hold of your torch with one hand and adjust its angle so that it points towards where you plan on joining them together (this should be at about 45 degrees). With your free hand, move your wire brush along the surface where they overlap, then use your torch’s flame to heat up those areas until they turn red hot (about 500 degrees Fahrenheit). As soon as they reach this temperature, use either flux core rods or flux core wire (or both!) To join them together – this will create a strong bond between them once cooled down again!
Conclusion:
Gas welding is an easy yet effective way to join two pieces of steel together without having too much difficulty or experience required beforehand. By following these steps carefully and taking precautions like wearing protective clothing and proper eye protection, anyone can successfully complete their own projects using gas welding techniques! With practice comes skill – so keep practicing, and soon enough, gas welding steel won’t seem so daunting after all!
Pipingmart is a B2B portal that specializes in metal, industrial and piping items. Additionally, we share the latest information and information about materials, products and various types of grades to assist businesses that are involved in this business.