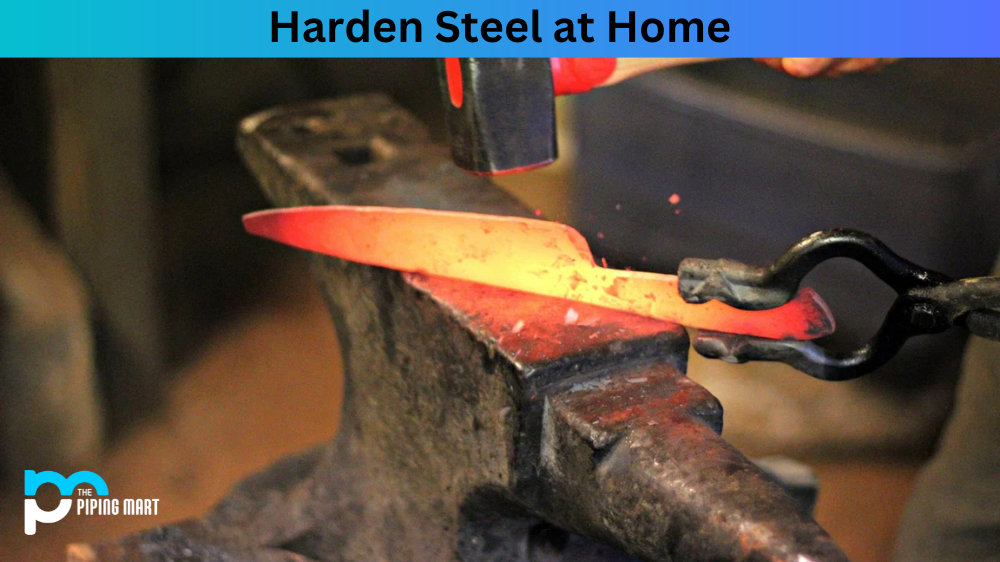
Steel is one of the most versatile and durable materials, and it’s widely used in various applications, from construction to manufacturing. While steel is strong, it can still benefit from additional hardening to improve its strength, durability, and wear resistance. But did you know that you can harden steel at home? Yes, it’s possible-even without expensive equipment or professional expertise. This comprehensive guide will share tips, techniques, and best practices on hardening steel at home.
Understanding the Basics of Steel Hardening
Before diving into the actual hardening process, it’s crucial to understand what steel hardening entails. Hardening is the process of heating steel to a high temperature and then rapidly quenching it in a cooling medium such as water or oil. This results in hardened steel with improved mechanical properties such as strength, toughness, and wear resistance. However, not all steel can be hardened, and the hardening process also depends on the type of steel and its carbon content. High-carbon steel is generally easier to set and can be tempered for added strength, while low-carbon steel may not respond well to hardening.
Preparing the Steel
Before you can harden steel, preparing it for the process is essential. First, clean the steel surface by removing oil, rust, or dirt using a degreaser or sandpaper. Next, heat the steel to a bright red colour using a forge or torch, then let it cool to room temperature. One important note is that you should only heat the steel part you want to harden, as excessive heating can lead to warping, cracking, or brittleness.
Hardening the Steel
Once the steel is prepared, it’s time to start the hardening process. The actual method depends on the type of steel, but there are two standard methods: quenching and case hardening. Quenching involves rapidly cooling the heated steel directly in water or oil to cause structural changes and hardening. Case hardening, on the other hand, consists in adding carbon or other hardening agents to the surface of the steel and then heating and quenching it to achieve a hardened outer layer. Both methods require careful attention to temperature, timing, and cooling to ensure the steel is set correctly and without cracking.
Tempering the Steel
Once the steel is hardened, it may be too brittle for some applications. To improve toughness and reduce brittleness, the steel needs to be tempered. Tempering involves reheating the steel to a specific temperature and cooling it slowly to reduce internal stresses and improve ductility. The temperature and timing of the tempering process depend on the desired level of hardness and toughness. Generally, lower temperatures produce more complex and brittle steel, while higher temperatures produce softer and more ductile steel. Tempering is a critical step for creating hardening steel that’s both strong and durable.
Finishing and Testing the Steel
After the steel is tempered, it’s ready to be finished and tested. Finishing involves polishing or grinding the steel to the desired shape and size. In contrast, testing consists in checking the steel for hardness, strength, and other mechanical properties—various methods for testing hardness, such as Rockwell, Brinell, or Vickers tests. Once the steel passes the required tests, it’s ready for its intended application.
Conclusion
Harden steel at home may seem daunting, but it’s achievable with some preparation, attention to detail, and the right tools. While it’s essential to understand the basics of steel hardening, each type of steel may require a different technique, temperature, and cooling process. Remember to start small, practice on scrap steel, and don’t rush the process. Following these tips and guidelines, you can harden steel at home and produce strong, durable, and wear-resistant steel for various applications.
A passionate metal industry expert and blogger. With over 5 years of experience in the field, Palak brings a wealth of knowledge and insight to her writing. Whether discussing the latest trends in the metal industry or sharing tips, she is dedicated to helping others succeed in the metal industry.