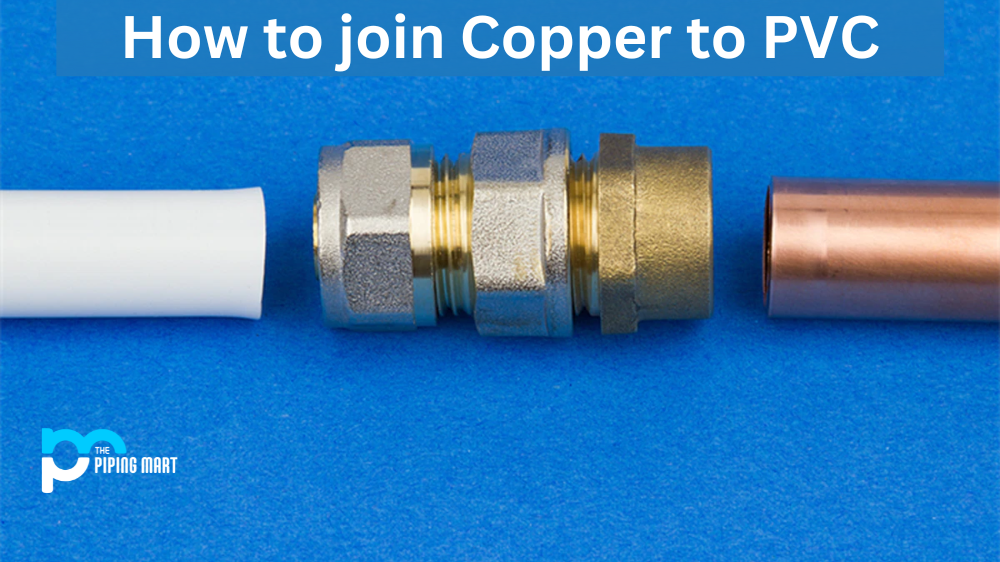
Joining copper and PVC piping together can be a daunting task for any home improvement enthusiast. It requires careful planning, specific tools, and a fair amount of know-how. That’s why we’ve put together this guide to help you join copper and PVC like a pro! With the right technique, the transition from one material to the other will be seamless, secure, and leak-free.
Tools You’ll Need
Before you start joining your copper and PVC pipes, it’s important to make sure you have all the right tools on hand. The most important tool is an angle grinder with a grinding wheel that is rated for use with both metals (ideally, it should be labeled as “dual”). You’ll also need a hacksaw, various sizes of pipe wrenches, some Teflon tape or paste sealant, some flux paste or welding compound, sandpaper or steel wool, cleaning brushes of varying sizes (brass wire brush is best), and an adjustable wrench. Ensure that all these tools are in working order before attempting any repairs.
Getting Started
Once you’re confident that all your tools are ready to go, it’s time to get started. Begin by cutting off the end of the copper pipe so that it has a clean edge when connecting to the PVC pipe. Use your hacksaw or angle grinder for this step—whichever works best for you—and make sure that the end of the copper pipe is perfectly straight before moving on to the next step. Then thoroughly clean both ends of the cut copper pipe using your cleaning brush and either sandpaper or steel wool. This will ensure that no debris interferes with your joint connection later on down the line.
Making Your Connection
To begin connecting your pipes together, apply flux paste or welding compound onto each end of both pipes (copper and PVC). This will help protect against corrosion while also providing some additional support for a solid seal between pipes. Next up is wrapping Teflon tape around each end of both pipes—this will act as another layer of protection against leaks due to improper sealing between materials. Finally, use your adjustable wrench to tighten down each connection until it is secure but not overly tight—you don’t want to crack either material! Once everything is tightened up properly, double-check by running water through it briefly; if there are any leaks, then simply re-tighten (or replace) as necessary until everything is sealed up properly.
Conclusion:
Joining copper and PVC piping together may seem intimidating at first, but with some practice, you’ll soon be able to tackle even complex piping projects with ease! Just remember to take your time during every step; ensuring that both ends of each pipe have been properly cleaned and sealed prior to use will make all the difference in having leak-free piping connections in no time at all! With these tips in hand, you should have no problem transitioning from one material type to another like an experienced pro!
Meet Bhavesh, a seasoned blogger with a wealth of knowledge and experience. From metal products manufacturing to retail, Bhavesh has a diverse background in various industries and is dedicated to sharing his insights and expertise with readers.