Steel ballistic plates are an essential component of personal protective equipment (PPE) for military, law enforcement, and other security personnel. In this post, we’ll explain the basics of steel ballistic plate technology and provide step-by-step instructions on how to make your steel ballistic plates at home.
What is a Steel Ballistic Plate?
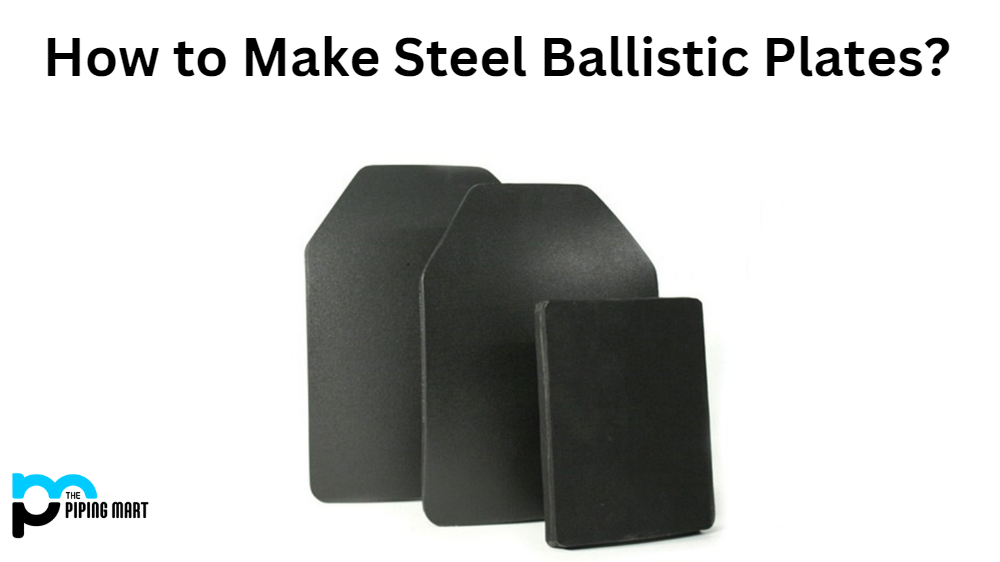
A steel ballistic plate is an armor made from high-strength steel to protect against bullets and shrapnel. It typically has a single curved plate designed to fit over the wearer’s torso or abdomen area. The curved design helps deflect incoming rounds away from the body while providing additional coverage to vital organs in the chest cavity.
How to Make Your Own Steel Ballistic Plate
Making your steel ballistic plate is easier than you might think. Here are the steps you will need to take:
Select a suitable grade of steel for your application
Grade 4340 is often recommended because it has a high strength-to-weight ratio and excellent impact resistance. Depending on your specific needs, consider other grades, such as 5083 or 5086.
Cut the steel into the desired shape
Using a CNC machine or similar tool, cut out a piece of armor with any curves or contours you may require (CAD software can help speed up this process). Ensure all edges are smooth so that there are no sharp points or corners that could tear clothing or injure someone wearing the armor.
Heat treat the steel
Heat treating helps harden and strengthen the steel by altering its molecular structure, making it more resistant to wear and tear, and improving its ballistic properties. To do this, heat the plate in an oven until it reaches approximately 800-900°F (427-482°C). Allow it cool before removing it from the oven – otherwise, it could deform due to the rapid cooling rate!
Finish with Epoxy coating
Applying an epoxy coating can help protect against corrosion and add additional strength & rigidity to your newly created armour plate – this should always be done last after all other processes have been completed! This final step also ensures that any imperfections in your material are fully sealed against moisture infiltration, which can cause issues over time if left untreated.
5Test for Quality Assurance
Once all steps have been completed, you should test your new ballistic plates for quality assurance purposes before using them in any real-world applications – this includes checking their strength, hardness & durability ratings as well as looking over them visually for any signs of cracking/damage etc. If everything looks good, then they’re ready for use!
Conclusion:
Ballistics plates made from Grade 4340 steel offer excellent protection against bullets and shrapnel without sacrificing comfort or mobility when worn correctly. With some essential tools and instructions outlined above, anyone can make their homemade ballistics plates at home; however, always remember that safety comes first when dealing with weapons or ammunition-related materials! It’s best practice to double-check all measurements before starting any project involving firearms equipment, too – so be sure you know what you’re doing before beginning work on anything related to guns or ammunition! Thanks for reading – happy building!

Abhishek is a seasoned blogger and industry expert, sharing his insights and knowledge on various topics. With his research, Abhishek offers valuable insights and tips for professionals and enthusiasts. Follow him for expert advice on the latest trends and developments in the metal industry.


