Melting alloy can be a tricky process, but with the right tools and knowledge, it doesn’t have to be. Alloys are combinations of two or more metals that have been melted together. When alloy melting is done correctly, it can result in strong and durable products. In this blog post, we will discuss the steps you need to take when melting alloy, as well as what you should expect from the process.
Materials Needed for Alloy Melting
Before you begin melting alloy, there are a few essential materials you will need to ensure success. These include a crucible, which is an oven-safe container used for holding molten metal; a furnace or kiln capable of reaching high temperatures; safety equipment such as goggles and gloves; and tongs for handling hot materials. You may also need flux, which is a substance used to reduce oxide formation during the melting process. Finally, you will need the specific type of alloy that you wish to melt and any additional metals needed to complete your creation.
Process of Melting Alloy
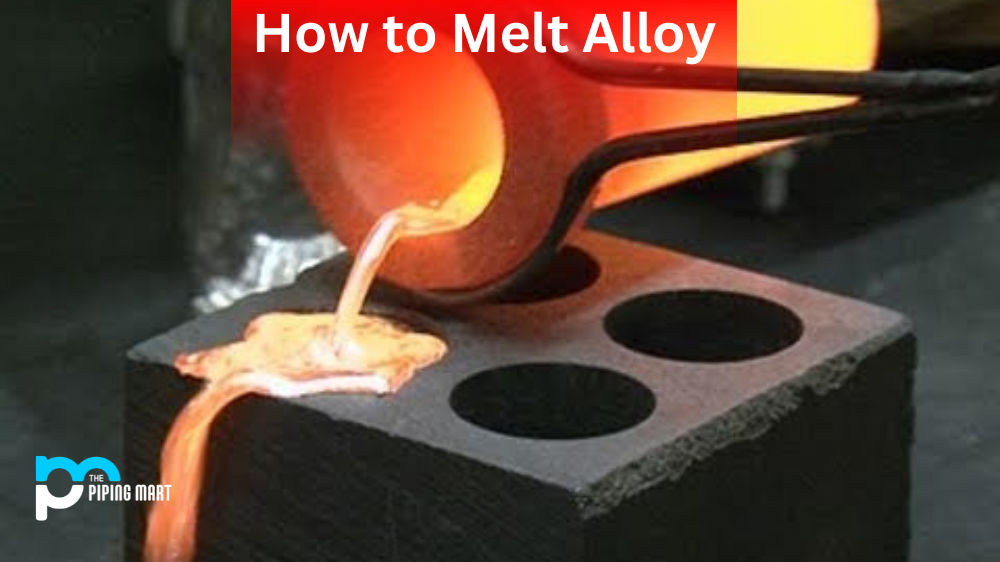
Once you have all of your materials gathered, it’s time to begin melting your alloy. The first step is heating up the furnace or kiln to reach at least 1,500 degrees Fahrenheit (800 degrees Celsius). This temperature range is necessary for most alloys because it allows them to reach their highest working temperature before they start burning off excess material. Once the desired temperature has been reached in the furnace or kiln, place your crucible inside and add your chosen alloy mixture along with any additional metals needed. Stir everything together slowly until all ingredients are evenly distributed throughout the crucible before adding flux if necessary. Finally, allow everything to melt completely until there is no longer any solid material visible in the crucible before turning off your furnace or kiln and removing your newly created alloy from its container using tongs or other heat-resistant tools.
Expectations From Alloy Melting
Once your alloy has been successfully melted together, it should be allowed to cool down before being handled further so that its molecules can settle into their new form properly without any damage being caused by sudden changes in temperature or pressure. After cooling down for several hours or overnight depending on how thick your piece was poured out onto its surface plate or cooling tray), you should inspect it closely for any signs of cracking due to uneven cooling rates across different parts of the alloy structure—if any cracks appear during this inspection phase then they can often be repaired easily by reheating and re-pouring into another mould while making sure not to overheat either part too much during this repair process so as not to weaken its overall strength properties unnecessarily! Once cooled again after repairs are made if applicable), then finally your newly melted alloy should be ready for use in whatever application it was created for!
Conclusion:
Melting alloy requires patience and precision, but with practice, it can become second nature! You’ll need certain materials like crucibles and safety gear as well as access to high heat from a furnace or kiln before beginning this process – once these items are acquired through then all that’s left is stirring together ingredients while avoiding overheating either part too much during repairs if needed afterwards! With some practice, eventually mastering this skill will become easy – good luck!
Meet Heer, a dynamic and driven writer learning tricks of her trade in the metal industry. With a background in Digital Marketing, Heer brings a unique perspective to her writing, sharing valuable insights. Apart from blogging she like reading and hiking.