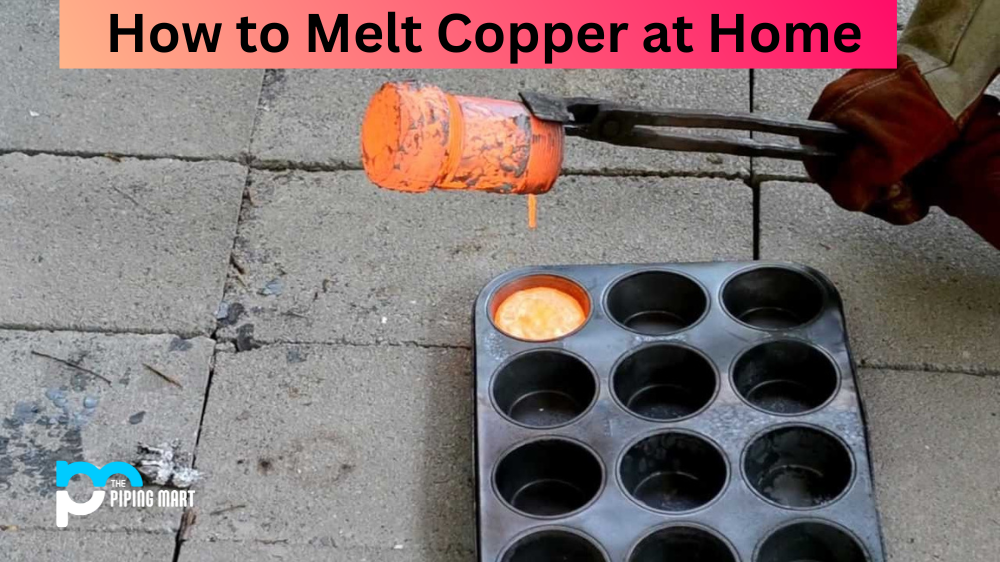
Melting copper is a process that requires the use of extremely high temperatures. For this reason, it should be done with caution and safety as the top priority. This guide provides step-by-step instructions for melting copper at home, from heating and pouring to cooling and annealing.
Step 1: Prepare Your Materials
Before you begin melting your copper, you’ll need to gather all the necessary materials. This includes items such as a crucible (a heat-safe container where you will melt the copper), a torch, safety goggles, gloves, protective clothing, and ventilation equipment if necessary.
Step 2: Heat the Crucible
Once all of your materials are ready, it’s time to heat up your crucible. You can do this by using either a gas or electric furnace. Keep in mind that both options have their pros and cons—gas furnaces are cheaper, but they produce more smoke, while electric furnaces are more expensive, but they don’t produce any smoke. Once the crucible reaches its ideal temperature (which varies depending on the type of metal being melted), it is ready for pouring.
Step 3: Pour the Copper
Now that everything is set up, it’s time to pour in your copper. If you’re working with chunks of copper or large pieces of scrap metal, make sure to break them down into smaller pieces so that they melt faster and more evenly. Once all of the pieces have been added to the crucible, give them some time to melt before stirring them together with a long metal rod or spoon. It’s important not to stir too aggressively as this can cause air bubbles which can lead to cracking later on during cooling. Once all of the chunks have been melted down into liquid form, you can move on to step four—cooling!
Conclusion:
Melting copper at home requires patience and attention to detail in order for it to be successful. Make sure that you follow each step carefully in order to ensure that there are no issues during cooling and annealing down the line! With these tips in mind, anyone can successfully melt their own copper at home and enjoy its many uses! Good luck!
Meet Heer, a dynamic and driven writer learning tricks of her trade in the metal industry. With a background in Digital Marketing, Heer brings a unique perspective to her writing, sharing valuable insights. Apart from blogging she like reading and hiking.