Copper pipe is a popular material for do-it-yourself (DIY) projects. It’s malleable, lightweight and easy to work with—but before you can start shaping it into your desired form, you must first melt the copper pipe. Thankfully, melting copper pipe isn’t too difficult if you have the right tools and know what you’re doing. Let’s take a look at how to safely and effectively melt copper pipe.
Gathering the Right Tools
First and foremost, you need to make sure that you have all the necessary tools for melting copper pipe. This includes a propane torch or oxy-acetylene cutting torch, as well as welding gloves, safety goggles/glasses, and fire retardant clothing. All of these items are important for maintaining a safe working environment while melting your copper pipe. You’ll also need an appropriate work surface, such as a fire brick or a thick piece of steel plate.
Preparing the Copper Pipe
Once you’ve gathered your tools, the next step is to prepare your copper pipe for melting. Start by cleaning off any dirt or debris on the outside of the pipe with soapy water and a rag. Then use sandpaper to rough up one end of the pipe so it will adhere better when melted onto another piece of metal or plastic. Finally, preheat both ends of your copper pipe with your torch until they reach red cherry temperatures (1000° F). This will help ensure that when you start melting, it won’t cool down too quickly once it’s been joined together with another piece of metal or plastic.
Melting Your Copper Pipe
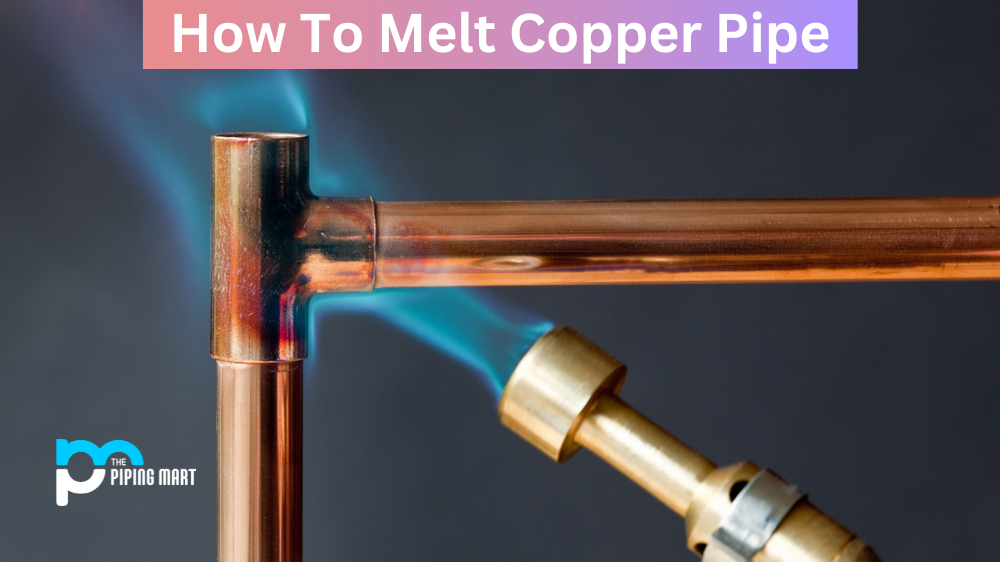
When everything is ready to go, it’s time to start melting! Start by heating up both ends of your copper pipe until they reach red cherry temperatures again (1000°F). Then move the flame around in circles until the entire circumference of one end melts away and starts dripping onto whatever surface you’ve placed underneath it (e.g., fire brick or thick steel plate). Once this has happened, slowly move your flame over to the other end of your copper pipe and repeat the process until both ends are melted away completely. You can then shape them however you like using pliers or other tools!
Conclusion:
Melting copper pipes is an easy task if done properly with caution and preparation; however, if done improperly, serious injuries can occur due to extremely high heat levels present during this process – so please be careful! With some practice and patience, though, anyone can learn how to melt their own copper pipes at home in no time at all! Whether it’s art projects or plumbing repairs that require melted-down pipes – now DIYers have all they need in order to get started! Happy Melting, everyone!
Meet Heer, a dynamic and driven writer learning tricks of her trade in the metal industry. With a background in Digital Marketing, Heer brings a unique perspective to her writing, sharing valuable insights. Apart from blogging she like reading and hiking.