MIG welding is a great way to join materials together, but it’s especially useful when working with thin steel. This is because the process is relatively fast, inexpensive, and doesn’t require any special skill. So if you’re interested in learning how to use the MIG welding process to join thin steel pieces together, read on for a step-by-step guide!
Set Up Your Work Area
Before you can start Welding, you need to make sure your work area is set up correctly. Make sure all of your tools are within easy reach and that there’s plenty of space around the workpiece. Also, make sure all of your safety equipment—like goggles, gloves, and an oxygen mask—is nearby and ready to be used.
Test Your Machine
Once your workspace is ready, you’ll need to test your machine before you begin welding. Make sure it’s producing the correct amount of voltage and amperage before proceeding with the weld. If you can’t get the settings right on your own, consult with a professional or refer to the manufacturer’s instructions for assistance.
Prepare Your Steel Pieces
Before joining two pieces of steel together with a MIG welder, they must be properly prepared beforehand. This involves cleaning off any dirt or debris from the surfaces that will be joined, as well as grinding or sanding down any rough edges that may be present on either piece. It’s also important to make sure both pieces are aligned properly before beginning the welding process.
Choose The Right Tip Size And Wire Speed
Once the pieces are prepared, it’s time to select the right tip size for your project. For thin steel projects like this one, it’s best to use a smaller diameter tip (typically 0 – 1/16 inch). You’ll also want to adjust your wire speed accordingly; for thin steel projects like this one, a slower wire speed (around 70 inches per minute) is typically best for achieving optimal results.
Start Welding
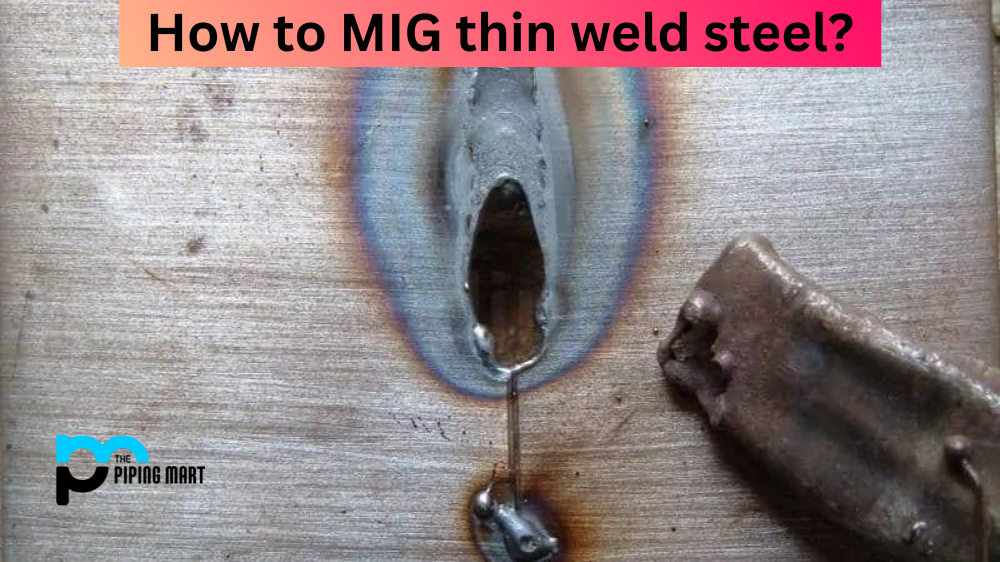
Once everything is set up correctly, and you have chosen the right tip size and wire speed settings for your project, it’s time to begin welding! Start by pressing down on both sides of the joint firmly while slowly moving forward along its length until both pieces are joined together seamlessly without any gaps or voids in between them. Be sure not to use too much heat while Welding, as this can cause warping or distortion in thinner sheets of metal like these ones!
Cool Down And Clean Up
Once you’ve finished welding both pieces together, let them cool down before handling them again; otherwise, they may still be hot enough to burn skin upon contact! Also, don’t forget to clean up after yourself by removing any excess weld material from around the joint area with a wire brush or similar tool before storing away all of your tools and equipment safely for next time!
Conclusion:
Whether you’re new at MIG welding or an experienced welder looking for tips on how best to join two pieces of thin steel together using this technique, following these steps should help ensure that everything goes smoothly from start to finish! With patience and practice comes proficiency; just remember that safety should always come first whenever working with tools like these ones, so don’t forget about wearing protective gear while operating them too! Good luck!
Meet Heer, a dynamic and driven writer learning tricks of her trade in the metal industry. With a background in Digital Marketing, Heer brings a unique perspective to her writing, sharing valuable insights. Apart from blogging she like reading and hiking.