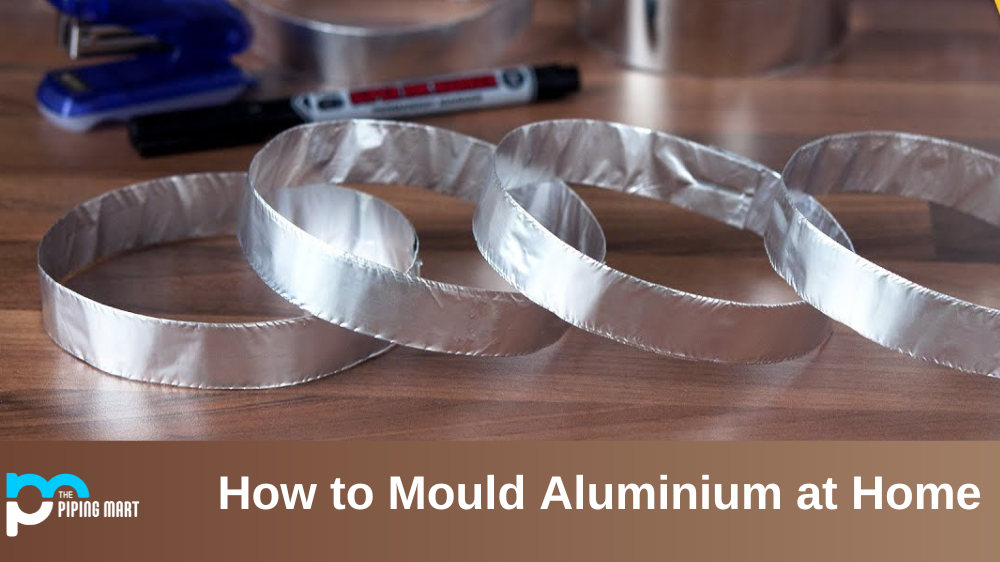
If you’re interested in learning how to mould aluminum at home, you’ve come to the right place. Aluminum is an incredibly versatile material with a wide range of applications. From automotive parts to airplane components, it can be formed into just about anything imaginable with enough skill and patience. This guide will teach you the basics of moulding aluminum in your home workshop.
Understanding The Process
Moulding aluminium requires special tools and equipment, so ensure you have everything you need before starting. To begin, use a hacksaw or band saw to cut your aluminum into pieces that can fit into the moulds you’ll be using. Make sure each piece is as precise as possible – any imperfections will be magnified once the metal is heated and softened.
Next, place your aluminium pieces in a gas furnace or forge and heat them until they reach the desired temperature (usually around 500 degrees Celsius). Once they’re hot enough, take them out of the furnace and move them quickly to the moulding station, where they can be shaped with hammers or other tools. You may need to adjust or rotate the pieces as required during this step to achieve the desired shape or form. When finished, let the pieces cool before removing them from the moulds.
Finally, clean up any rough edges or imperfections with sandpaper or other abrasive materials and finish by polishing if desired. Congratulations – you’ve completed your first project! Now that you know how to mould aluminium at home, you can start working on plenty of projects right away!
Gather your materials.
To mould aluminium at home, you will need a few supplies. First, you will need some aluminium scrap. This can be sourced from old cans, foil, or any other type of aluminium waste. You will also need a furnace or kiln to melt the aluminium. Finally, you will need a mould to pour the molten metal. This can be anything from a simple sand mould to a more complex plaster mould.
Melt the aluminium.
Once you have gathered your materials, it is time to start melting the aluminium. If you use a furnace, you will need to heat the metal until it reaches a temperature of around 700 degrees Celsius. If you are using a kiln, you will need to heat the metal until it reaches a temperature of about 1200 degrees Celsius. Once the metal has melted, it is time to move on to the next step.
Pour the molten aluminium into the mould.
Once the aluminium has melted, carefully pour it into the mould. Be sure to run slowly and evenly to avoid air bubbles in the finished product. If there are any air bubbles present, they will likely cause the finished product to be weaker and less durable.
Allow the aluminium to cool and solidify.
Once you have poured the molten aluminium into the mould, let it cool and solidify completely. This process can take anywhere from a few hours to a few days depending on the size and complexity of the mould. Once the aluminium has cooled and solidified, it is time to remove it from the mould
Conclusion:
Moulding aluminium is an excellent way for homeowners to get creative and create unique items for their home workshop. With some basic tools and practice, anyone can quickly learn how to mould aluminium at home! Remember – safety should always come first when handling hot metals like aluminium, so make sure all precautions are taken before getting started! Good luck!

Abhishek is a seasoned blogger and industry expert, sharing his insights and knowledge on various topics. With his research, Abhishek offers valuable insights and tips for professionals and enthusiasts. Follow him for expert advice on the latest trends and developments in the metal industry.


