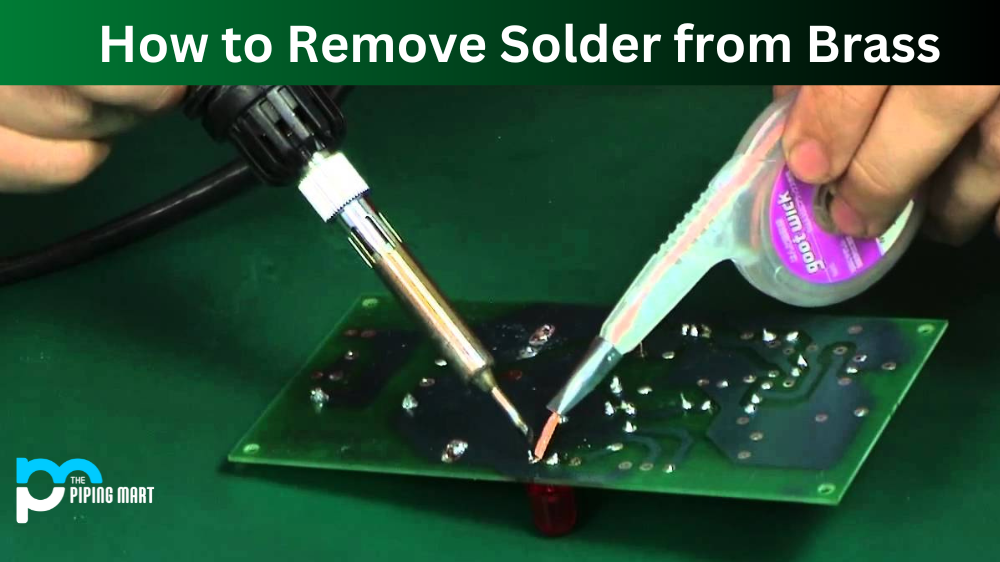
Whether a homeowner or a professional, you may need to know how to remove solder from the brass at some point. It can be a tricky process and requires the right tools and knowledge. Read on to learn the three easy steps to remove solder from brass.
Step 1: Gather Your Tools
The first step is gathering all the necessary tools. You will need a soldering iron, propane torch, flux paste, lead-free solder, lead-free tinning compound, wire brushes, and safety goggles.
Step 2: Heat Up the Area
Once you have all your tools in hand, heat the area where the solder needs to be removed using your soldering iron or propane torch. Once it is heated up enough (the area should turn bright red), use your wire brush or other tool to scrape away any excess flux that may still be present on the brass surface. Take extra precaution when doing this, as hot metal can cause serious burns if touched without proper protection.
Step 3: Apply Lead-Free Tinning Compound
After scraping away any remaining flux, apply a thin layer of lead-free tinning compound to the area with a cotton swab or cloth. This will help protect the brass surface and make it easier for future soldering processes. Once applied, let it sit for about 15 minutes before wiping away any excess with a clean cloth and reassembling as necessary.
Conclusion:
Removing solder from brass is not difficult but does require caution when working with hot metals and flammable materials like propane torches and flux paste. By following these three simple steps–gathering your tools, heating the area, and applying lead-free tinning compound–you can easily remove solder from brass surfaces with minimal hassle!
Sakshee is a talented blogger, with a particular focus on the Business and Metal Industry. She is passionate about sharing her insights on various metal products and helping professionals to make a better decisions.