Soldering aluminium is a tricky process, but if you take the right steps, it can be done with relative ease. This guide will provide you with a step-by-step tutorial on how to solder aluminum correctly and safely. By following these steps, you’ll be able to make strong, reliable connections that will last for years.
Step 1: Clean the Aluminium Surfaces
The first step in soldering aluminium is to thoroughly clean both surfaces that will be connected. Grease, dirt, and other contaminants can prevent the solder from bonding properly, so it’s important to make sure the surfaces are clean before beginning. Use a wire brush or sandpaper to remove any dirt or debris from the surface of the aluminum before continuing.
Step 2: Apply Flux
Once you’ve cleaned the surfaces, apply flux to both pieces of aluminium that will be connected. Flux is an agent used when working with metals that help promote adhesion between the two pieces. This helps ensure that everything bonds together correctly and securely. Be sure to use a flux specifically designed for use with aluminium; using a flux designed for another type of metal may cause damage or weaken your connection.
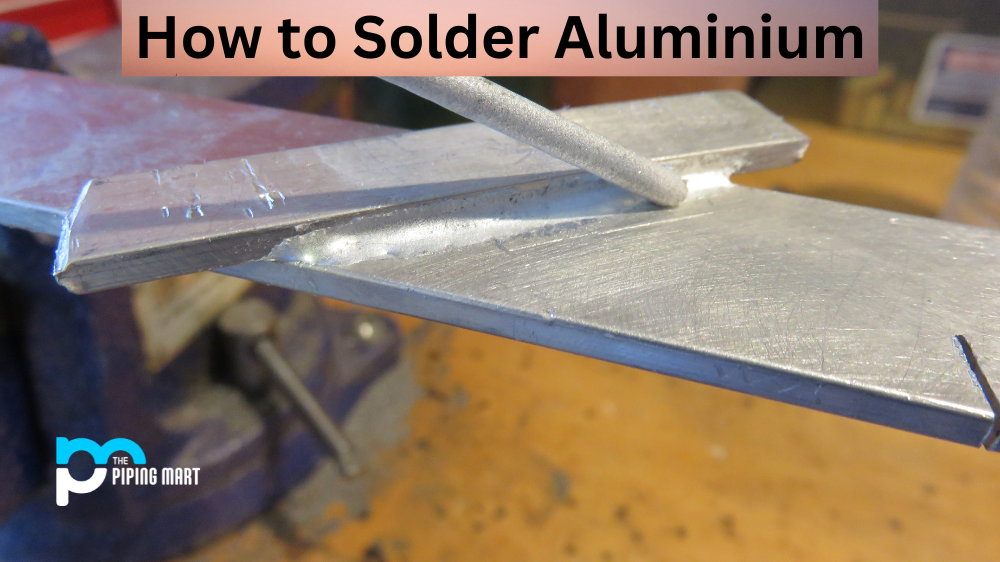
Step 3: Heat Up Your Solder
Next, you’ll need to heat up your solder by heating it up either with a torch or an electric soldering iron. Make sure that your solder is hot enough so that it melts quickly without burning when applied to the workpiece – this temperature typically falls within 500 – 700 degrees Celsius (932 – 1292 Fahrenheit). Once your solder is hot enough, apply it directly onto one side of your joint and allow it to cool before moving on to the next step.
Step 4: Connect Your Pieces
Now, you’re ready to connect your two pieces of aluminium together! Make sure that they are aligned correctly before pressing them together firmly for about 10 seconds. As soon as they are pressed together firmly, remove any excess flux from around your joint using a damp cloth or rag. Allow your joint to cool completely before testing its strength – this should take about 30 minutes, depending on how large and thick your joint is.
Conclusion:
Soldering aluminium isn’t always easy, but if you take the time and follow these steps carefully, you’ll be able to make strong connections between different pieces of metal in no time! So now it’s time for you to put what you’ve learned into practice – happy soldering! With some patience and practice, soon enough, you’ll be a pro at soldering aluminum like nobody’s business!
Sakshee is a talented blogger, with a particular focus on the Business and Metal Industry. She is passionate about sharing her insights on various metal products and helping professionals to make a better decisions.