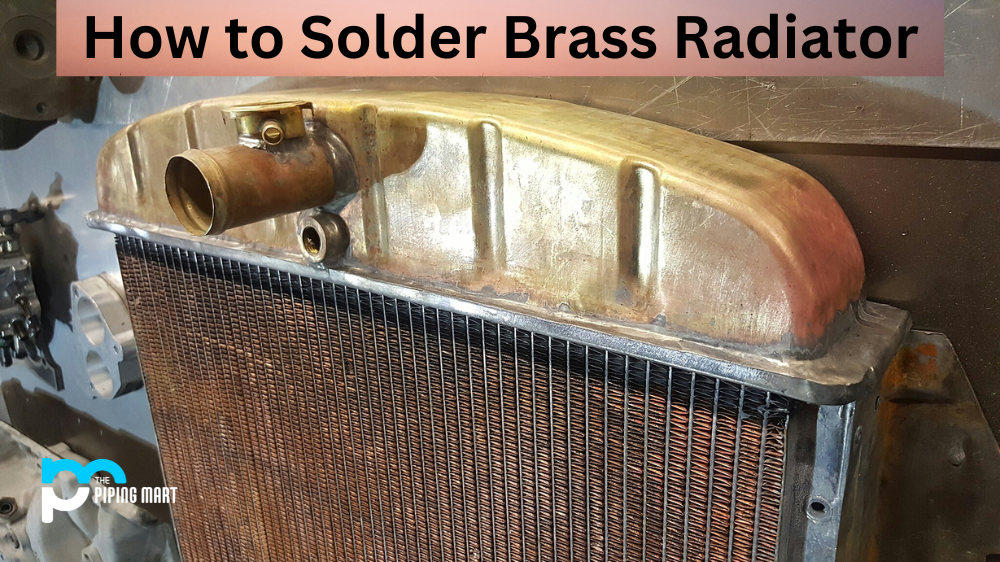
Soldering is an essential skill when it comes to working with brass radiators. It is important to understand the basics of soldering in order to safely and securely solder your radiator. With the right tools and proper technique, you can solder your brass radiator like a professional!
Tools You’ll Need
Before beginning the process, make sure you have all the necessary tools on hand. This includes flux paste, a soldering iron, solder wire, safety glasses, needle-nose pliers, and heat-resistant gloves. Knowing what you need for the job will help ensure that you have a smooth and successful soldering experience.
Prepping the Radiator for Soldering
Next, it is important to clean any dirt or debris from the area where you will be soldering. This will ensure that there are no particles interfering with your work. Once the area is clean, apply flux paste directly onto the base of the joint using your finger or a small brush. This helps create a secure bond between the two parts being joined together.
Soldering Your Radiator
Now that everything is prepped, it’s time to begin soldering! When you solder your radiator, be sure to heat both parts simultaneously, as this ensures that they are properly joined together. It also helps mitigate any potential risks associated with uneven heating, which could result in warped parts or weakened joints over time. Use your soldering iron and slowly move it around both pieces while holding them firmly together until they are fully heated. Then add short pieces of solder wire into each joint until they melt and form one solid piece. Allow enough time for everything to cool before handling or moving anything else in order to avoid any potential accidents or damage caused by hot metal surfaces coming into contact with skin or clothing items.
Conclusion:
Soldering your brass radiator can seem intimidating at first, but with careful preparation, attention to detail, and the right equipment—you can solder like a pro! Always remember safety first when dealing with hot metals, and never forget to wear protective gear such as safety glasses and heat-resistant gloves during your project! With these steps in mind, you should be able to successfully complete this project without any issues! Good luck!
A passionate metal industry expert and blogger. With over 5 years of experience in the field, Palak brings a wealth of knowledge and insight to her writing. Whether discussing the latest trends in the metal industry or sharing tips, she is dedicated to helping others succeed in the metal industry.