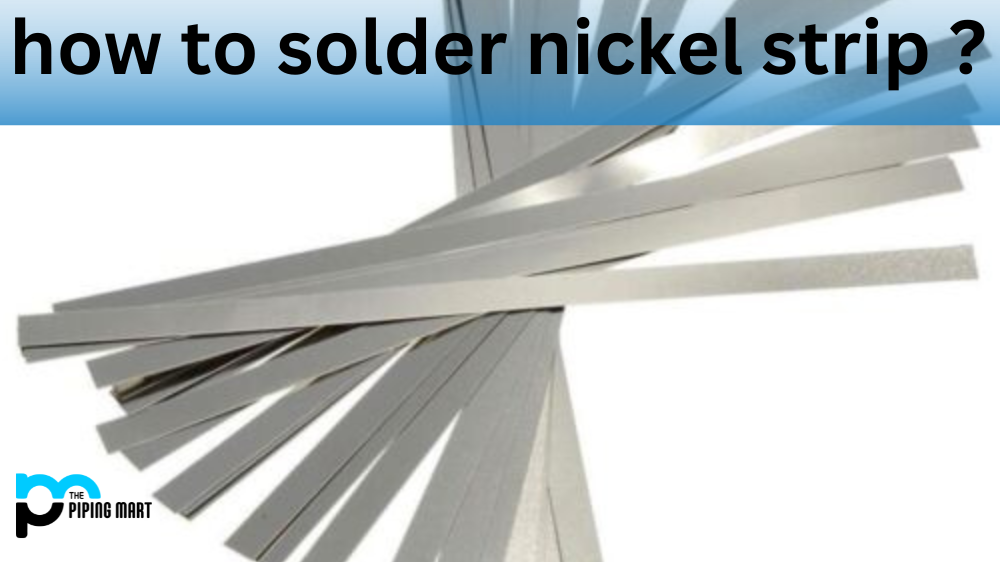
Working with nickel strips is a great way to join electrical components together. It provides superior conductivity and strength compared to other materials. However, soldering nickel strips can be tricky for beginners. To help make your project a success, here is a step-by-step guide on how to solder nickel strips correctly.
Step 1: Prepare Your Materials
Before you start soldering, you should gather all the necessary materials and tools that you will need. Be sure to have safety glasses, flux paste, a soldering iron, rosin core solder, sandpaper or steel wool, and cleaning agents like alcohol or acetone. The specific type of iron you use will depend on the size of your project; for larger projects, an industrial soldering iron is best, while smaller ones can be handled with just a butane torch. Lastly, you’ll need the appropriate type of nickel strip for your needs (e.g., pure nickel strips or copper-plated nickel strips).
Step 2: Clean Your Workpiece
Once all your materials are ready, it’s time to clean your workpiece. You want to ensure that all surfaces are free from any dirt or debris so that the solder can adhere properly. Use sandpaper or steel wool to remove any oxidation from the surface, and then wipe off any residue with a dry cloth or paper towel. Finally, apply some flux paste on all areas where you will be soldering; this helps ensure good adhesion between the metal and solder.
Step 3: Heat Your Solder Iron
Next is heating your solder iron until it reaches its optimal temperature for working with nickel strip – usually around 700°F (371°C). Once it reaches this temperature, it’s important to turn off the heat source as soon as possible to save power and avoid overheating the iron tip. Then move on to applying the solder by gently pressing down on the joint while simultaneously running a thin bead of rosin core solder along it; this helps ensure even coverage over both connecting surfaces. Make sure not to leave too much excess solder on either side, as this can cause shorts when exposed to moisture later down the line.
Conclusion:
Soldering nickel strips correctly requires practice and patience, for they look neat and professional each time you attempt it! With enough practice, though, anyone can become adept at soldering with ease – so keep going if, at first, things go differently than planned! If done correctly, soldered joints should last years without issue – so take some time now to learn properly how to do so! DIY electricians and hobbyists should find these tips helpful when they embark on their next project using nickel strips! Good luck!

Abhishek is a seasoned blogger and industry expert, sharing his insights and knowledge on various topics. With his research, Abhishek offers valuable insights and tips for professionals and enthusiasts. Follow him for expert advice on the latest trends and developments in the metal industry.


