Soldering stainless steel is a skill that many find intimidating. However, with the right tools and techniques, it doesn’t have to be as difficult as you think. This blog post will cover the basics of soldering stainless steel—from choosing the right tools and materials to ensuring your joints are strong and secure. By the end of this article, you’ll have all the knowledge you need to solder stainless steel like a pro.
Tools and Materials Required for Soldering Stainless Steel
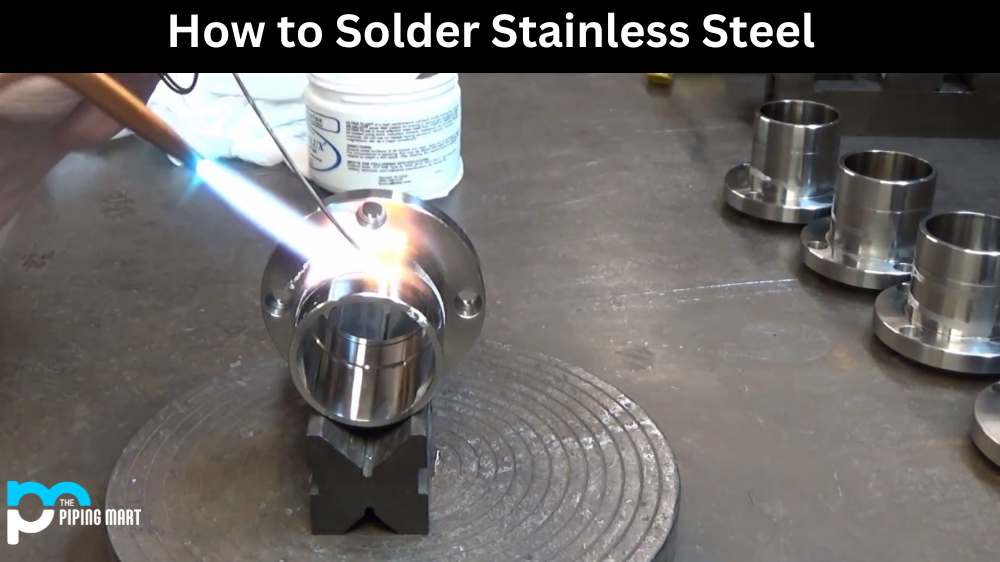
Before you can begin soldering stainless steel, you need to ensure that you have all the necessary tools and materials. First, you will need flux (a chemical cleaning agent) and flux paste (a paste made from flux). You will also need solder (an alloy made from tin, lead, or silver) and an appropriate soldering iron for your project. The size of your iron tip should match the size of your joint; if it’s too large, it won’t fit into small spaces. Finally, make sure to have some wet rags handy in case of spills or accidents.
Cleaning Your Joints
Once you have all your equipment, it’s time to start soldering stainless steel. Before you begin, however, clean any oils or contaminants off your joint with a cloth dampened with alcohol or acetone. This will ensure that your solder adheres properly and creates a strong bond between the two pieces of metal. If possible, use a wire brush to scrub away rust or other impurities from both surfaces before moving on to the next step.
Applying Flux Paste & Solder
Now, you can apply flux paste and solder onto your joint using an appropriate soldering iron tip size for precision work. Heat the tip of your iron until it reaches its working temperature (usually between 360°F – 500°F). Once hot enough, touch both surfaces lightly with solder while heating them with your soldering iron tip until they are entirely covered with molten solder. Then move on to the next section of your joint until all parts are connected by melted solder. Finally, remove excess solder by wiping down both surfaces with a damp rag or sponge until everything is neat & tidy! Make sure not to leave any gaps between sections, as these could cause weak points in your connection over time—resulting in breaks or leaks down the line.
Conclusion:
With patience and practice, anyone can successfully learn how to solder stainless steel in no time! With these tips on how to choose appropriate materials & tools, as well as how to apply flux paste & solder correctly, anyone can quickly and easily become an expert at soldering stainless steel quickly & easily! As long as you take care when preparing & cleaning each surface before joining them together – there should be no problems creating strong & durable connections every time! So don’t be afraid – give it a try today!
Sakshee is a talented blogger, with a particular focus on the Business and Metal Industry. She is passionate about sharing her insights on various metal products and helping professionals to make a better decisions.