Soldering is an important skill to know, especially if you’re a hobbyist or DIYer. It’s one of the most common ways to join two pieces of metal together. This blog post will walk you through the basics of soldering zinc.
What You Need to Know Before You Start
Before you start soldering zinc, you must understand exactly what it is and how it works. Zinc is a soft metal that can easily be melted at low temperatures, making it ideal for soldering applications. The melting temperature of zinc is around 787°F (420°C), and when heated, it liquefies into a solderable liquid state. This means that all you need to do is heat the joint and apply the solder to make a secure bond between two pieces of metal.
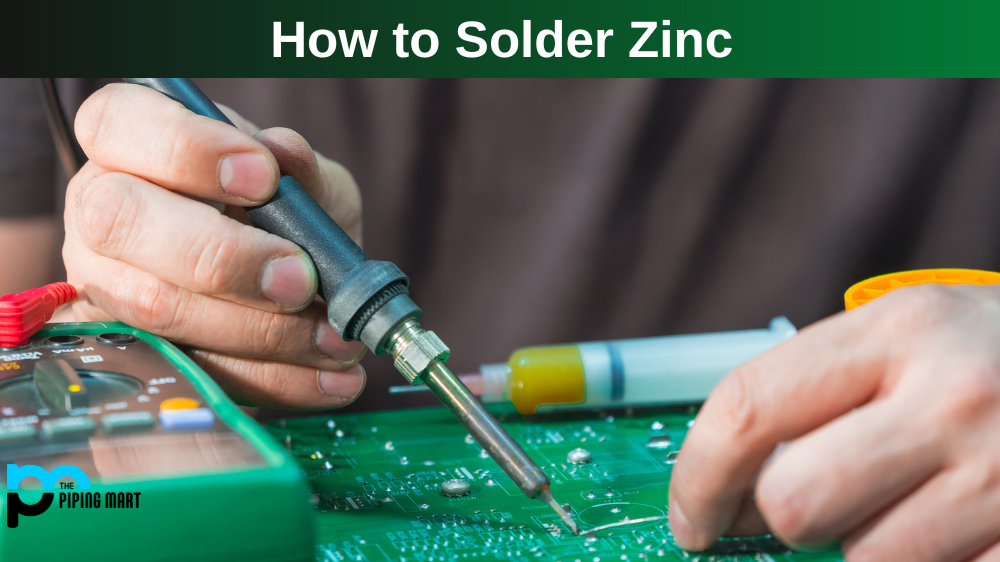
Next, let’s talk about what tools and materials you will need to start soldering zinc. First, you will need basic hand tools such as pliers, wire cutters, files, etc. You will also need safety gear, such as safety glasses and gloves, to protect yourself from sparks or hot metals while soldering. Finally, you will need specialized tools designed explicitly for solderings, such as tweezers or flux pens used to help clean the surfaces before soldering them together.
Lastly, you will need some solder designed explicitly for zinc, such as lead-free silver solder or tin-lead solder (the latter being more traditional). Other than that, all you need is your creativity! Once you have all the necessary supplies, let’s move on to soldering the material together!
How To Solder Zinc – Process
Now that we have gone over everything needed before starting our project, let’s go over the steps involved in soldering zinc together. The first step consists in cleaning both surfaces with an abrasive pad or cloth before joining them together so they are free from any dirt or debris which could interfere with the bonding process. Second, apply flux paste or liquid flux on both surfaces, which helps promote adhesion between the two pieces and allows for a more effortless flow of solder later on. Thirdly, use your tweezers to carefully position your solder onto one side of the joint where it melts quickly due to its low melting temperature – this should only take a few seconds – then quickly move on applying heat from your torch directly onto the joint until both sides melt together into a strong bond! Lastly, once cooled down, ensure no gaps exist between both pieces by using a file if necessary – this completes our project!
Conclusion:
Soldering zinc can be intimidating, but with practice comes perfection! With this guide in hand, anyone should be able to complete their projects without having any issues along the way – make sure all necessary materials listed above are available before starting so there won’t be any hiccups during your journey! Thanks for reading, and happy soldering!
A passionate metal industry expert and blogger. With over 5 years of experience in the field, Palak brings a wealth of knowledge and insight to her writing. Whether discussing the latest trends in the metal industry or sharing tips, she is dedicated to helping others succeed in the metal industry.