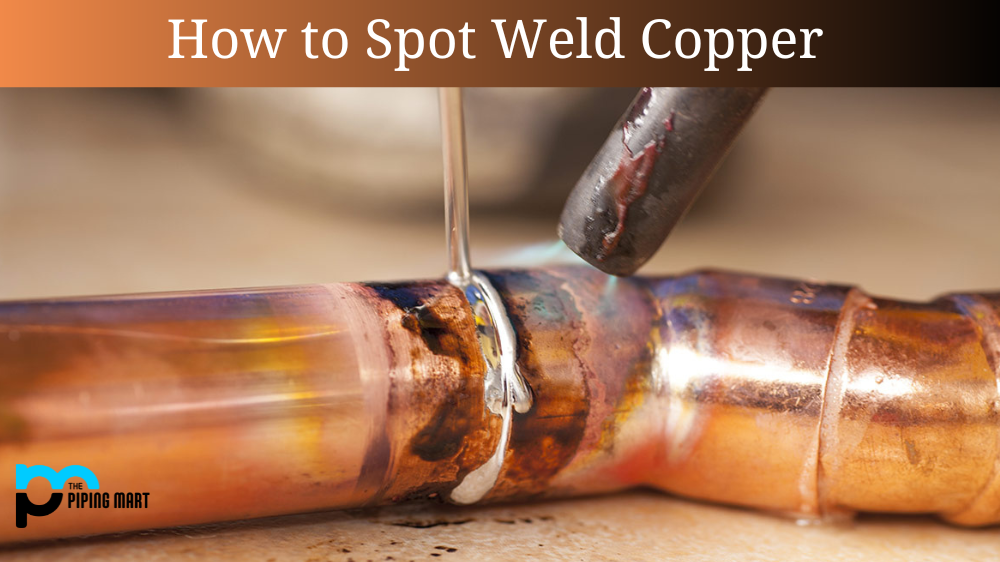
Spot Welding Copper: A Step-By-Step Guide
Spot welding copper is a great way to join two pieces of metal together without needing screws or nails. While it’s not as strong as traditional welding, it’s a much simpler process that can be done with minimal tools. Spot welding is an excellent choice if you’re looking for an easy way to join two pieces of copper. Here’s how to do it in five simple steps.
Step 1 – Prepare Your Materials
First, ensure that both copper pieces are clean and free from debris. This will ensure that your weld holds properly once it’s complete. After cleaning the surfaces, place the two pieces together, flush against each other and secure them with clamps or magnets. Ensure you leave enough space between them to insert the welder’s tip into the gap easily.
Step 2 – Attach the Welder
Next, attach the welder to your power source and set your desired temperature on the dial (typically around 200-300 degrees Celsius). Once your welder is ready to go, you can start spot welding. To do this, insert the welder’s tip into the gap between your two pieces of copper until it touches both metals simultaneously. When you see sparks coming off both sides of the gap, you know that you have good contact and are ready to begin welding.
Step 3 – Begin Welding
Now it’s time to start welding! With light pressure on the welder’s tip, move it up and down quickly while maintaining consistent contact between both pieces of copper (do not hold it still). As you move up and down along the seam, keep a close eye on how much heat is building up; if too much heat builds up in one area, then you may burn through one of the metals, so be sure to switch directions when necessary (you can also lift slightly every few seconds for about half a second to help disperse excess heat).
Step 4 – Let It Cool Down
After about 5-10 seconds of spot welding (depending on temperature), remove your welder from between both pieces of copper and let them cool down for a few minutes before handling them again. It’s important not to move either piece during this time, as this could cause your weld joint to break apart prematurely.
Step 5 – Check Your Work
Once cooled down completely, look at your weld joint; if everything looks good, congratulations—you successfully spot-welded some copper! If there are any weak points, use some additional flux or solder paste around those areas before continuing with step 4 again until all weak points are gone (remember—practice makes perfect!).
Conclusion:
Spot welding copper is an easy way to join two pieces of metal together without having to use screws or nails. With just a few simple steps and minimal tools required, anyone can successfully spot-weld two pieces of copper together in no time! So don’t hesitate—to give spot welding a try today and see what amazing projects you can create!
Meet Heer, a dynamic and driven writer learning tricks of her trade in the metal industry. With a background in Digital Marketing, Heer brings a unique perspective to her writing, sharing valuable insights. Apart from blogging she like reading and hiking.