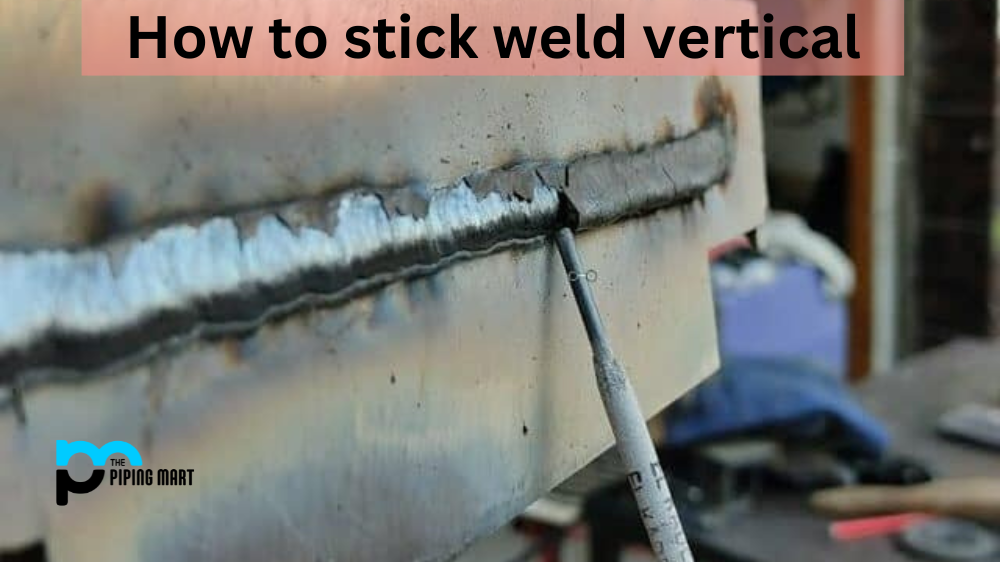
If you’ve ever wanted to learn how to weld, one of the best places to start is stick welding. Stick welding is a great way for beginners to get started with welding, and it offers flexibility in terms of the positions you can use. This tutorial will focus on vertical stick welding, which is a great position for working on small parts or tight spaces. So, if you’re ready to start learning, let’s dig in!
Setting Up Your Welder and Gear
Before you start your project, make sure that your welder is set up correctly and that you have all of your gear ready. When setting up your welder, be sure to adjust the current according to the size and type of material you’re working with. You should also check that the cable connections are secure and that all other settings are correct. Once your welder is set up properly, it’s time to gear up! Make sure that you have all of the necessary safety equipment, including gloves, a helmet, a face shield, and an apron.
Practicing on Scrap Metal
Now comes the fun part – practicing! Before attempting any vertical welds on an actual project piece, it’s important that you practice first. One of the best ways to practice is by using scrap metal pieces, as this will allow you to get comfortable with the technique without risking any damage to an actual project piece. Start by connecting two pieces of scrap metal together at one end, then separate them slightly at the other end so that there is space for your electrode holder between them. This will help create a gap for your electrodes when welding in an upright position. Once everything is in place, hold your electrode holder parallel to the surface as if it were a writing pen and begin welding across the top edge while maintaining contact between the tip of your electrode holder and both pieces of scrap metal. This will help build confidence while still allowing room for error as you practice different techniques like weaving or zig-zagging along each side before finishing off with a final pass down each side once again.
Welding Your Project Piece
Once you feel confident enough in your ability to stick weld vertically using scrap metal pieces, it’s time to try it out on an actual project piece! Make sure that all settings are correct before beginning, as well as double-check all safety gear beforehand so that nothing slips through unnoticed during setup or execution – safety always comes first! As before, begin by connecting two pieces of metal together at one end and then separating them slightly at the other so there is space for your electrode holder between them but this time, ensure that they are securely connected at both ends before beginning work on either side- sloppy connections can lead to sloppier welds so be sure to take extra care when making these kinds of connections! Once everything is connected properly, begin by holding your electrode holder parallel with the surface just as before while weaving or zig-zagging along each side until reaching completion before finishing off with a final pass down each side once again – remember not too much speed but enough pressure since speed isn’t nearly as important when performing vertical welds as accuracy and consistency are!
Conclusion:
With some practice and patience, anyone can learn how to stick weld vertically – just remember safety first always! After following these steps closely, anyone should feel confident enough in their ability to try out their own projects safely while understanding the proper technique and setup procedures needed when tackling this kind of task head-on! Whether it’s fixing something around the house or creating something from scratch, stick welding vertical can be used for various applications, so give it a shot today – who knows what amazing creations await? Intended Audience: Beginner welders looking for tips on how to stick weld vertically
Meet Heer, a dynamic and driven writer learning tricks of her trade in the metal industry. With a background in Digital Marketing, Heer brings a unique perspective to her writing, sharing valuable insights. Apart from blogging she like reading and hiking.