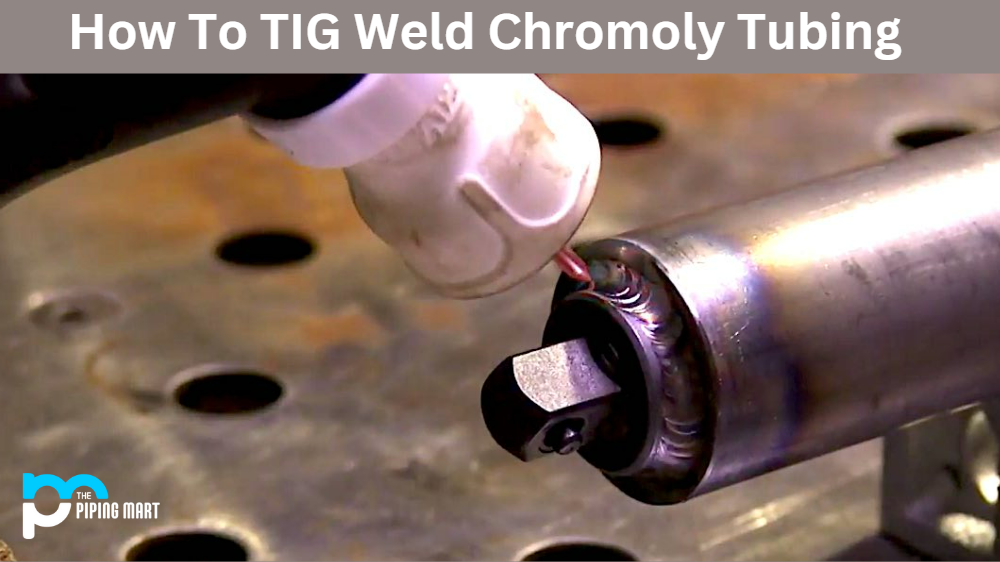
Chromoly tubing is a popular choice for automotive and bicycle frames due to its strength and lightweight properties. Tig welding is the preferred method for joining chromoly tubes, as it produces a stronger weld and less distortion than other welding processes. In this blog post, we’ll take a look at the basics of tig welding chromoly tubing and how you can get started.
What Is TIG Welding?
Tig welding (also known as Gas Tungsten Arc Welding or GTAW) is an arc welding process that uses a non-consumable tungsten electrode to produce the weld. The tungsten electrode has an electric arc that melts the welded base metal and a filler metal rod. The molten metal solidifies once cooled, creating a strong joint between the two pieces.
How To Get Started With TIG Welding Chromoly Tubing
Before you start tig welding chromoly tubing, you must have the right equipment and safety gear in place. You will need a tig torch, argon gas cylinder, tungsten electrodes, filler rods, safety glasses, gloves and long-sleeved clothing. Once you have all your equipment ready to go, follow these steps for successful tig welding of chromoly tubes:
Clean the tubes
Before beginning any welding project, removing any dirt or debris from the surface of your workpiece with a wire brush or grinding wheel is essential. This will help ensure that the welds are clean and free from contaminants.
Set up your machine
Connect your machine to an electrical outlet using insulated cables and make sure your gas flow rate is set correctly. You’ll also want to ensure that your amperage setting is appropriate according to the thickness of the material being welded.
Begin welding
After everything has been set up correctly, you can start by making short tack welds on each side of where you plan on making your final weld seam. This will help prevent the warping of the material while you’re working on it. Once you’ve finished tack welding, move on to making long continuous beads along each side of where you plan on making your final seam until both sides are complete, then finally finish off with one final bead along where all three seams meet to create one strong joint between two pieces of metal!
Clean up
After completing your weld, it’s essential to clean up any spatter or slag that may be left over from the process using either an angle grinder or chipping hammer to ensure that there are no imperfections present before moving on to another project!
Conclusion:
Tig welding chromoly tubing can be intimidating for beginners, but following these steps will help make sure that even first-time users can achieve success with their projects! Just remember to take your time when setting up your machine, use appropriate safety gear when operating any machinery, and clean up after yourself when done! With practice comes perfection, so feel free to experiment with different techniques until you find what works best for you! Tig welding is a great skill that many hobbyists enjoy mastering – so why not give it a try today?
Meet Heer, a dynamic and driven writer learning tricks of her trade in the metal industry. With a background in Digital Marketing, Heer brings a unique perspective to her writing, sharing valuable insights. Apart from blogging she like reading and hiking.