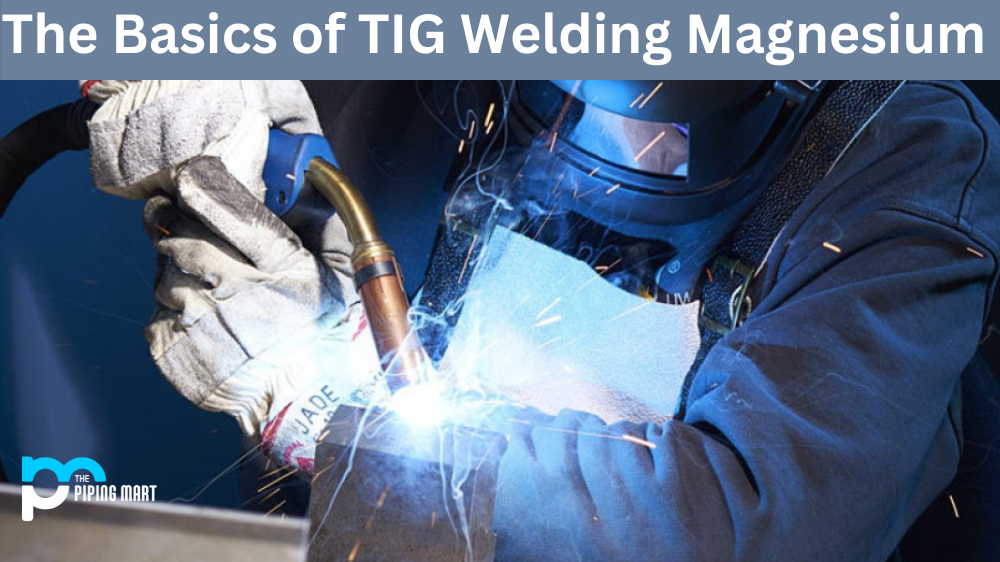
Magnesium is a lightweight metal with many uses in industrial applications. It is commonly used in aircraft, automotive, and electronic components. And when it comes to welding magnesium, TIG (Tungsten Inert Gas) welding is one of the best methods. This article will explain why TIG welding is the preferred method for joining magnesium and provide an overview of the basic techniques involved.
TIG Welding Magnesium – Step – By – Step Guide
Step 1
Gather your materials. In order to TIG weld magnesium, you will need the following items:
-A TIG welder
-Magnesium welding rod
-Thin gloves
-A face mask
-Goggles
Step 2
Put on your safety gear. Before you begin welding, it is important to put on the proper safety gear. This includes a face mask, thin gloves, and goggles. This will protect you from the heat and sparks generated by the welding process.
Step 3
Set up your welder. Once you have all of your materials, you will need to set up your welder. Make sure that the power is turned off and that the electrode holder is in the correct position.
Step 4
Select the correct settings. When you are ready to start welding, you will need to select the correct settings on your welder. The settings will depend on the thickness of the magnesium being welded and the type of welding rod being used.
Step 5
Strike an arc. To start welding, you will need to strike an arc between the electrode and the magnesium. This can be done by touching the electrode to the magnesium and then pulling it away quickly.
Step 6
Begin welding. Once you have struck an arc, you can begin welding by moving the electrode in a small circle around the area to be welded. It is important to keep the electrode at a consistent distance from the magnesium in order to avoid overheating and melting the metal.
Step 7
Finish welding. When you have finished welding, you will need to turn off the power to your welder and remove the electrode from the holder. You can then remove your safety gear and inspect your work
Techniques for TIG Welding Magnesium
Once you have all your equipment set up, you’re ready to begin TIG welding your magnesium components together! The first step is prepping your surfaces by cleaning them thoroughly with a wire brush or stainless steel scraper before applying any flux or filler material (remember: do not use ferrous metals when working with magnesium!). Once your surfaces are clean, start by setting your amperage between 150–250 amps depending on how thick your material is and how large the weld area will be; then, adjust as needed while you work. When beginning each pass on your jointed pieces, start at one corner and move gradually along in straight lines until you reach the end; then pause briefly before beginning another pass until all edges are filled in fully. After completing each pass, allow time for cooling before continuing on to the next pass—this helps reduce potential warping caused by too much heat buildup in one spot!
Using the Right Equipment
When using TIG welding to join magnesium components, it’s important to ensure you have the right equipment. Most importantly, you need a high-frequency power supply that can deliver enough amperage for your particular application—typically between 150 and 250 amps—and a foot pedal control unit for making precise adjustments to the current during the welding process. You’ll also need a tungsten electrode (a non-consumable electrode made from tungsten) and an appropriate filler material (usually magnesium alloy). Finally, you’ll need a shielding gas such as argon or helium to protect the weld area from oxidation during welding.
Advantages of TIG Welding Magnesium
TIG welding is considered one of the most effective ways to join magnesium because it offers several advantages over other types of welding. First and foremost, it produces high-quality welds with minimal distortion. This makes it ideal for use on thin sheets or delicate components where heat distortion can be an issue. Additionally, TIG welding does not produce splatter or excessive fumes, making it much easier to work with than other forms of welding. Finally, because this welding is done with an inert gas (usually argon), it minimizes oxidation and ensures that the finished welds are clean and free from impurities.
Conclusion:
TIG welding offers many advantages when joining two pieces of magnesium together due to its superior quality welds and minimal distortion compared to other types of welding processes. It also does not produce splatter or excessive fumes like other welding forms, making it easier to work with overall. With the right equipment setup—including a high-frequency power supply capable of delivering enough amperage for your particular job plus a tungsten electrode, shielding gas (usually argon or helium), filler material (magnesium alloy), flux/cleaner—and following proper techniques such as starting at one corner and moving gradually along in straight lines before allowing time for cooling between each pass; you should be able to complete any project requiring joining two pieces of magnesium together using TIG welding! Happy Welding!
Meet Heer, a dynamic and driven writer learning tricks of her trade in the metal industry. With a background in Digital Marketing, Heer brings a unique perspective to her writing, sharing valuable insights. Apart from blogging she like reading and hiking.