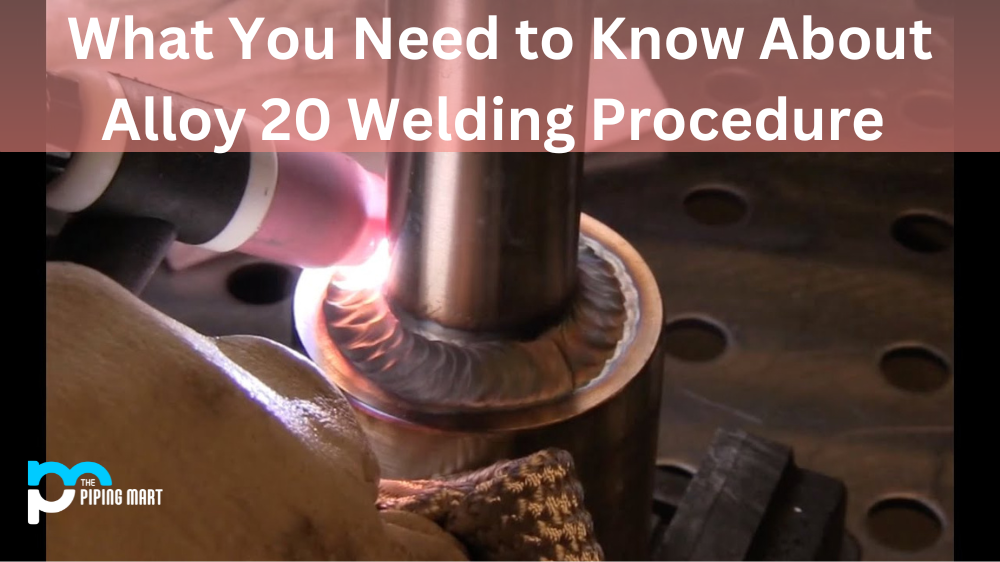
The alloy 20 welding procedure is one of the most common welding processes for corrosion-resistant alloys. This type of welding is an excellent choice when joining stainless steel, nickel, and copper alloys. It’s important to understand the entire process before beginning the weld and to select the right consumables and equipment for a successful weld. Let’s take a closer look at the alloy 20 welding procedure and discuss some tips for successful welds.
Choosing Consumables for Your Weld
When it comes to the alloy 20 welding procedure, selecting the right consumables is key. Consumables include anything that will be consumed during the welding process, like filler metals, fluxes, shielding gases, and rods. The type you choose will depend on factors like joint design, position, base metal thickness or composition, joint fit-up, and desired weld strength.
It’s always best to consult with a qualified metallurgist or your supplier/manufacturer in order to ensure you have selected the right materials for your application. If you are unsure what material should be used or how much material needs to be added or removed from a specific area of your part (for example, during prepping), it’s best to consult an expert who can advise you on the best course of action.
Alloy 20 Welding Procedure
Preparation and Set Up
Before you start welding, it’s important to make sure you have all the necessary equipment. You’ll need an arc welder that is capable of welding stainless steel, as well as safety equipment such as goggles, gloves, and a welding helmet. Once you have your equipment ready, the next step is to clean the weld area thoroughly. Any dirt or debris can affect how well your weld holds up over time.
Selecting Your Filler Metal
For this type of job, a filler metal specifically designed for alloy 20 should be used. This will ensure that your welds are strong and durable. The American Welding Society (AWS) recommends using ERNiCrMo-3 filler metal for best results when welding alloy 20 steel.
Welding Technique
Now that you’ve got everything set up, it’s time to get down to business! The most important thing when welding alloy 20 steel is patience—take your time with each weld pass and make sure that the joint has cooled before adding another layer of weld material. When done correctly, this will give you stronger joints than if you rush through them quickly. Additionally, make sure that your arc length is kept consistent throughout the entire process—a too-long or too-short arc length can weaken your welds significantly. Finally, use short backstep techniques when possible—this will help ensure that each layer of weld material is properly fused with the base metal without leaving gaps or cold spots in between them.
Welding Equipment
When selecting equipment for the alloy 20 welding procedure, it’s important to make sure that you have chosen the right tools for your application. Several types of equipment are available for this kind of welding, including arc welders (MIG & TIG) and oxy-fuel cutting torches. Depending on your application, you may need additional accessories, such as wire feeders or cooling systems, in order to achieve optimal results from your welds. It is also recommended that safety gear such as gloves and eye protection are worn during any type of welding task in order to protect against sparks or heat exposure which could cause injury or burns if not properly shielded against them.
Conclusion
The alloy 20 welding procedure is an ideal choice when joining stainless steel, nickel, and copper alloys due to its impressive corrosion resistance properties. To make sure that your weld is successful, you must select the right consumables and use proper welding techniques with appropriate equipment to create strong joints that last over time. With these tips in mind, you should be able to confidently tackle any alloy 20 welding job!

Pipingmart is B2B portal specializes in industrial, metal and piping products. Also, share latest information and news related to products, materials and different types grades to help business dealing in this industry.


