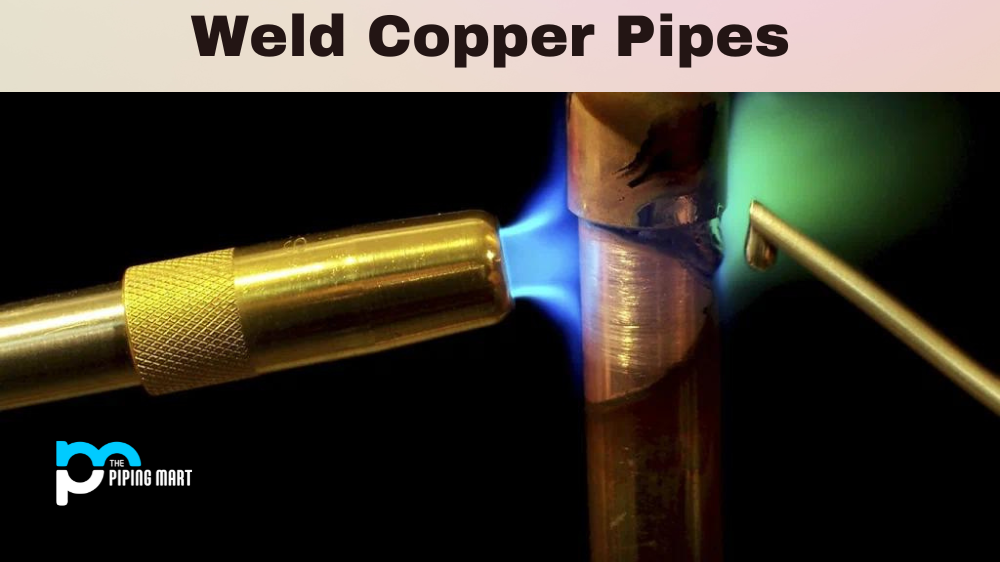
Copper pipes are a popular choice for many DIY projects or home repairs. While welding copper pipes may seem intimidating, with the right technique, it can be a fairly straightforward process. In this blog post, we’ll walk you through the basics of copper pipe welding so that you can get started on your own project!
Copper Pipe Preparing & Cleaning
Before you begin welding copper pipes, it is important to prepare them correctly. You should use a wire brush to remove any dirt, dust, or debris from both sides of the joint and to ensure that you have an even surface area. It is also important to clean off any oxidation or corrosion on the outside of the pipe using a cleaning solution like vinegar. Once your surfaces are clean and dry, it’s time to move on to the next step.
Welding Process
The most common way to weld copper pipes is with a TIG welder (tungsten inert gas welder). To begin welding, ensure your TIG welder is set up correctly according to manufacturer guidelines. Then, apply flux paste or powder onto both sides of the joint and heat up each side until they reach their melting point. After both sides have melted, move the torch in a circular motion around the edges of the joint until it has cooled down completely. This will ensure that there are no gaps between joints when finished.
Conclusion:
Once you have finished welding your copper pipes together, it is important to inspect them thoroughly for any imperfections, such as cracks or gaps. Suppose all looks good, then congratulations! You have successfully completed your first copper pipe welding project! If not, don’t worry – practice makes perfect! With some patience and practice, you will be able to master this skill in no time at all! Thanks for reading our blog post on how to weld copper pipes for beginners – happy welding!
Pipingmart is a B2B portal that specializes in metal, industrial and piping items. Additionally, we share the latest information and information about materials, products and various types of grades to assist businesses that are involved in this business.