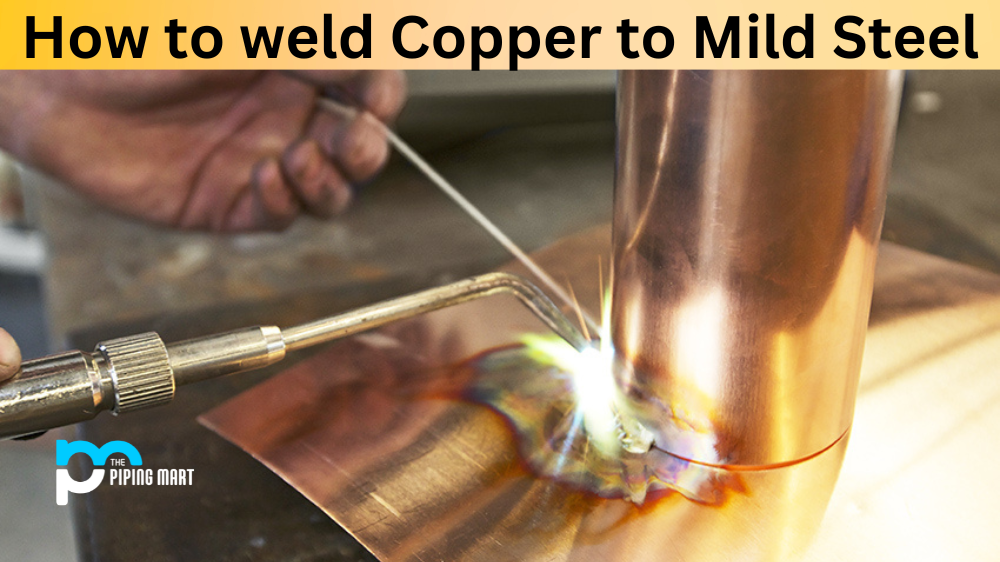
Welding copper to mild steel requires special techniques that are not used when welding ferrous metals. If done correctly, the weld can be strong and reliable, but if done incorrectly, it can result in a weak or brittle joint that may fail. This guide will provide step-by-step instructions on how to properly weld copper to mild steel for an effective and safe result.
Step 1: Prepare the Metal
Before beginning the welding process, you need to prepare both pieces of metal by cleaning them with emery paper and removing any grease or dirt from their surfaces. Make sure that all edges are smooth and free from burrs or sharp edges. Once prepped, clamp the two pieces together using a vise grip or other mechanical clamping device.
Step 2: Prepare the Torch
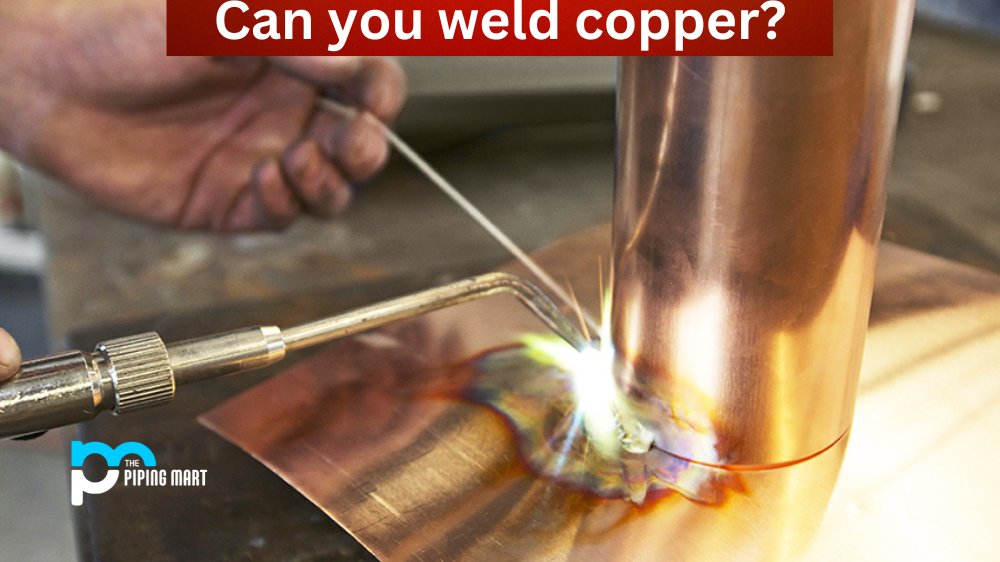
Next, you’ll need to set up your torch for welding copper and mild steel. Begin by filling the oxygen tank with oxygen gas and setting the torch tip size to 0.062 inches (1/16th inch). The flame should be neutral in order to avoid oxidization of the weld area. You may also want to use an oxy-acetylene welding setup if you have access to one, as this will provide more heat than a propane torch alone. If you choose this option, make sure that you adjust the acetylene pressure accordingly before beginning your welding work.
Step 3: Welding Process
Now comes the actual welding part of this process! Start by heating up both pieces of metal evenly until they reach a temperature of about 400 degrees Fahrenheit (204 degrees Celsius). This is important because it helps ensure that both metals are at a similar temperature before starting your welds which will help create a stronger final product. Once both pieces have been heated up properly, begin your welds by slowly moving your torch around each piece of metal in circular motions using steady, consistent pressure until your desired shape has been achieved. Make sure not to stop moving too soon, as this could cause cold spots on your finished product, which would weaken its strength and durability over time!
Conclusion:
With these steps, you now know how to successfully weld copper to mild steel! It is important that all steps are followed carefully in order for a successful outcome; otherwise, you risk creating an unreliable connection between two materials which could lead to failure down the road. Always remember safety first when working with any type of welding project – wear protective gear such as gloves and goggles while working with hot metal! Be sure to take extra precautions when working with oxygen fuel mixtures, such as turning off any open flames in the vicinity before turning on your fuel supply valve or igniting any type of spark near the work area! With these tips and techniques in mind, go forth and create some amazing projects with ease! Good luck!
Pipingmart is a B2B portal that specializes in metal, industrial and piping items. Additionally, we share the latest information and information about materials, products and various types of grades to assist businesses that are involved in this business.