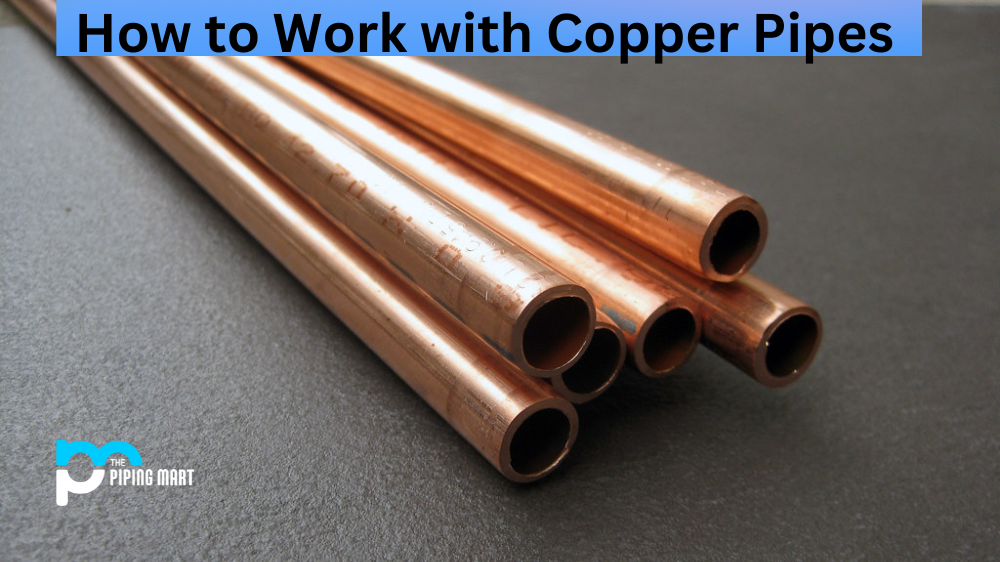
Copper pipes are a popular choice for plumbing and water supply lines because of their malleability, durability, and corrosion resistance. They can be used in many different applications, from complex industrial systems to residential plumbing projects. However, if you’ve never worked with copper pipes before, the process may seem daunting. In this blog post, we’ll go over the basics of how to cut, extend and sweat copper pipe.
Cutting Copper Pipe
When it comes to cutting a copper pipe, you have two primary options—a hacksaw or a tubing cutter. If you are using a hacksaw, make sure that you use one with a fine-toothed blade so that you don’t damage the pipe in the process. When using a tubing cutter, score around the circumference of the pipe while slowly rotating it until it is completely severed. Once your scored line is complete, simply twist off the piece of pipe you don’t need or use levering pliers to break off smaller pieces from larger pipes.
Extending Copper Pipe
If you need to extend your copper pipes for any reason, there are several methods available for doing so. The most common method is by using couplings (or “sweat fittings”). This method involves soldering two pieces of copper together using flux and a torch or soldering gun. Before soldering your couplings together, make sure both ends are cleaned carefully, and then apply flux liberally before heating them up and pressing them together until they form a seal. Another option is to connect two pieces of pipe together with compression fittings which require no soldering or welding whatsoever but still provide an airtight seal.
Sweating Copper Pipe
Sweating is another term for soldering, which is often used when working with copper pipes. To sweat copper pipes correctly requires some practice, as it takes patience and precision to ensure that all connections are airtight and secure. First, clean both ends of each pipe thoroughly before applying flux liberally on both sides of the joint between them. Next heat up each side evenly before pressing them together until they form an airtight seal (this should take approximately 10-15 seconds). Finally, turn off the heat source after allowing ample time for cooling down (about 2-3 minutes).
Conclusion:
Working with copper pipes can seem intimidating at first, but with some practice and patience, it becomes much easier over time! Whether you need to cut, extend or sweat your copper pipes, there are various methods available depending on what type of project you’re doing—allowing even novice do-it-yourselfers to tackle their own plumbing projects without having to call in professionals every time! With these tips in hand and some practice under your belt, you will be able to work successfully with copper piping like a pro!

Meet Bhavesh, a seasoned blogger with a wealth of knowledge and experience. From metal products manufacturing to retail, Bhavesh has a diverse background in various industries and is dedicated to sharing his insights and expertise with readers.


