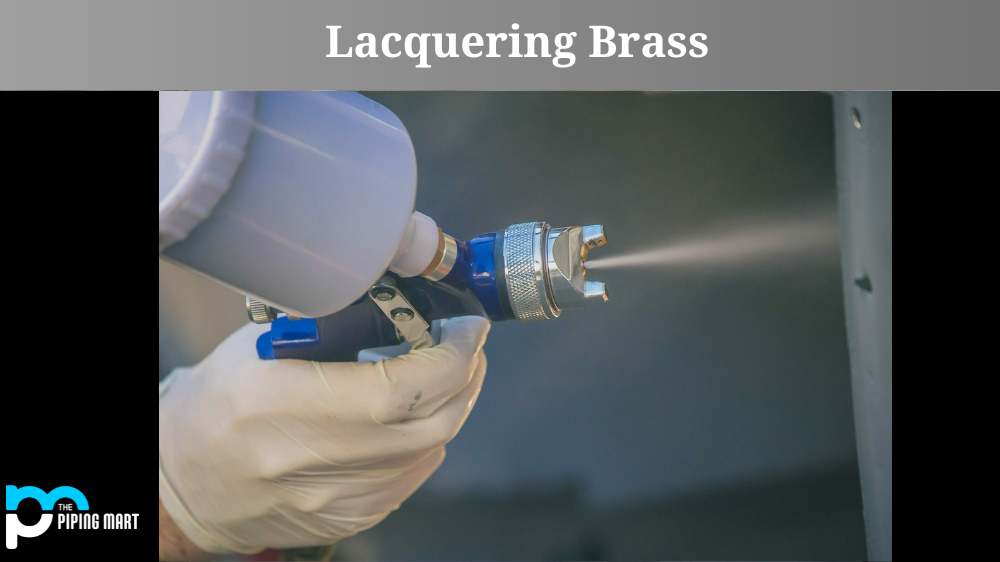
Lacquering is the perfect solution if you want to give your brass items extra shine and protection. With suitable materials, you can easily lacquer your brass items to protect them from damage caused by oxidation. Read on to learn how to lacquer brass step-by-step.
Step 1: Gather Materials
Before you start lacquering your brass item, make sure that you have all of the necessary materials at hand. You will need a soft cloth, rubbing alcohol, sandpaper, a clean paintbrush, and lacquer. Make sure that you use an oil-based lacquer for the best results.
Step 2: Clean Your Brass Item
Once you have gathered all the necessary materials, it’s time to start! First things first, take a soft cloth and some rubbing alcohol and thoroughly clean the brass item that you are going to be lacquering. This will help ensure that dirt or debris is not trapped underneath the lacquer.
Step 3: Sand Your Brass Item
Once your brass item is cleaned, grab some sandpaper and gently sand down the surface of your item to create a smooth finish. This will help ensure that the lacquer adheres appropriately and creates an even coat over your article. Be sure not to over-sand, as this could cause scratches on your brass item!
Step 4: Apply Lacquer
Now it’s time for the fun part – applying the actual lacquer! Take a clean paintbrush (make sure there are no bristles stuck in it!) And apply one thin layer of lacquer onto your brass item. Allow it to dry completely before adding additional coats if needed (which may be necessary depending on how much shine or protection you want). Once it is completely dry, admire your new shiny, protected brass item!
Conclusion:
Lacquering is an easy way to give any brass object a beautiful shine while protecting it from oxidation damage. Follow these steps carefully to achieve optimal results with minimal effort! With this guide in hand, anyone can quickly transform their old brass pieces into gleaming gems they’ll enjoy for years.
Sakshee is a talented blogger, with a particular focus on the Business and Metal Industry. She is passionate about sharing her insights on various metal products and helping professionals to make a better decisions.


