Soldering is a vital skill for DIYers and professionals alike. It is an essential part of many projects, ranging from jewelry making to plumbing. In this blog post, we’ll be walking you through the process of soldering brass tubing. This will include gathering the necessary materials, preparing your work area, soldering the tubing together, and finally cleaning up your workspace once you’re done.
How To Solder Brass Tubing?
Soldering brass tubing can be a tricky process, but with the right approach you can easily make your own repairs or complete creative projects. To begin, you’ll first need the right supplies, such as flux, solder and a soldering iron. After preparing the area by cleaning off any dirt or grease, apply flux to the tubing. Then use a soldering iron to heat up both parts of the brass until it’s hot and melted. Finally, carefully roll out the solder over the heated parts until the area has been fully covered – just be sure to do this quickly before it all cools down! With patience and precision, you’ll soon have perfect results for your project!
Gather Materials
The first step in soldering brass tubing is to make sure that you have all of the necessary materials on hand. The most important items are solder flux, a flux brush or applicator, a high-temperature solder torch, and the brass tubing itself. You may also want to have some protective gloves or eyewear on hand in case of any accidents.
Prepare Your Work Area
Once you’ve gathered everything together, it’s time to set up your work area. Make sure that you are working in a well-ventilated area with plenty of light so that you can easily see what you are doing. It’s also important to have a flat surface free from obstructions so that you can move around freely while soldering. Finally, make sure that all of your tools and materials are within easy reach because soldering can be a relatively precise process, and any delays can affect the outcome of your project.
Soldering Brass Tubing Together
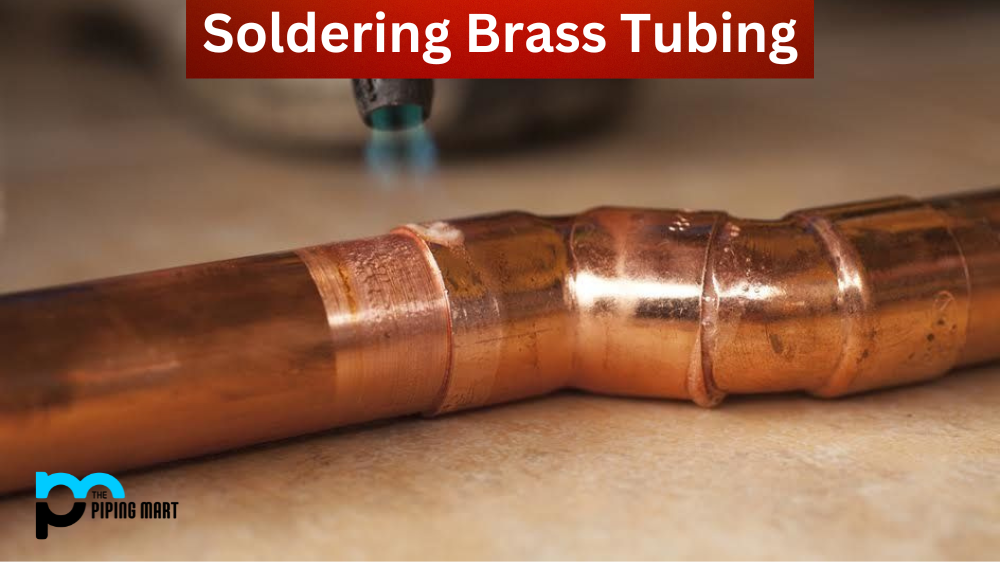
Now it’s time to start soldering! Apply a generous amount of solder flux onto both ends of the tubes using either a brush or applicator bottle. Once both ends have been coated with flux, heat up your torch and begin heating one end at a time until it starts melting the solder flux around it. Once melted, apply additional solder to ensure that there are no gaps between the tubes when they are joined together. Repeat this process for each end until all tubes are securely connected together as desired.
Conclusion:
Soldering brass tubing requires patience and attention to detail, but once you get the hang of it, it’s not too difficult! By following these steps—gathering materials, preparing your workspace, and soldering the tubes together—you should be able to successfully complete any project involving brass tubing with minimal effort and maximum results! With practice comes expertise; soon enough, you’ll be an expert at soldering like no other! Good luck!
Pipingmart is B2B portal specializes in industrial, metal and piping products. Also, share latest information and news related to products, materials and different types grades to help business dealing in this industry.