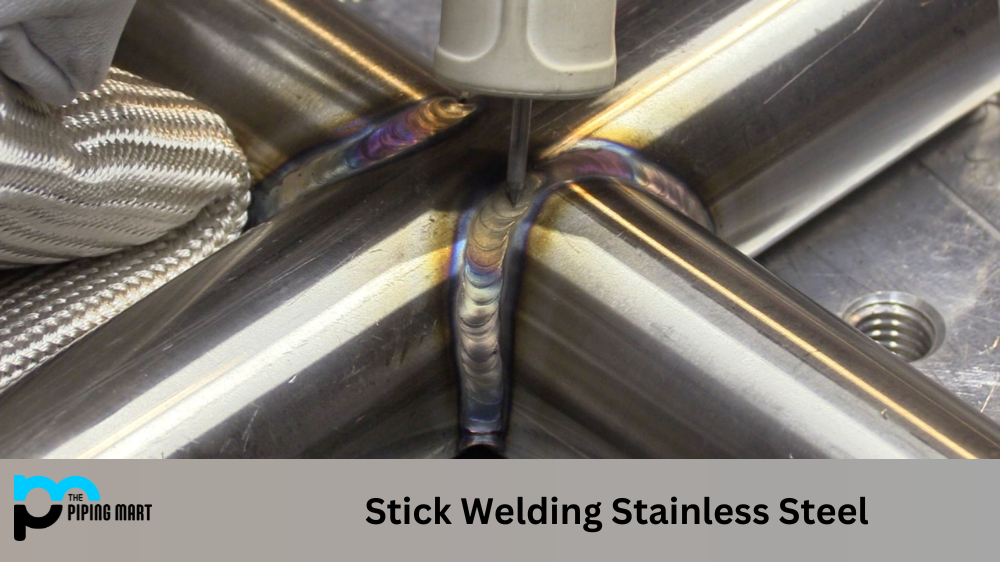
Stick welding is an excellent option if you’re looking to weld stainless steel. Stick welding, or shielded metal arc welding (SMAW), is a manual process that’s been used for decades and can be used on an array of metals, including stainless steel. Stick welding requires less equipment and training than other forms of welding, making it a great choice for those just starting out. In this guide, you will learn how to stick-weld stainless steel.
Know Your Equipment Before You Start
Before you start stick welding stainless steel, it’s important to become familiar with your equipment and supplies. For stick welding, you will need the following items:
- Welding rod (stainless steel)
- Welding machine
- Wire brush
- Safety glasses
- Gloves
- Helmet
Once your supplies are collected, it’s time to move on to the next step.
Setting Up Your Machine
Setting up your machine is key for successful stick welding. To begin, set the current (amperage) on your device according to the type of rod being used—in this case, we are using stainless steel rods, so the current should be between 80–90 amps. Then choose a polarity setting; DC-positive is recommended when using stainless steel rods as this provides more focused heat at the arc and deeper penetration into thicker material. When attaching one end of the cable from your electrode holder to your machine, ensure that it is securely attached and that both ends are well insulated; otherwise, an electric shock could occur during operation. Finally, set up your work area—ensure no flammable objects are nearby, and always wear safety glasses when operating any welding equipment! Once everything is set up correctly and safely, it’s time to start sticking!
Stick Welding Stainless Steel
Start by striking an arc with your electrode holder about one-quarter inch away from where you want to make the weld. This will create a spark that ignites your electrode tip into a hot flame called an “arc.” Maintain this arc by slowly moving forward while pressing down on the electrode holder; once you reach where you want the weld joint to end, release pressure off of the electrode holder until the electric current stops flowing through it; then move back to break off any slag left over from melting metal together during weld formation. Move along at a steady pace so that enough current passes through for proper penetration without causing burn-through or other defects in your weld joint due to excessive amperage settings or speed of travel along the joint line being too fast or slow, respectively.
Practice makes perfect
The more practice you get in with different thicknesses and types of materials, such as aluminum vs. mild vs. stainless steels, etc., The better results you’ll produce when finally doing actual jobs on-site! After completing each pass across the joint line, go back over the entire bead with a wire brush to remove excess slag buildup, thus ensuring a smooth finished product upon completion!
Conclusion:
Now that you know how to stick weld stainless steel successfully, there’s nothing left but practice! Remember that safety should always come first; always wear protective gear such as gloves & eyewear when engaged in any metalwork activity involving electricity, open flames, etc. With some practice and patience, anyone can learn the skills necessary to become proficient at producing quality weld beads & joints just like professionals do day after day across many different industries worldwide! Good luck & happy welding!
Pipingmart is a B2B portal that specializes in metal, industrial and piping items. Additionally, we share the latest information and information about materials, products and various types of grades to assist businesses that are involved in this business.