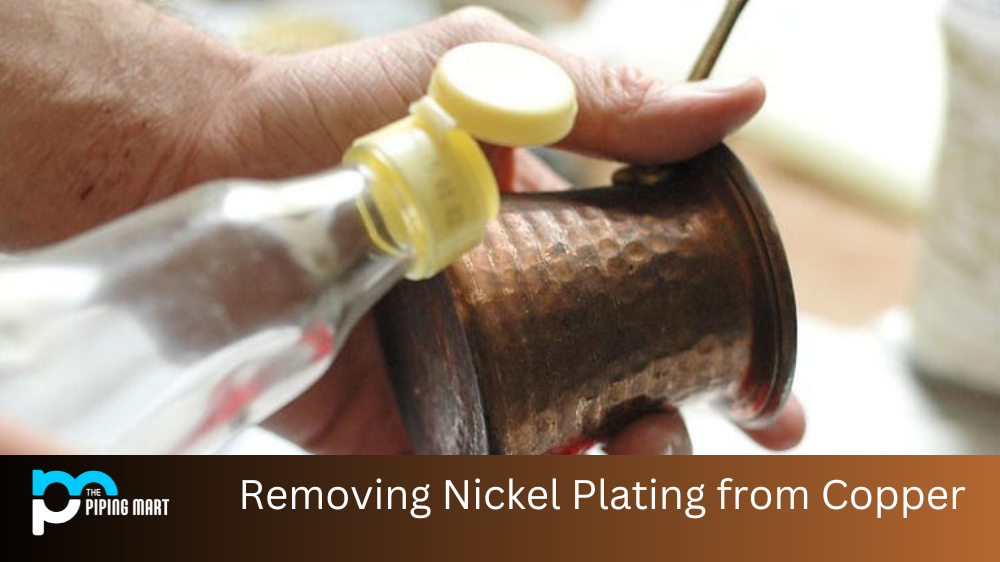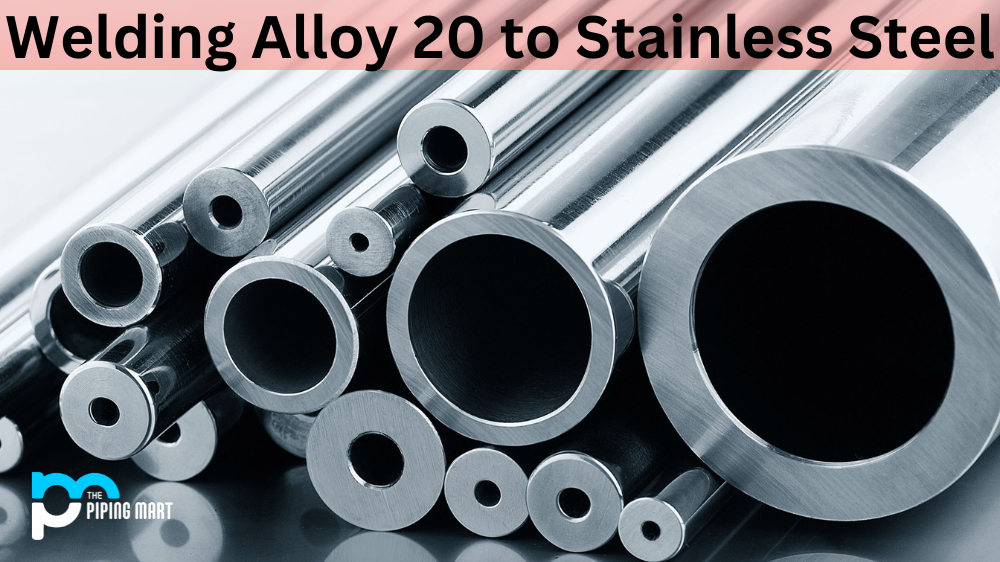
Welding alloy 20 to stainless steel is a process that requires precision and care. When done correctly, the seam will be strong and durable, but if it’s not done properly, there can be disastrous consequences. Let’s take a look at how to weld alloy 20 to stainless steel so that you can ensure your welding job comes out perfectly every time.
Clean the Metal Surfaces
Before beginning any welding job, it’s important to make sure the metal surfaces are clean and free of debris. This helps ensure that the weld will be strong and secure once it has been completed. In order to properly clean the metal surfaces, use a wire brush or sandpaper to remove any loose dirt or materials from the area. Once this is done, use a cloth and acetone or alcohol to wipe down both pieces of metal so that they are completely free of contaminants.
Heat Up The Area
Once you’ve cleaned both pieces of metal, it’s time to begin heating up the area where the weld will take place. It’s important that you use an acetylene torch for this step in order to get an even heat distribution throughout the entire area. When heating up the metal surface, start by using a low flame and gradually increase its intensity until you achieve an orange glow on both pieces of metal. Make sure that you keep your torch moving as you heat up the area in order for heat to spread evenly across both surfaces.
Apply The Wire Electrode
Once you have achieved an even orange glow on both pieces of metal, it’s time to apply your wire electrode (or filler rod). Make sure that your electrode is made from a nickel-chromium alloy such as alloy 20 in order for it to bond properly with stainless steel material. Begin feeding your electrode into the joint while maintaining an even arc length between your electrode and workpiece; this helps ensure a consistent flow of molten material which results in strong weld beads when cooled down. Keep feeding in new filler material until you achieve full penetration on both sides of your joint; this indicates that you have completed your welding job properly!
Conclusion:
Welding alloy 20 to stainless steel is a delicate process but one that can provide amazing results when done correctly. By following these three steps—cleaning off debris from both pieces of metal, heating up the area evenly with an acetylene torch, and then applying wire electrodes—you should be able to get consistent results when welding alloy 20 onto stainless steel material every single time! With practice, patience, and attention to detail, welding these two metals together shouldn’t be too difficult at all!
Pipingmart is a B2B portal that specializes in metal, industrial and piping items. Additionally, we share the latest information and information about materials, products and various types of grades to assist businesses that are involved in this business.