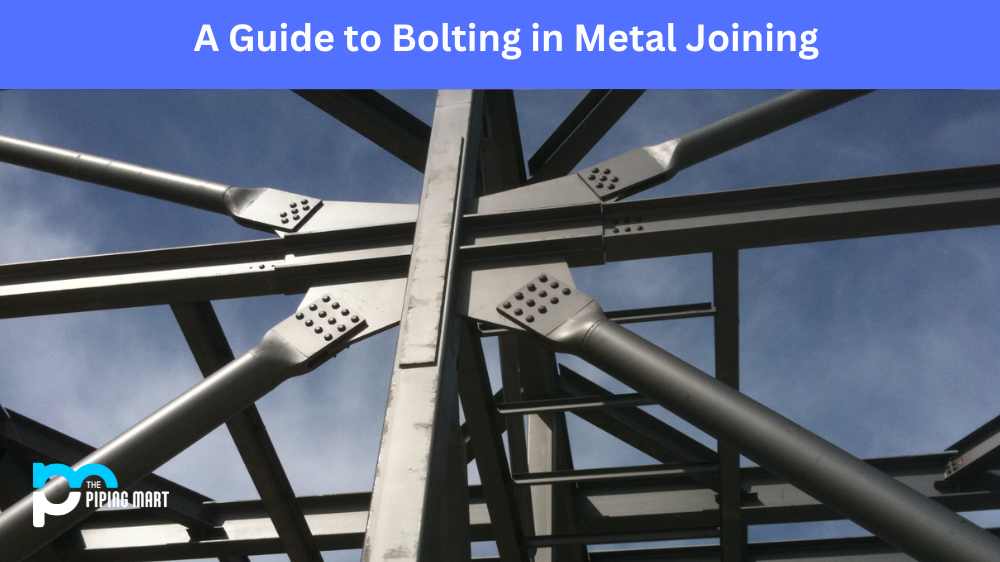
Bolting is a standard method of joining two pieces of metal together. It is a cost-effective and reliable way to join metals, requiring no extra processes such as welding or soldering. Bolts are often used in construction, manufacturing, and engineering applications, but they can also be used for other tasks, such as fastening furniture. This guide will look at the basics of bolting, the types of bolts available, and the process for bolting two pieces of metal together.
Types of Bolts
There are a variety of different types of bolts available for metal joining. The most common type is the hex bolt—a six-sided bolt with threading throughout its length. These bolts come in varying lengths and diameters, allowing them to fit into different size holes or slots. Carriage bolts have a round head with square shoulders; these are commonly used for furniture assembly or to secure outdoor structures such as gazebos or pergolas. Lag bolts feature an angled head that helps them stay secure in wood; these are often used in wooden frames and outdoor furniture. Finally, there are machine screws that have to thread along their entire length; these screws are best suited for small projects where precision is essential.
Process for Joining Metals with Bolts
The process of joining two pieces of metal using bolts is straightforward. First, you must choose the appropriate bolt(s) for your project; make sure that the diameter and length of the bolt match the hole size and depth you’re working with. Once you have chosen your bolt(s), use a drill bit to create pilot holes into both pieces of metal before inserting the bolt into one piece and screwing it into place with either a wrench or socket driver (depending on the type of bolt being used). Finally, use a torque wrench to ensure you’ve tightened your bolts correctly; if necessary, adjust accordingly until they’re tight enough without stripping any threads or damaging your materials.
Select the Appropriate Metal
The first step in joining metals with bolts is to select the appropriate metal for the job. There are a variety of metals that can be used for this purpose, including aluminum, brass, and stainless steel. Each metal has unique properties that make it better suited for specific applications. For example, aluminum is lightweight and corrosion-resistant, making it a good choice for applications where weight is a concern or the metal will be exposed to moisture.
Cut the Metal to Size
Once you have selected the appropriate metal, you must cut it to size. This can be done with various tools, including a saw or a grinder. When cutting the metal, it is essential to consider the material’s thickness and the length and width of the bolt that will be used.
Drill Holes in the Metal
The next step is to drill holes in the metal. This is necessary to insert the bolts that will be used to join the two pieces of metal together. The size of the holes should be slightly larger than the diameter of the bolts that will be used.
Insert Bolts into Holes
Once the holes have been drilled, insert the bolts into them. It is essential to ensure that the bolts are inserted into the holes, so they are secure.
Tighten Bolts
The final step is to tighten the bolts, so they are snug against the metal. This can be done with a wrench or a socket set. Once all bolts have been drawn, you should ensure they are all secure before using them.
Conclusion:
Bolting effectively joins two pieces of metal together without requiring additional processes like welding or soldering. Many different bolts are available depending on your project requirements, from hex bolts to lag screws and carriage bolts – each serving its particular purpose when joining metals together securely and reliably. Following proper procedure when bolting can help ensure that your metals stay secure over time, so take all necessary steps, from selecting the right type and size of the bolt to properly tightening it using a torque wrench when necessary!
Meet Bhavesh, a seasoned blogger with a wealth of knowledge and experience. From metal products manufacturing to retail, Bhavesh has a diverse background in various industries and is dedicated to sharing his insights and expertise with readers.