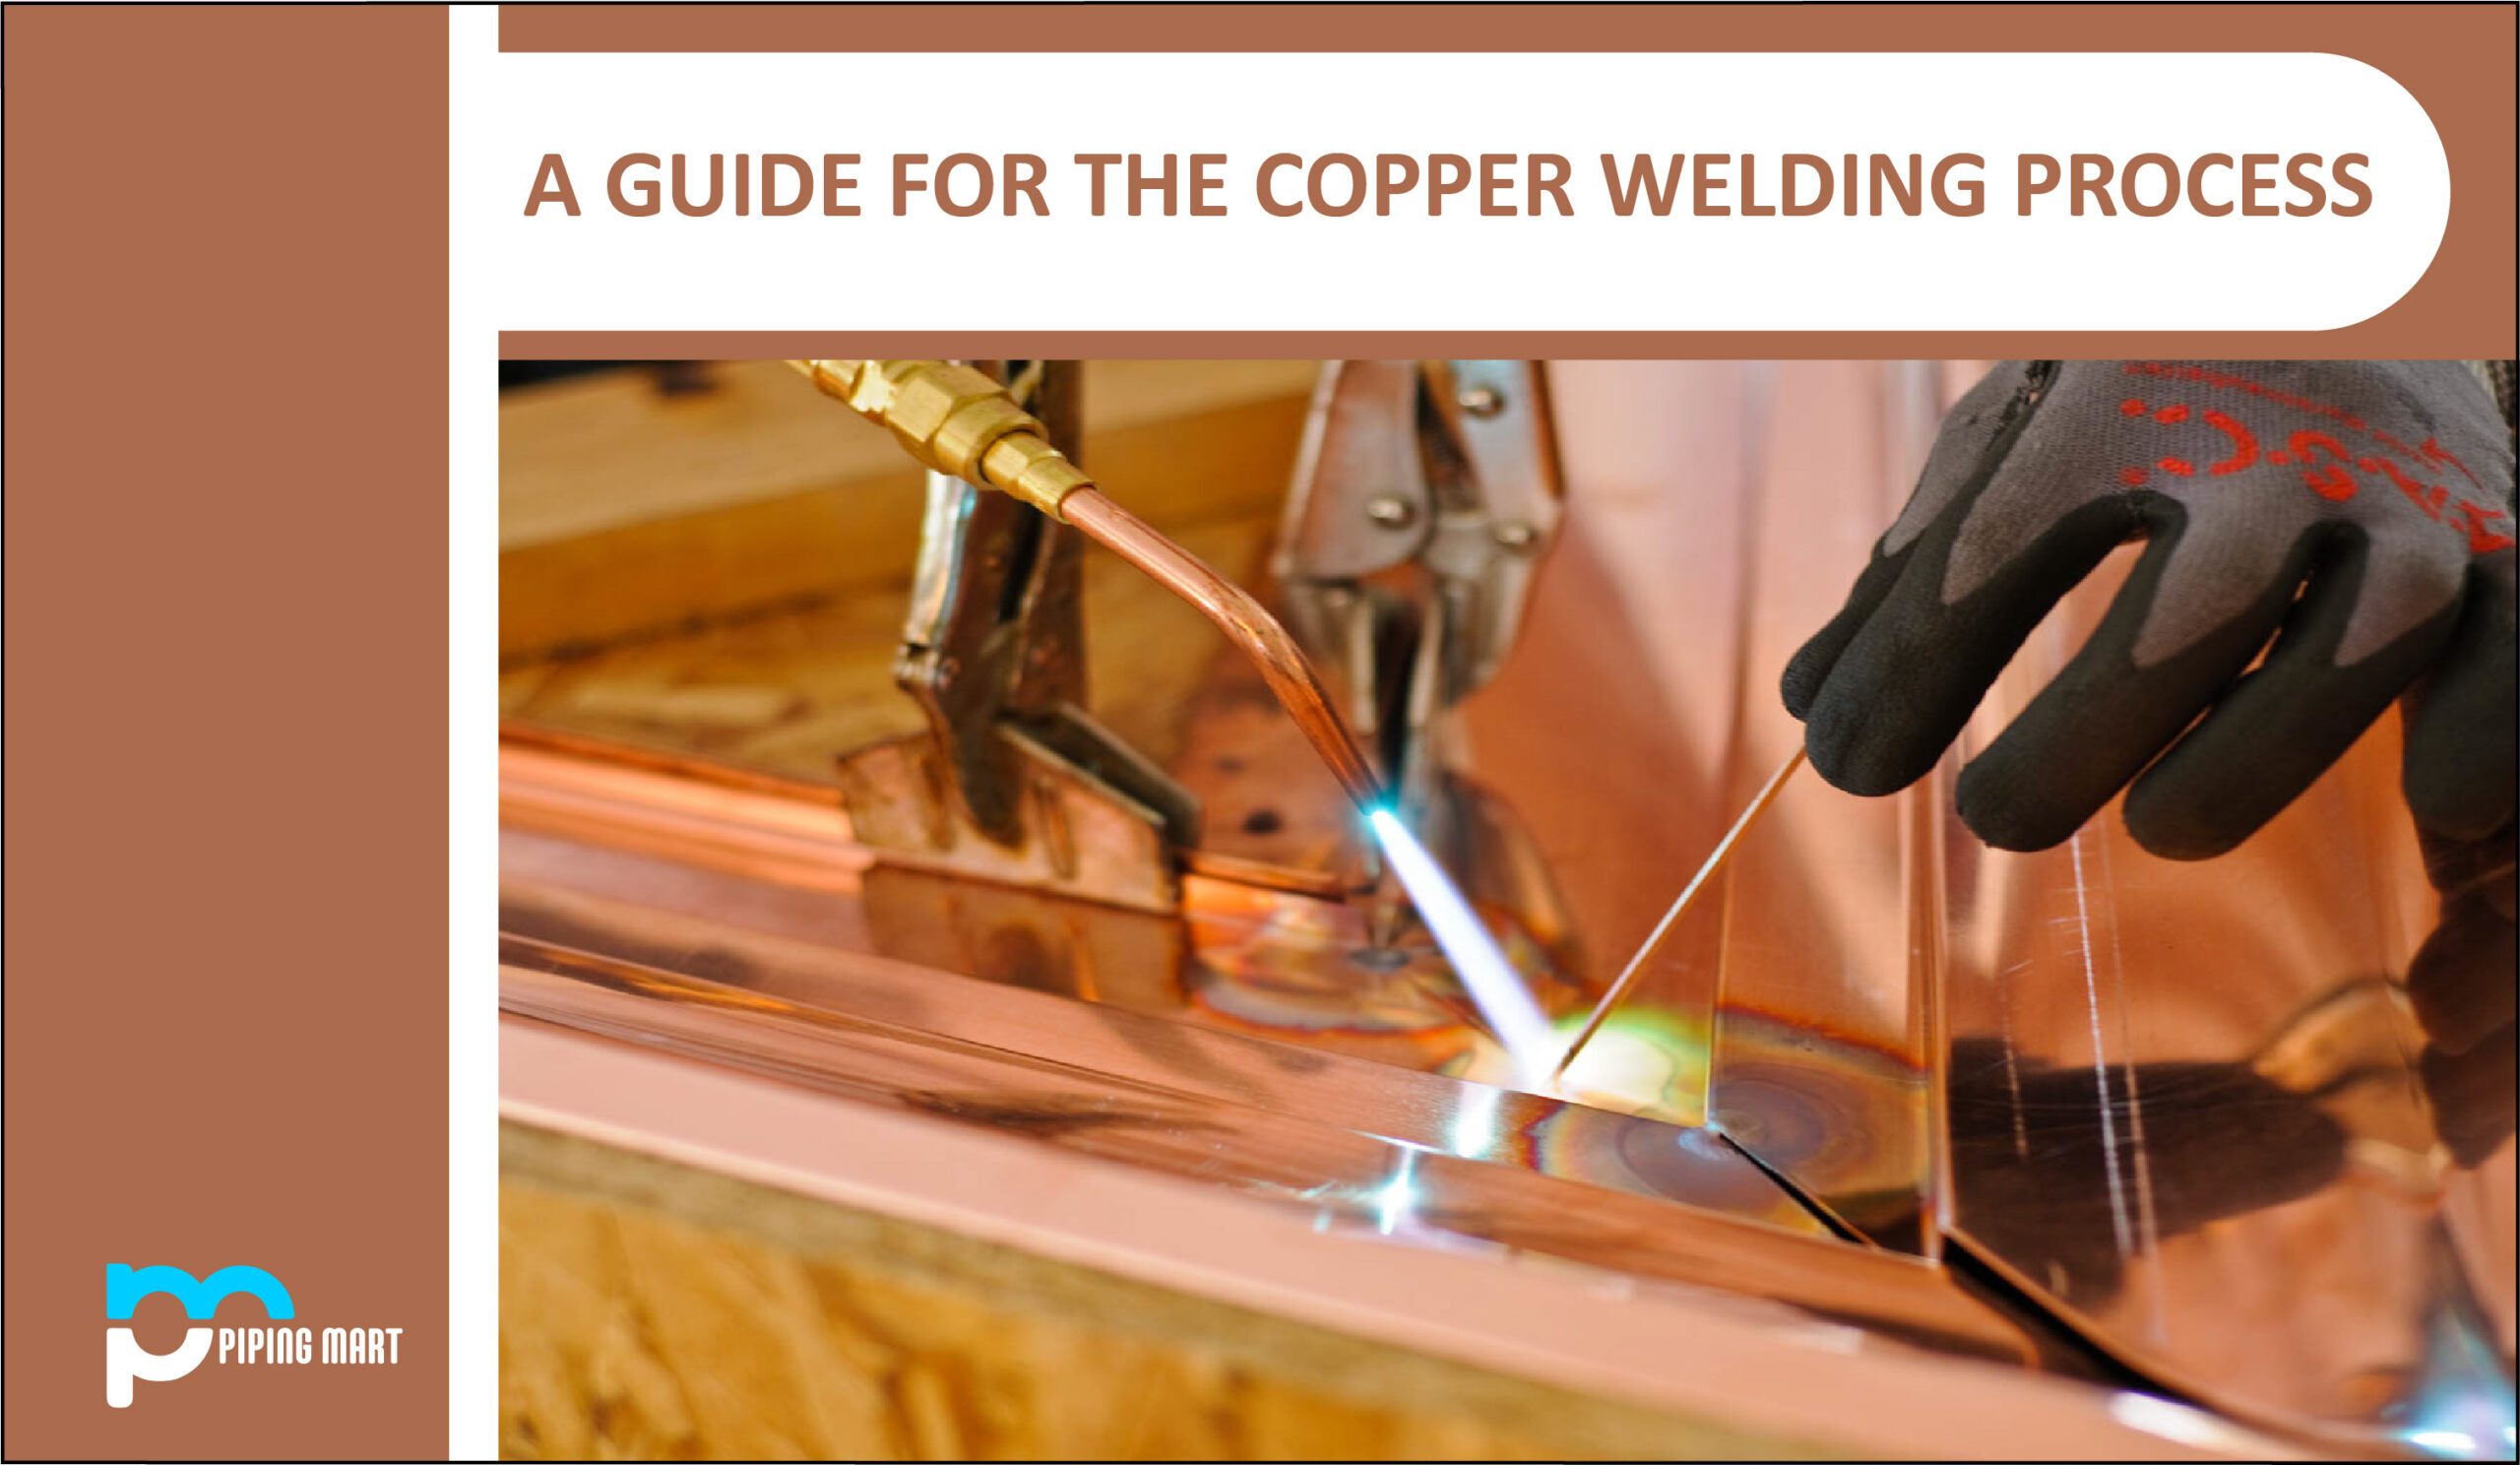
Welding copper is not tricky. This form of welding needs almost twice as much heat as the steel of a comparable thickness. The heat conductivity of copper is high. A tip one or two sizes larger than necessary for steel is advised to counteract this heat loss.
It’s best to use additional heating when welding large, thick portions—fewer porosity results from this technique in the weld.
Because the oxide shields the molten metal that the flame creates, copper can be joined using a mildly oxidizing flame. The flame should be neutral if flux is employed to shield the molten metal. For gas-welded assemblies, oxygen-free copper (deoxidized copper rod) should be used instead of oxygen-bearing copper. The rod ought to share the same chemical makeup as the base metal.
What Is Copper?
Soft and non-ferrous copper is easily bent, cut, molded, and bonded using various welding techniques. The electrical industry uses it extensively because it is a good conductor of electricity and heat, while the plumbing business frequently uses copper pipes, valves, and other fittings. Copper is also used to build attractive homes and architectural products.
In addition, due to its ductility and great malleability, copper is utilized as the primary component in hundreds of various alloys, such as brass, bronze, and nickel copper. Aluminium, nickel, zinc, tin, silicon, and other metals are frequently employed as alloying components in copper alloys.
Small amounts of other elements are added to the various alloys to improve machinability because pure copper is too malleable to be successfully machined. These additions also deoxidize the metal, increase its corrosion resistance, improve its mechanical properties, and improve its response to heat treatments. Over 300 different copper alloys are all commercially accessible.
The Different Methods for Welding Copper
There are various ways to weld copper together. However, in this post on teaching how to weld copper, we will cover the most popular methods. These include manual metal arc welding, gas metal arc welding (GMAW), and gas tungsten arc welding (GTAW) (MMAW). An explanation of each is given below.
- Gas Metal Arc Welding (GMAW)
Gas Metal Arc Welding (GMAW), often known as MIG welding, uses the SMAW welding system. This indicates that an electrode is utilized as the filler material in this welding procedure.
The two techniques differ in that the GMAW method automatically feeds a continuous “wire” to the welding torch at speed set by the operator as opposed to the SMAW method, which uses a series of small rods as the consumable electrode. There is also a controlled feeding setting for the shielding gas.
It would be best to use ERCu copper electrodes while utilizing the GMAW process to weld copper. It is also advised to utilize Aufhauser Deoxidized Copper, a 985 pure copper alloy or filler material.
The required gas combination will depend on the thickness of the copper portion that needs to be welded. Argon is often utilized for thicknesses up to 6mm. A combination of helium and argon is utilized for thicknesses greater than this. Spray transfer can deposit the filler metal in the GMAW process for welding copper in a narrow weave or stringer beads.
- Gas Tungsten Arc Welding (GTAW)
Gas Tungsten Arc Welding (GTAW), often known as TIG welding, is a method of joining copper comparable to most arc welding methods. With GTAW, the filler material and the joined copper component are heated and melted using an electric arc.
The molten weld pool is shielded from ambient impacts as it cools and solidifies by adding a shielding gas, such as argon or helium, at the torch’s tip. Even though several arc welding procedures are comparable to GTAW, those that pass the electric arc to the copper being welded using disposable electrodes do not weld.
Instead, GTAW welds the work pieces together using a non-consumable electrode, which can be used with or without filler. In numerous other arc welding techniques, the filler substance is the electrode that directs the electric arc toward the joined copper.
However, the Gas Tungsten Arc Welding technique employs a separate filler wire. Additionally, adding a filler material when welding copper with the GTAW technique is not required.
The GTAW welding techniques can successfully join copper parts that are up to 16mm thick. For this procedure, any metal with a composition similar to the base metal is advised as a filler wire. For copper parts with a thickness of up to 1.6mm, argon shielding gas is preferable. A combination of helium and argon is utilized for work pieces that are thicker than this.
A mixture of helium and argon, as compared to argon, enables faster travel and deeper penetration at the same welding current. The typical mixture is 25%Ar/75%He to give the copper piece welded both the good perforation capabilities of helium and the arc stability properties of argon. Finally, forehand welding is advised when using this technique on a piece of copper with a fine weave or stringer beads.
- Manual Metal Arc Welding (MMAW)
The primary application of this technique is the repair and maintenance welding of copper and copper alloys. The ECuSn-C electrode is suggested as the filler material for this approach. Another suggestion is to use a stringer bead approach with a Direct Current electrode positive (DC+). The MMAW technique can be beneficial when this filler material is utilized in the following ways:
- Copper with other metals welded
- A simple copper component repair
- Joints that have limited access
The three most popular techniques for welding copper are as follows. Now that you are familiar with the fundamentals of each strategy, you may select the one that best suits your requirements and the task at hand. Whatever method you use to weld copper, you must adhere to a few fundamental guidelines to get a good weld. In part, after this, we go over these actions.
The Key Steps In Welding Copper
You must understand the essential procedures involved in successfully welding copper while doing it on your own. Copper welding on your own involves 11 steps. You may create a copper weld that is very robust by carrying out these stages in the correct order.
- Ensure Safety
The first step in learning how to weld copper on your own is ensuring you’re safe. No matter what metal you’re welding, you must take the necessary safety measures before you begin. You run the risk of getting hurt if you don’t.
What safety measures may you consider taking before you begin welding copper? Wear safety equipment, ensure there are no combustible objects around and operate in a spot that is clean or free of foreign materials.
Since copper is such a great conductor of electricity and can shock you if you handle it with bare hands, it is necessary to take safety precautions when welding copper.
You run the risk of receiving an electric shock when welding copper, in addition to breathing in dangerous fumes. Therefore, you shouldn’t limit your efforts to wearing safety gear and leather gloves when welding copper to ensure safety. Instead, ensure your safety equipment includes a respirator mask and eye protection.
- Prepare The Surface
Keeping the weld region clean of grease, oil, paint, dirt, and other foreign materials is referred to as surface preparation when welding copper. Why is it necessary to keep these particles out of the weld area? Because if they come into contact with the metal, the weld may split. They could also include hazardous substances, including lead, phosphorous, and sulfur.
Before welding, you should clean the copper and the weld area. How should the copper and weld area be cleaned? With a cleaning solution that is suitable and a bronze wire brush. Degrease using the cleaning chemical after wire brushing. A wire brush should be used to remove the oxide coating that develops during welding after each weld pass.
- Preheating
Why must copper be preheated before welding can begin? Due to the high heat conductivity of this metal. This is crucial if the copper metal is thicker than 0.01 inches. All the portions that needed to be welded should be uniformly warmed up.
A high level of preheating is necessary to weld the thick copper parts because copper can quickly conduct heat from the weld joint into the base metal surrounding it. The temperature might range from 50 to 752 degrees Fahrenheit, depending on the thickness of the metal.
However, since the heat diffusivity of copper alloy is substantially lower than that of copper, you can skip this part if you’re welding copper alloy. You must choose the right to preheat for your application if you are welding copper rather than a copper alloy. You must pay close attention to the copper being welded, the thickness of the base metal, the welding procedure, and even the overall mass of the weldment.
In addition to those mentioned above, limiting the heat to a small area as much as possible is crucial. Doing so will allow you to ensure that not too much of the material is heated to a level that results in a loss of flexibility.
Furthermore, until the connection has been welded, you should maintain the preheat temperature. The heat of the warmed copper begins to disperse while you weld, reducing the likelihood of breaking.
- Considering Joint Design
A joint design consideration is a crucial stage in successfully welding copper. What does all of this mean? The distance between the joints is the first thing you should think about. Ideally, depending on the parent metal and the brazing alloy used, you should be able to manage this distance within a range of tolerances. The ideal joint gap, however, is between 0.04 and 0.20 mm.
A shared overlap is a crucial factor to take into account here. The overlap of the joint should be at least three times thicker than the thinnest section that needs to be joined. You should use as little material as feasible to get the desired strength.
- Adjust The Flame
You must correctly adjust the flame to create a strong copper weld. Using a neutral flame would be the best course of action here. The meaning of a neutral flame A flame modified to allow the same amounts of acetylene and oxygen to mix at the same pace is known as a neutral flame. Another crucial step in this situation is to ensure the white inner cone is distinct and that there is no haze.
- Choose Filler Material
One of the essential phases in successfully welding copper is selecting the appropriate filler material. A copper piece that is stronger than the base metal can be welded with the help of the proper filler material selection. The corrosion resistance of the metal, the amount of strength needed in the joint, the operating temperature, and the associated expenses will all affect which filler material is best or most appropriate for welding copper.
The best filler metal to use is one that contains silicon (Si) or manganese (Mn), both of which function as deoxidants. This holds whether you’re welding copper utilizing the GMAW, GTAW, or MMAW technique.
ErCu and ErCuSi-A are the most suggested and frequently utilized filler materials when welding copper. The former promotes fluidity since it includes Tin, Si, and Mn (Sn). On the other hand, if you wish to weld P-oxidized copper, you should use ErCuSi-A filler material. It is also suitable for welding hard-pitch copper that contains both Si and MN as deoxidants.
- Remove The Flux
If the flux has been utilized, the residual must be eliminated using one of the following methods:
- Using a wire brush and steaming
- Use a wire brush and rinse with hot water
- Heated caustic soda dip dilution
- Failure to eliminate the flux could result in the joint deteriorating or possibly failing.
Copper Soldering
One of the oldest ways to combine metal was through soldering, which involves heating filler metal (in the form of a filler wire) until it melts and fills joins. The easiest method, soft soldering, is used frequently in and around the home to fix small metal objects. It is also how plumbers join and fix copper pipes and fittings.
You can use a cheap soldering iron or a blowtorch with a suitable flux for soft soldering. By heating the filler materials to a much higher temperature during hard soldering, the joint will be far stronger than ordinary soldered joints.
The process is frequently referred to as “silver brazing” since the filler material is distinct and typically contains silver. True brazing, however, is done at a considerably greater temperature.
Copper Brazing
In essence, brazing is a method comparable to soldering and uses the same type of filler (wire or a brazing rod) that soldering does. To allow capillary action to draw the filler metal between the joined copper parts, joints must be extremely tightly fitted.
The base metal must not be heated to the point of melting, even though the temperatures employed must be far greater than those needed for soldering.
Brazing, frequently employed in plumbing work, can be used to join various metal kinds and metal workpieces of various thicknesses.
Pipingmart is B2B portal specializes in industrial, metal and piping products. Also, share latest information and news related to products, materials and different types grades to help business dealing in this industry.