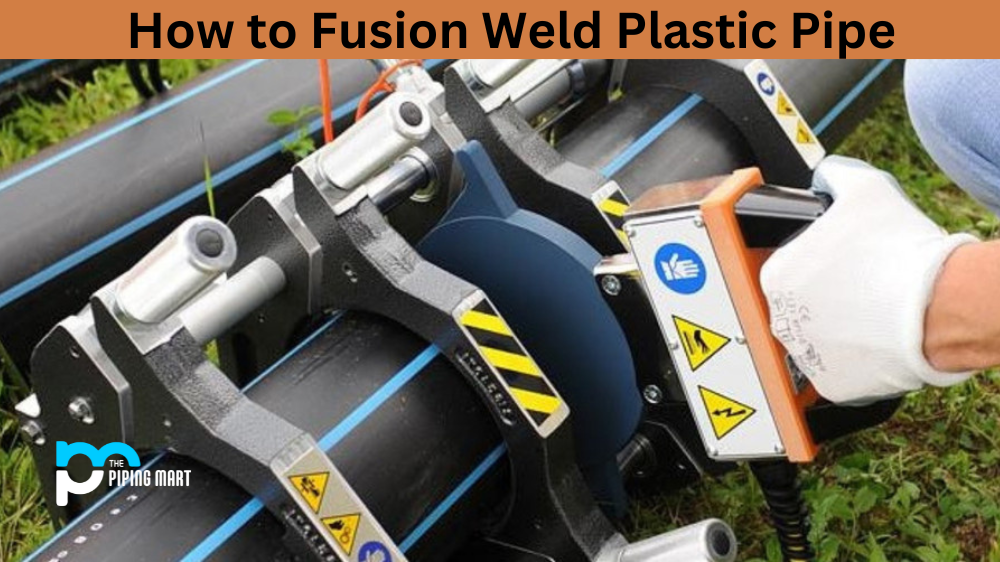
In the construction industry, plastic pipes are increasingly gaining popularity among contractors. Not only do they offer excellent performance and durability, but they are also cost-effective and easy to install. However, welding plastic pipes together can be daunting, especially for inexperienced contractors. Fortunately, with the right tools, preparation, and techniques, fusion welding plastic pipe can be easy and effective. This guide aims to provide you with everything you need to know about fusion soldering plastic pipes, from the tools and materials to the steps to follow.
Step 1: Preparing the Area and Pipes
Before embarking on the welding process, it is critical to ensure the pipes are clean, dry, and free from contaminants that may interfere with the fusion process. Use a clean cloth to wipe down the area to be welded. Next, use a sterile blade or pipe cutter to cut the ends of the pipes that will be welded to ensure a clean and precise joint.
Step 2: Assembling the Fusion Welding Machines and Tools
Fusion welding machines come in various sizes and designs; selecting the suitable device that matches your needs is essential. The most commonly used fusion welding machine is the butt fusion machine, which consists of a hydraulic system, a heater plate, clamps, and a fusion rod. Assemble your welding machine as per the manufacturer’s instructions. Ensure the clamps are securely attached to the pipes and aligned properly.
Step 3: Heating the Pipe Ends
Generally, the pipe ends to be joined are heated to about 200°C and maintained at that temperature for a predetermined time, depending on the pipe size. You can heat the pipe ends using the heater plate on your fusion welding machine. Apply heat uniformly and ensure that the heat is distributed evenly across the pipe ends.
Step 4: Joining the Pipes
Once the pipe ends have reached the required temperature, join the two ends quickly, ensuring they are in the correct alignment. Use the clamps on the fusion welding machine to securely hold the pipes until they cool and fuse. Depending on the pipe size, the fusion process may take a few seconds to several minutes.
Step 5: Cooling and Inspect the Joint
After the fusion process
- Allow the joint to cool gradually before removing the clamps.
- Inspect the joint for any signs of irregularities, such as air pockets, misalignment, or bulges.
- If you notice any irregularities, grind them down and re-weld the joint.
Conclusion
As outlined above, fusion welding plastic pipe might seem complicated, but it is relatively easy with adequate preparation, practice, and proper tools. Clean and prepare the lines properly, select the right fusion welding machine, heat the pipes evenly, and inspect the joint for irregularities. By following these steps, you will be well on your way to achieving the sturdy, leak-proof welds necessary for a successful project. Feel free to seek advice from experts or professional contractors before embarking on your next fusion welding project.
Pipingmart is a B2B portal that specializes in metal, industrial and piping items. Additionally, we share the latest information and information about materials, products and various types of grades to assist businesses that are involved in this business.