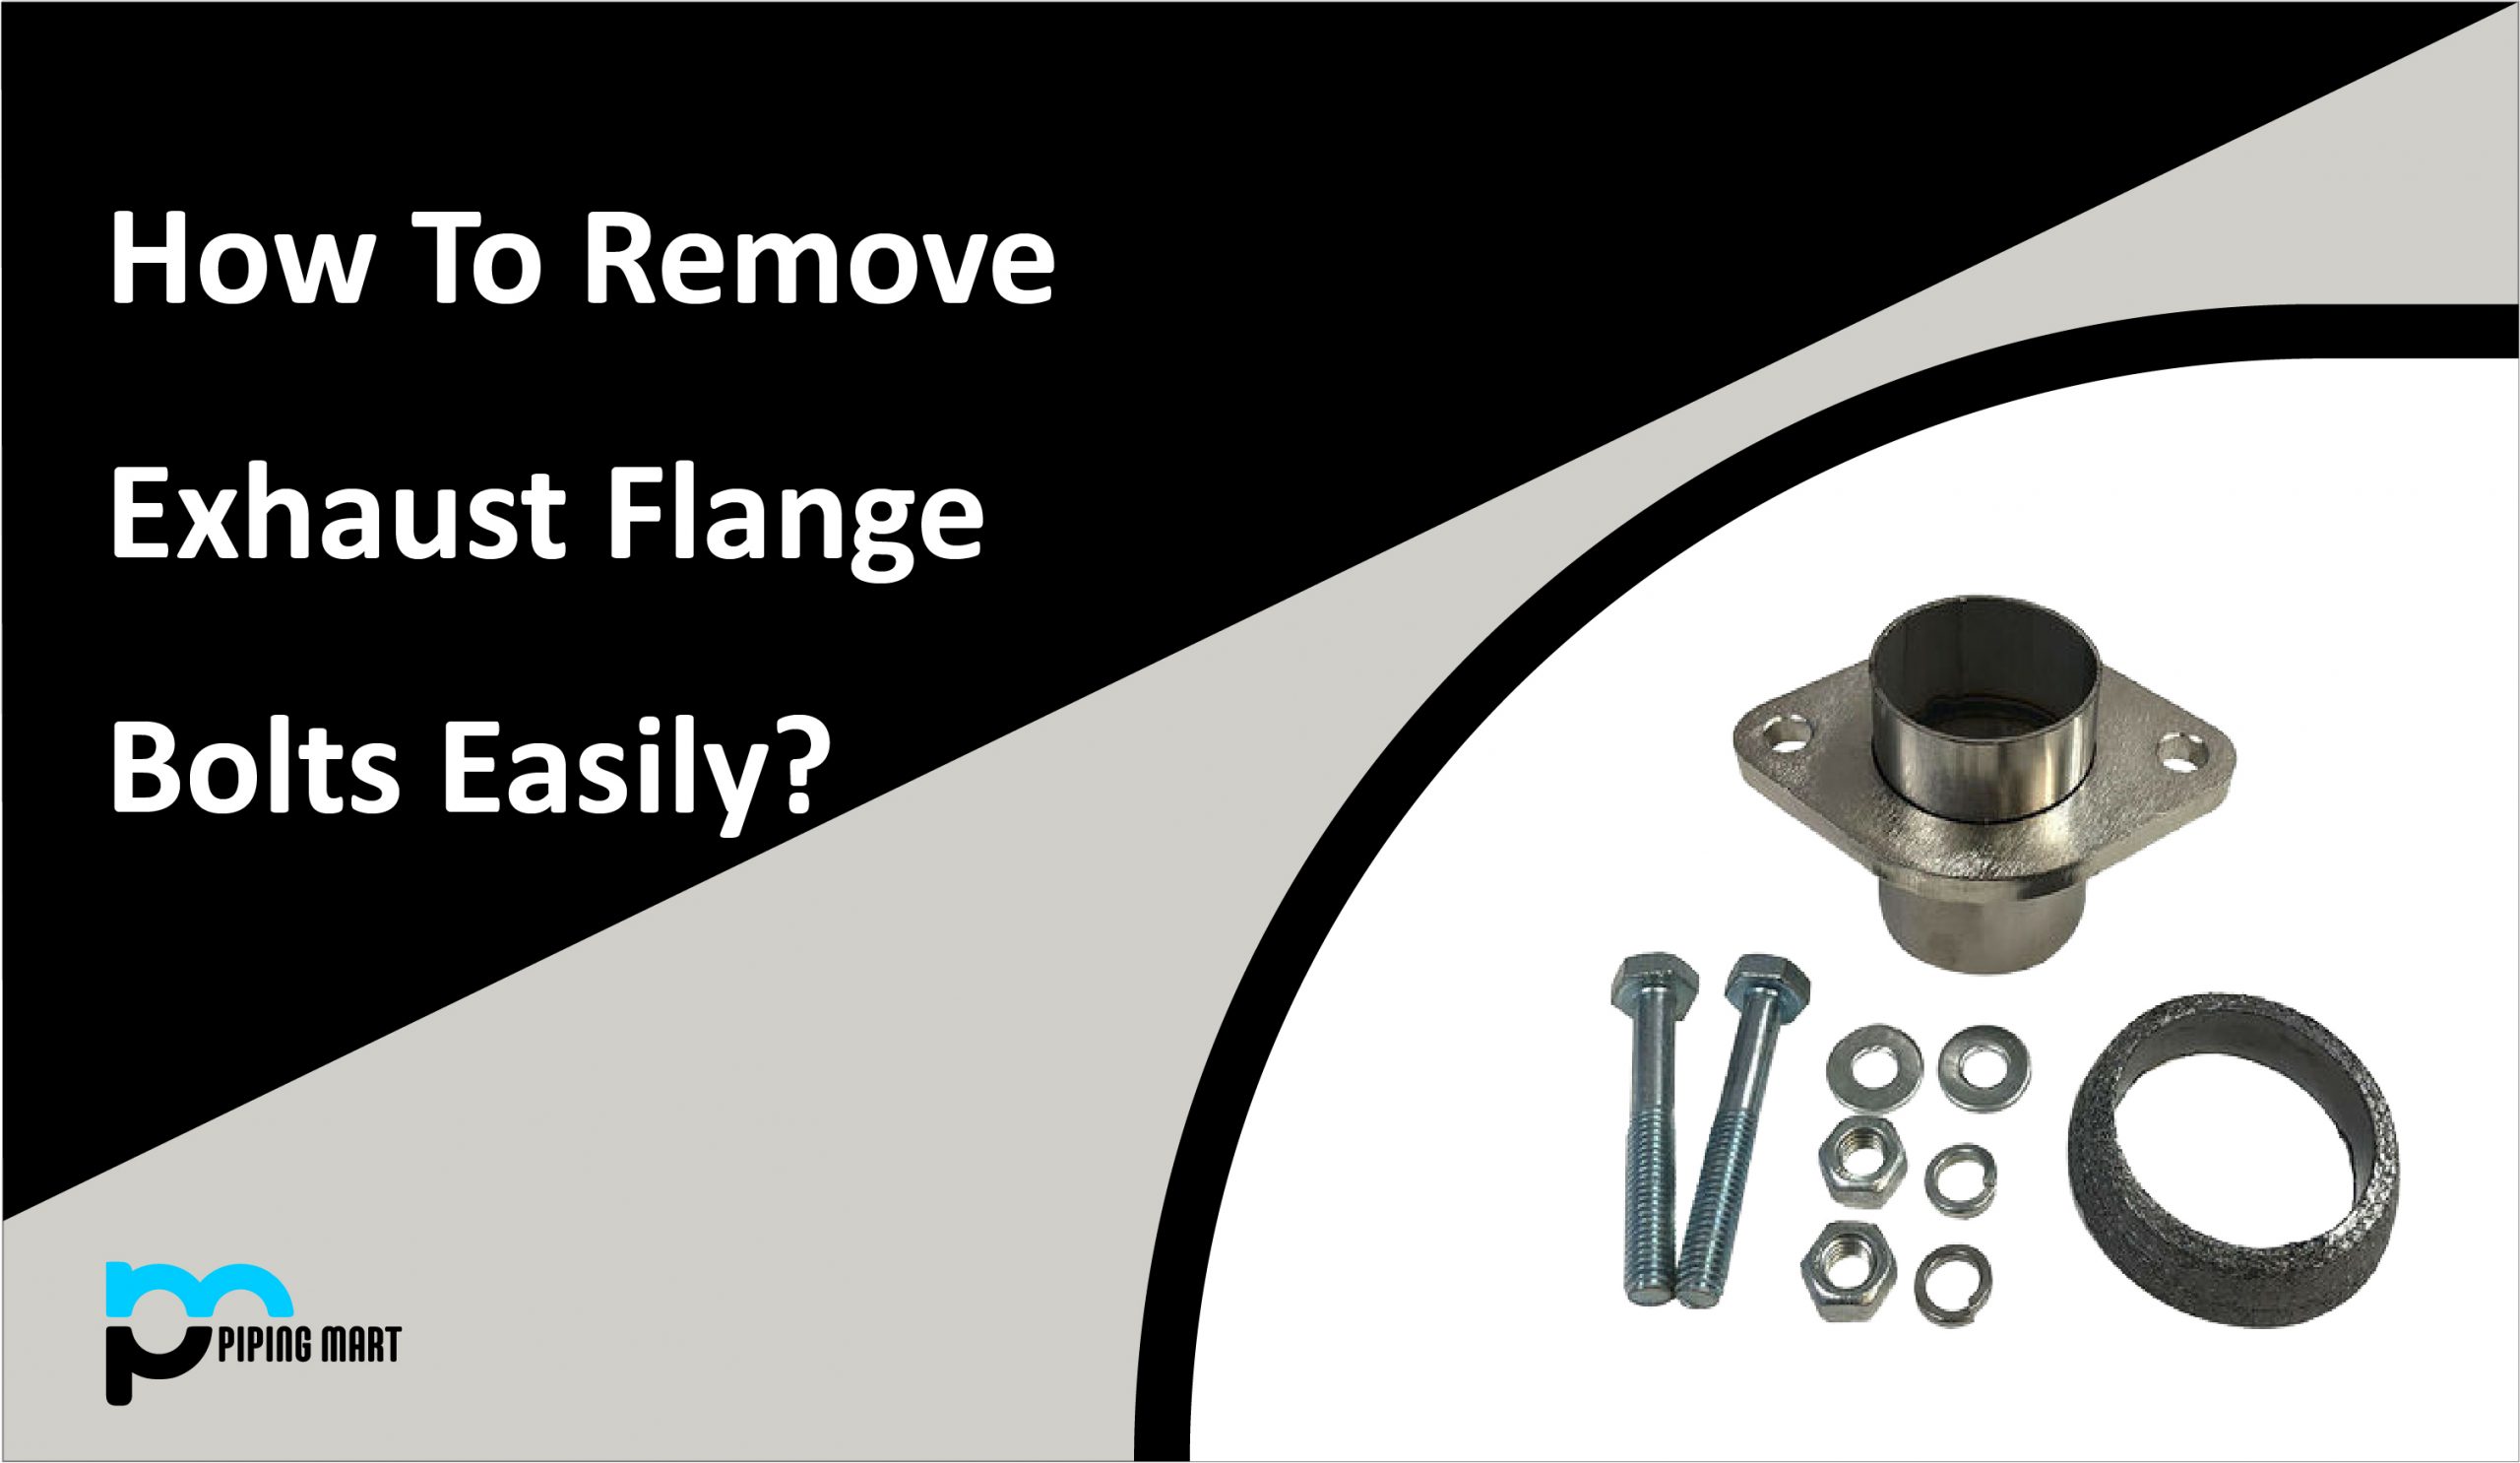
Exhaust flanges are a pair of metal parts that connect your exhaust pipe. They are useful in connection with an exhaust bolt and gasket set. Exhaust flanges are often available in three or two bolt types. Typically, m10 with the two bolt option and m8 with the three bolt option are useful. Bolts having a tensile strength of 8.8 or above are suggested so that they may be tightened without stretching or breaking. Locking nuts, Loctite, and spring washers can also be used. It aids in keeping the nuts from vibrating loose.
HOW EXHAUST FLANGES WORK
Exhaust flanges are held together with a pair of fasteners and gaskets. When assembling a wastegate pipe or exhaust for ease of installation, you must utilize V-bands or exhaust flanges to allow the portions to be re-fit or pulled off for access. You may also utilize exhaust flanges without gaskets, but you must use automobile silicon for this.
WELDING EXHAUST FLANGES
Welding exhaust flanges are similar to welding V-band flanges. Tack welds every 20-30 mm are required to begin with. It facilitates preventing deformation while you stitch weld the flange and allow it to cool between welding operations.
HOW TO REMOVE THE EXHAUST FLANGE BOLTS
The fluctuating temperatures of the exhaust system from cold to hot without modifying the moisture conditions might accelerate the rusting of the flange bolts. If the rust spreads, it may reach the threads, making them worthless. The flange bolts must be replaced and loosened. Apply heat to remove the rust from the threads. If the threads are no longer usable, the bolts must be removed from the flange.
Here are a few easy steps to remove the exhaust flange bolts easily:
- Examine the area around the flange bolts for any fuel lines or combustibles. It is important to clear all combustibles beneath the area for safety.
- Protect your hands and eyes by wearing gloves and goggles.
- It is best to keep a fire extinguisher nearby in case a fire arises.
- Carefully light the torch. Make sure the bright blue spark is at least half an inch long.
- Hold the torch 6-8 inches away from the flange bolt until the tip turns a dull orange hue. You must switch off your torch. Slowly heat the bolt and do not use air to stimulate it.
- Allow the flange bolt to cool before inserting the socket that fits the bolt into the ratchet.
- Insert the socket into the nut of the flange bolt. If the bolt loosens, repeat the technique for the other bolts. If it still won’t budge, go to the next step.
- Relight the flames by leaving the tip 3–4 inches longer.
- Reheat the bolt until it glows bright orange, then use the air to trigger and expel more oxygen. Bolt would then begin to meltdown.
- Turn off the flame and hammer the threaded side of the flange bolt rapidly. Repeat the procedure until the bolt is pulled from the exhaust.
- Allow 30 minutes for the hot bolt to cool. Before leaving the area, make sure no flammable materials are lying around.
- After another 2 hours, throw the cut bolts to verify that they are at room temperature and will not start fires in the trash can.
Pipingmart is B2B portal specializes in industrial, metal and piping products. Also, share latest information and news related to products, materials and different types grades to help business dealing in this industry.