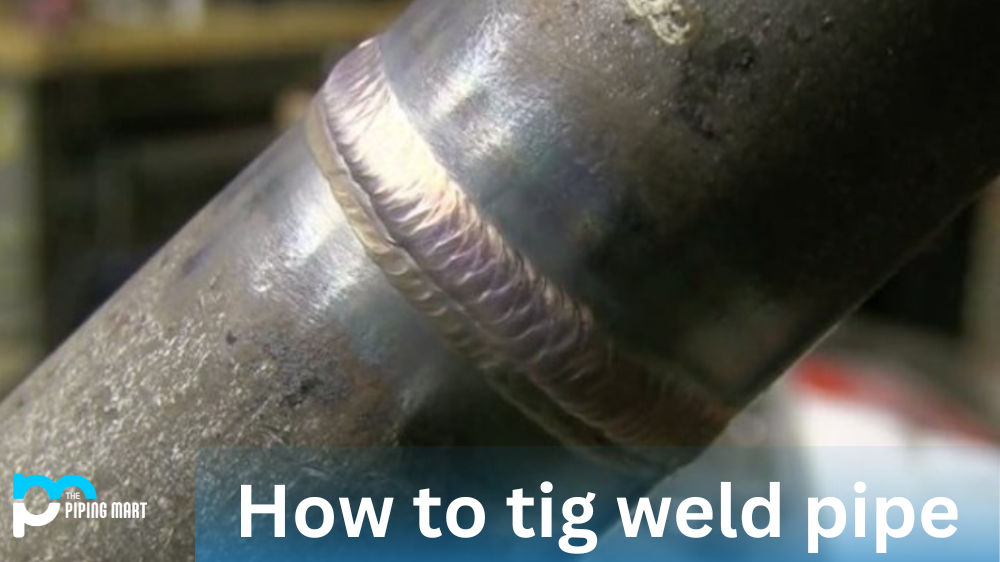
Learning how to weld is an essential skill for any DIY enthusiast. Among the most popular welding methods is TIG welding, which involves using a tungsten electrode and a non-consumable electrode to create an arc that melts metal together. This welding method is especially useful when it comes to welding pipe since it can be used on thin wall pipe, has low distortion and produces high quality welds with minimal heat input. Keep reading to learn the basics of TIG welding pipe.
Preparing the Pipe
The first step in TIG welding pipe is preparing the pipes you plan on joining. Make sure that the surface of each pipe is clean and free from any rust or other debris that could interfere with your weld. You can use a wire brush or sandpaper to make sure each end is properly prepped before beginning your weld. It’s also important to ensure that both pipes are lined up correctly before starting your weld; you need to pay attention to this detail to avoid ending up with a weak joint or an inaccurate fit.
Tacking The Pipes Together
Once you have prepared the ends of your pipes correctly, you can begin tacking them together. This involves creating small welds between the two pieces at several points along their length so that they stay in place while being fitted together. To do this, set your amperage setting according to the thickness of your material and strike an arc by touching the tungsten electrode against the workpiece (not vice versa). Use a circular motion while passing down both sides of the joint until all gaps have been filled, and then move onto another area until all gaps have been addressed in this way.
Welding The Pipes Together
Once you have tacked together both ends of your pipes, it’s time for full-penetration welding. This means making continuous passes along the entire length of each piece until they are completely joined together without leaving any gaps or imperfections behind. As before, adjust your amperage setting accordingly before striking an arc and use a circular motion while passing down both sides of each joint until all gaps have been filled. Then move on to another area until all gaps have been addressed in this way.
Finishing Up
When you’re finished welding your pipes together, allow them plenty of time to cool down before handling them again—at least 10 minutes should do it! Once they’ve cooled off enough, inspect both joints closely to make sure they look good and that there aren’t any flaws or defects present in either one. If everything looks good, then congratulations—you just successfully completed a TIG welded pipe!
Conclusion:
Learning how to TIG weld pipe isn’t as difficult as it may seem at first glance—all it takes is some practice and patience! With just a few simple steps outlined above, anyone can get started on their project quickly and easily without having too many issues along the way. Just prepare your materials carefully beforehand, tack them into place securely, make sure all gaps are filled in appropriately during full-penetration welding sessions, and allow plenty of time for cooling afterwards—and voila! You’ll be ready for whatever project comes next with confidence!
Meet Heer, a dynamic and driven writer learning tricks of her trade in the metal industry. With a background in Digital Marketing, Heer brings a unique perspective to her writing, sharing valuable insights. Apart from blogging she like reading and hiking.


