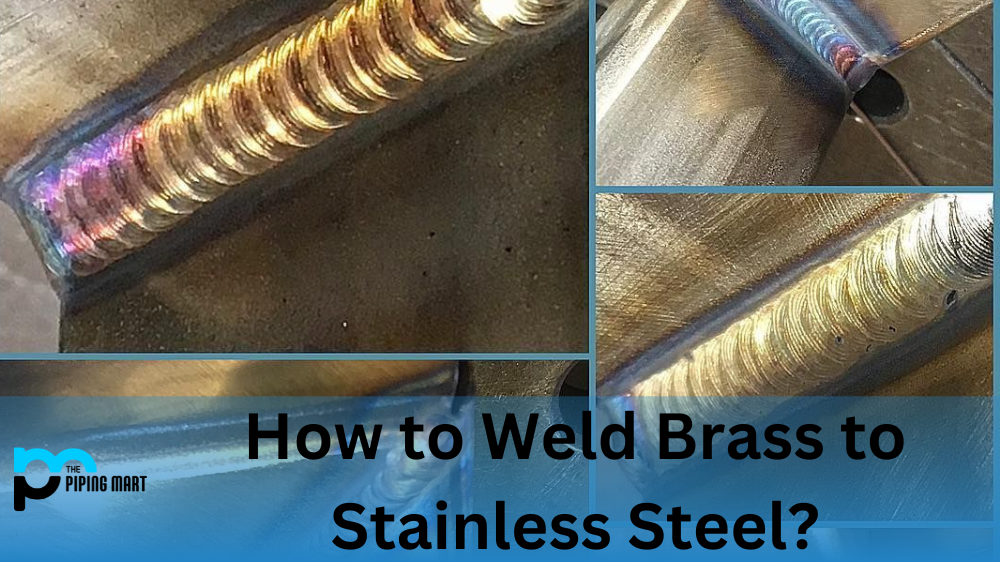
Welding brass to stainless steel is a great way to create reliable, lasting connections between two popular metals. But it’s not as easy as it looks. To get the best results, you’ll need the proper welding equipment and materials and some basic knowledge of the welding process. Let’s look at what you need to know to weld brass to stainless steel properly.
Welding Equipment and Materials
When welding brass to stainless steel, you’ll need various specialized tools and materials. You’ll need a TIG welder with an argon gas mix to shield the connection from oxygen. You’ll also need pure tungsten electrodes—2% thoriated tungsten is your best bet—and a brass filler rod that matches your application. You must use the right type of filler rod for your specific application since different metals require different types of filler rods for optimal performance. Finally, you’ll also need gloves, safety glasses, and other protective gear.
Preparing the Brass and Steel
Before beginning the welding process, your brass and stainless steel pieces must be clean and free from any oil or dirt. This will ensure no contaminants in the weld area, which could lead to weak spots in your joint when cooled down after welding. To remove any dirt or oil residue, use a soft cloth with acetone or alcohol-based cleaning solution before starting any welding work on these metals. Once cleaned, use a grinding wheel or file to slightly bevel both edges, so they fit together without leaving gaps when placed against each other. This will provide an even surface for better penetration during the welding process.
Welding Process
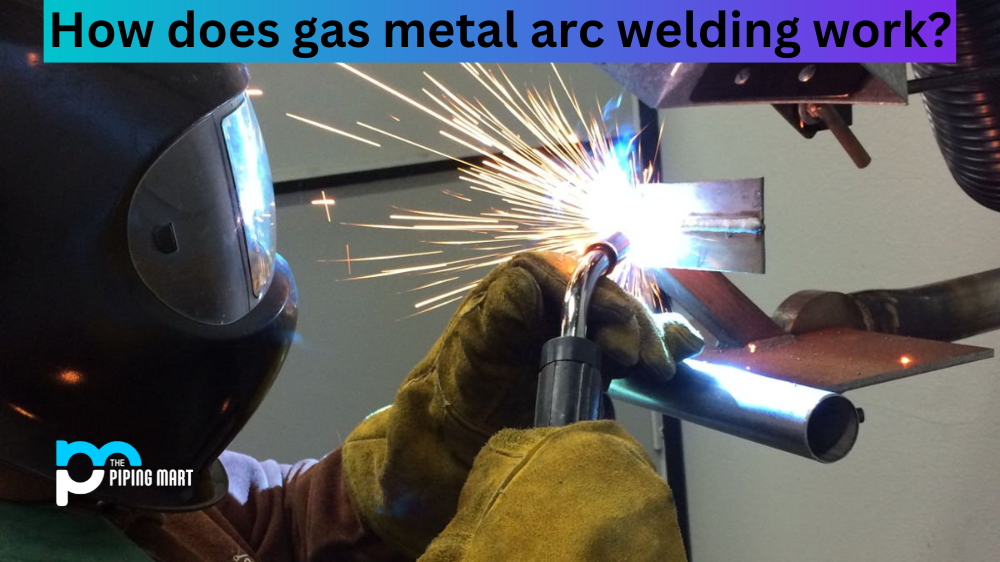
Now it’s time to begin the actual welding process! Ensure all safety precautions are taken before starting up your TIG welder and set it according to its instruction manual for brass-to-stainless steel applications (typically amperage settings between 20 – 35 amps). Place your tungsten electrode into the torch head, then start up your welder by striking an arc on scrap metal until it reaches its desired setting before applying heat onto your workpiece where you intend on making your connection. As soon as heat is applied onto both pieces of metal, simultaneously apply pressure while feeding in the filler rod until the desired length is achieved, then slowly reduce current until the arc ends while continuing pressure on the filler rod until cooled down completely, keeping eyes protected with safety glasses at all times during this process! Once cooled down, check the finished welded joint for any cracks or defects, then repeat if necessary until desired results are achieved!
- Clean the surfaces that will be joined together. Any dirt, grease, or other contaminants will prevent the weld from properly bonding the two pieces of metal together.
- Place the brass piece on top of the stainless steel piece. Make sure that the two pieces are flush with each other and that there are no gaps between them.
- Apply heat to the area where the two pieces of metal will be joined together. This can be done with a welding torch or a resistance welder.
- Apply filler metal to the area where the two pieces of metal will be joined together. This can be done with a welding rod or wire that is made of brass or stainless steel.
- Allow the weld to cool before handling it. The weld will be stronger if it is allowed to cool slowly rather than being cooled quickly with water or air.
Conclusion:
With careful preparation and using only quality equipment and materials, anyone can easily weld brass onto stainless steel! While many things must be taken into consideration, such as proper safety precautions (gloves/goggles), selecting compatible filler rods & setting up the TIG welder correctly – once mastered, this skill can be used time & time again, giving peace of mind knowing that every joint created will be strong & reliable! Beginner welders should practice this technique on scrap metal before attempting real-world applications so they become comfortable with each step involved in creating successful welds!

Pipingmart is a B2B portal that specializes in metal, industrial and piping items. Additionally, we share the latest information and information about materials, products and various types of grades to assist businesses that are involved in this business.


