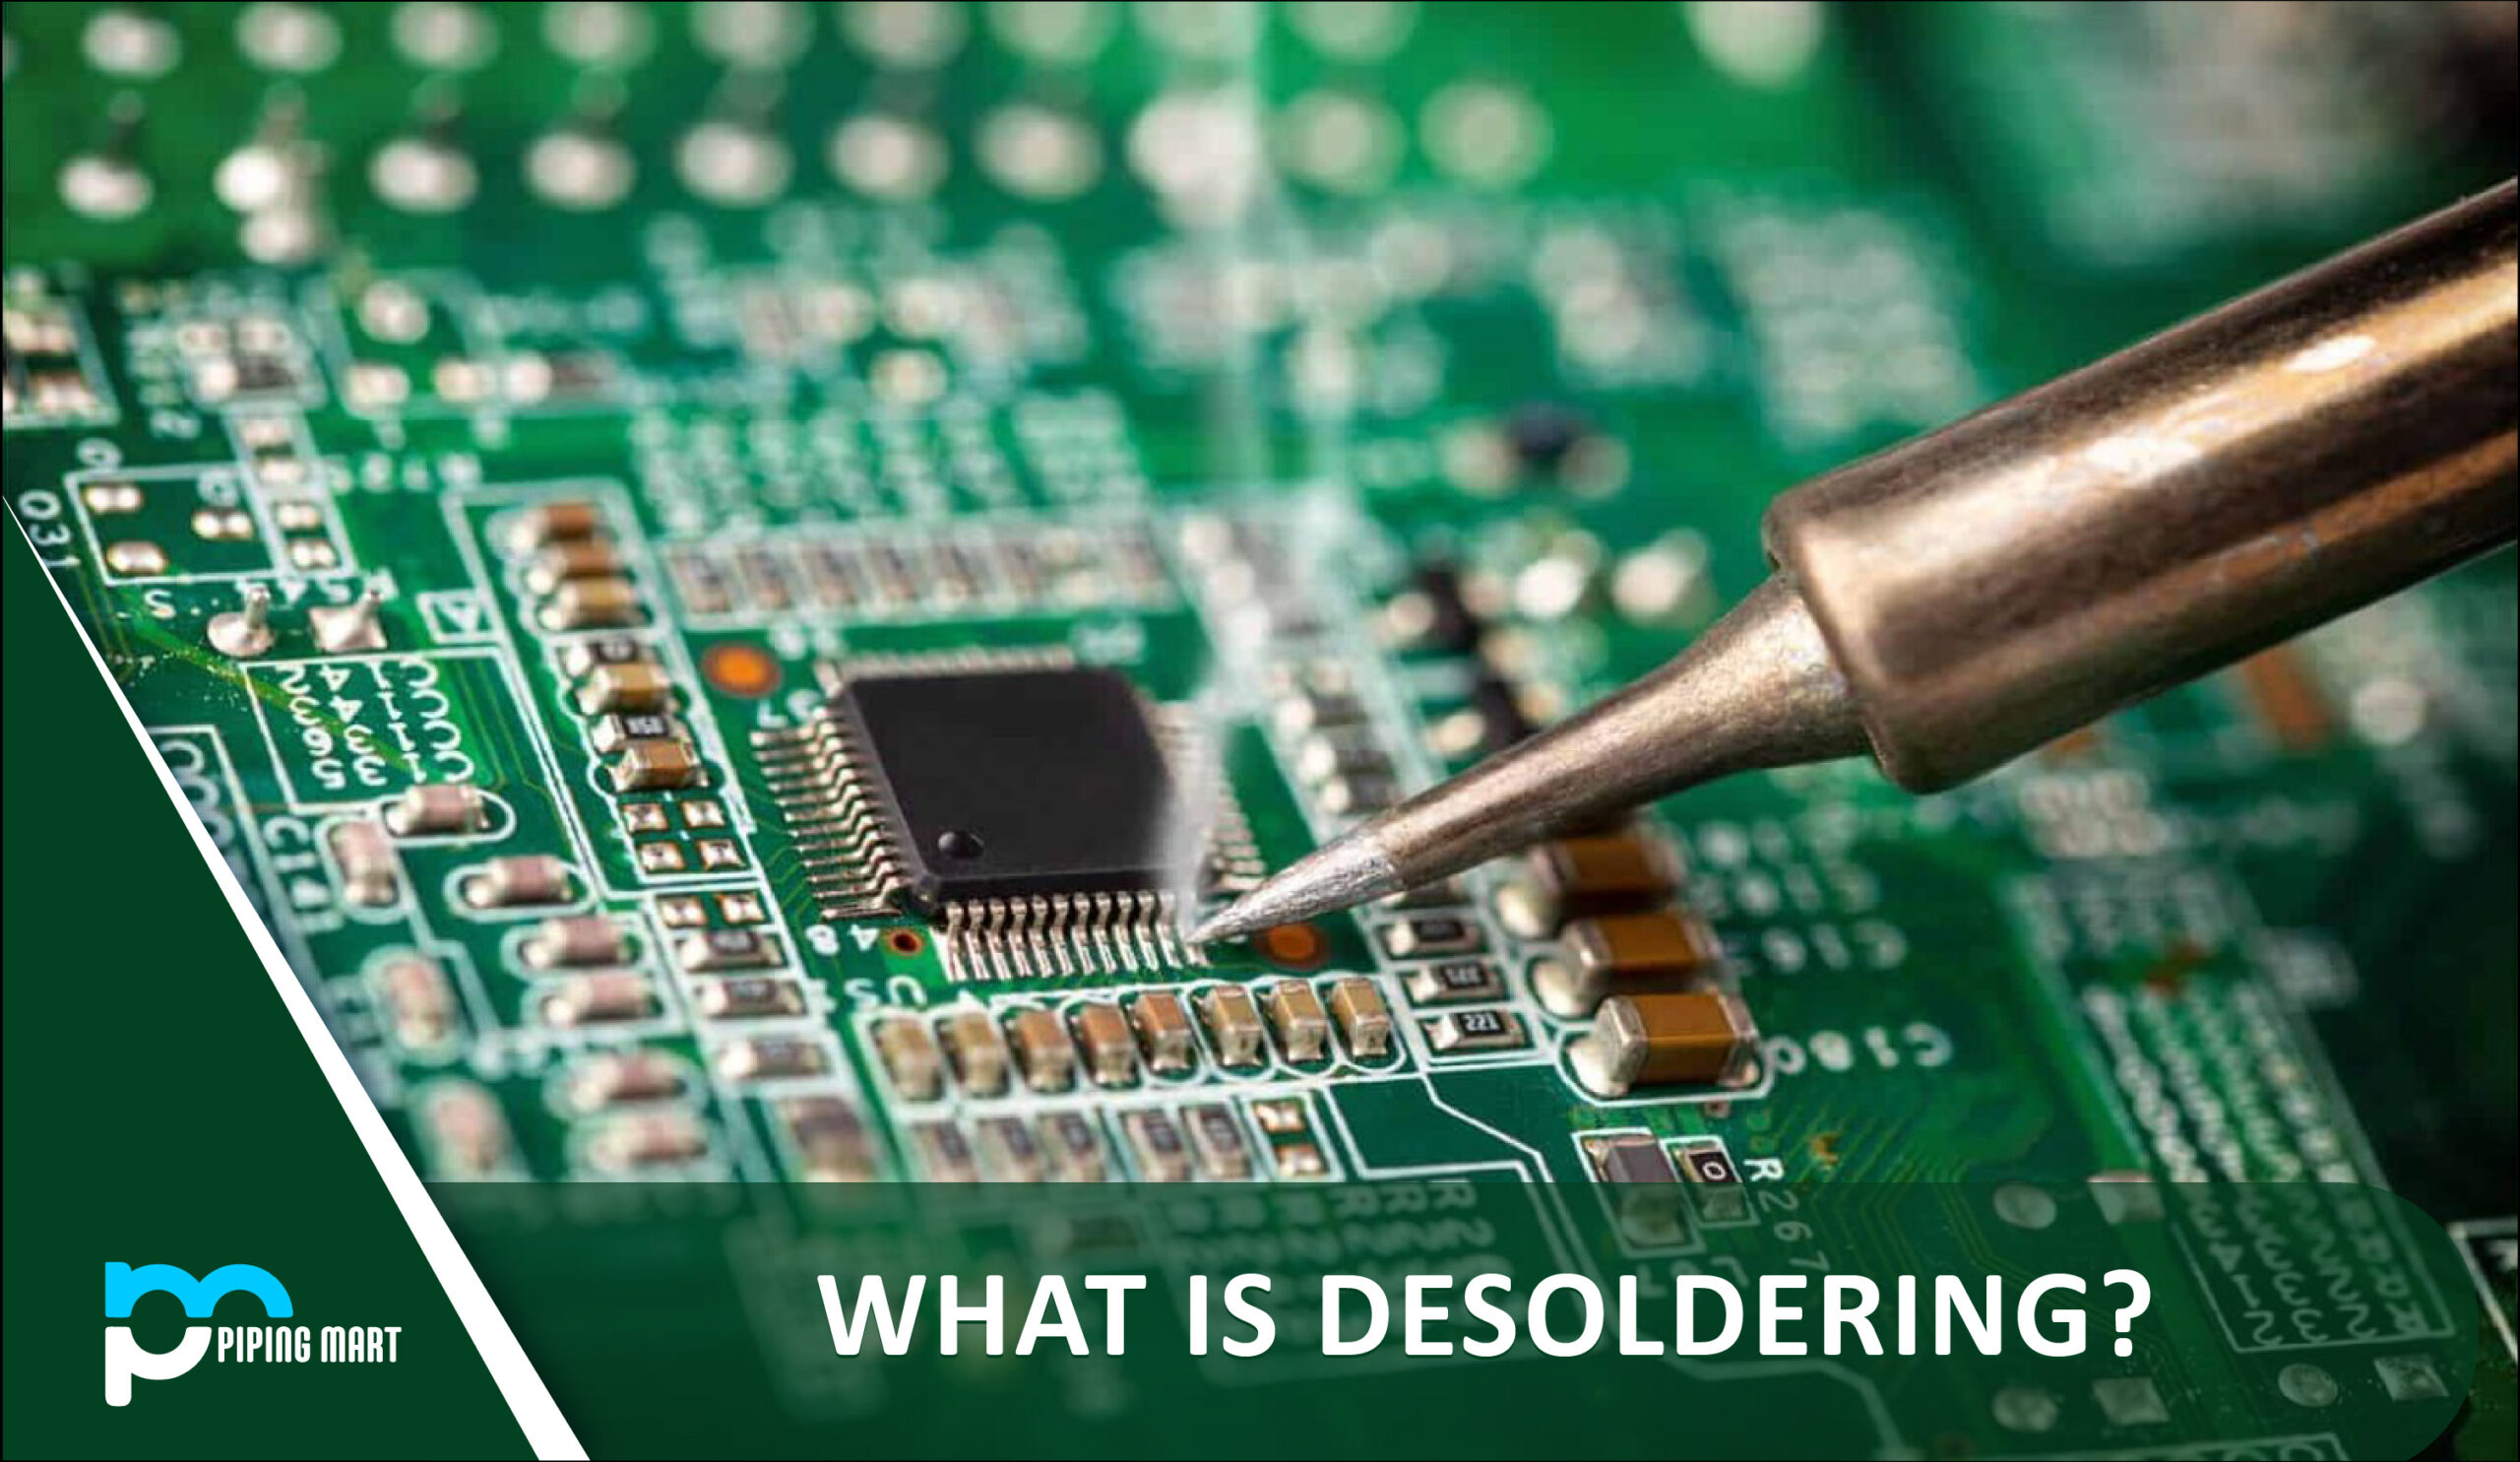
Desoldering is the process of removing solder and components from a circuit board in electronics so that they can be repaired, replaced, and salvaged.
The act of desoldering entails melting the solder and eliminating the connections created between two materials. In the context of electronics, it describes removing electrical components from the PCB for diagnostic, repair, replacement, and salvage purposes. The method most frequently employed for this is desoldering.
Desoldering is, to put it simply, the polar opposite of soldering. Everything you did during the soldering process is undone. Just like soldering, desoldering is a complex procedure that takes some expertise. Similar procedures must be followed, as with soldering, and careful safety precautions must be taken.
Methods of Desoldering
Desoldering can be done using a variety of techniques. Different tools and levels of soldering expertise are needed for each. An extensive list of several desoldering methods is listed below.
Using a Soldering Iron
The quickest and most straightforward way to desolder components is with a soldering iron. A soldering iron and a pair of fliers are the only equipment you require.
What you must do is as follows:
- Using the soldering iron, warm the solder until it begins to melt.
- With the iron, nudge the pins while removing the solder from the junctions.
- Use pliers to extract the components from the pinholes.
- Apply pressure to the parts’ tips rather than their bodies when you pull them. If not, the components risk being harmed.
- To remove the solder, insert a safety pin into the hole. This will help you quickly remove the solder by sucking it up.
Pros
- Desoldering can be done using just a soldering iron.
- The desoldered components can be used again.
Cons
You risk damaging the board if you use the soldering iron for too long.
Using a soldering wick
After soldering, undesired solder is removed using the soldering wick technique. Copper coils are braided and woven together to create a soldering wick. As a result it is known as a desoldering braid.
Because they are influential heat conductors, copper wires are used to manufacture soldering wicks. The copper coils absorb the solder from the metal surface because the solder is drawn to heat.
Flux is sometimes included in soldering wicks, making removing the solder from the surface simpler. If your solder wick lacks flux, you can hasten the solder’s removal by dipping the wick’s end into some flux.
What you need to do to remove the solder is as follows:
- Make a braid out of a few inches of copper wire.
- Add flux to the braid by dipping the end of the copper braid into flux.
- The joint you want to desolder should have a part of the solder wick.
- Keep a hot soldering iron near the target pin and the tip of the solder wick.
- Wait for a short while for the solder to melt and for the solder wick to absorb the melted solder.
- Take a solder wick and cut off the solder-coated section.
- Repeat until all of the undesirable solder have been removed.
- Keep in mind that the solder wick will be pretty hot while handling it, so avoid touching it with your hands. For support and positioning, use a pair of pliers.
Pros
- The technique is inexpensive, straightforward, and simple to apply.
- This technique works well to remove solder from flat surfaces.
- You can change the size of the soldering wick depending on how much solder you want to remove.
- The desoldered components can be used again.
Cons
- Soldering wick reuse is not permitted. The section covered in solder needs to be trimmed.
- It can be challenging to place the soldering wick against the junction as it becomes extremely hot.
- Using this technique makes it challenging to remove solder from pinholes.
Using a Desoldering Pump
- Soldering wick reuse is not permitted. The section covered in solder needs to be trimmed.
- It can be challenging to place the soldering wick against the junction as it becomes extremely hot.
- Using this technique makes it challenging to remove solder from pinholes.
The steps for using a desoldering pump to remove solder are as follows:
- Heat the solder with a soldering iron until it melts.
- Place the desoldering pump on the molten solder, squeeze the bulb, or depress the plunger.
- To remove the solder, let go of the bulb.
- Some desoldering pumps contain a release button, which eliminates the need to squeeze the bulb repeatedly.
- Detach the desoldered parts.
- Repeat the process until the excess solder is removed.
Some desoldering pumps include a soldering iron, saving you the expense of purchasing one separately. You can get rid of the solder in the desoldering pump by repeatedly squeezing and releasing the bulb.
Pros
- Desoldering pumps are available in various designs and working principles for your convenience.
- The technique works well for desoldering small components and removing solder from pinholes.
- The desoldered components can be used again.
Cons
Desoldering pumps tend to be huge. Thus, it will be challenging for you to maneuver them into remote locations.
Using A Heat Gun
A heat gun functions similarly to a soldering iron. Removing the components warms the solder. In addition to using a heat gun, you can also use a hot air station. Although it is pricey, it is also quite effective.
Here’s how to use a heat gun to desolder components:
- Activate the heat gun.
- Hold the PCB securely using pliers or a stand.
- Hold the heat gun’s tip against the solder until the solder melts.
- Take the parts out using a pair of pliers.
- Make sure not to press the heat gun against the board for an extended period when utilizing it. If you don’t, the board will melt or get damaged.
Pros
- In a matter of seconds, the components can be desoldered and removed.
- The desoldered components can be used again.
Cons
- In most circumstances, the rapid heating of the components causes damage and renders them useless.
- It may occasionally cause damage to the board. If you are careless, you run the risk of suffering an injury while working.
Pipingmart is B2B portal specializes in industrial, metal and piping products. Also, share latest information and news related to products, materials and different types grades to help business dealing in this industry.