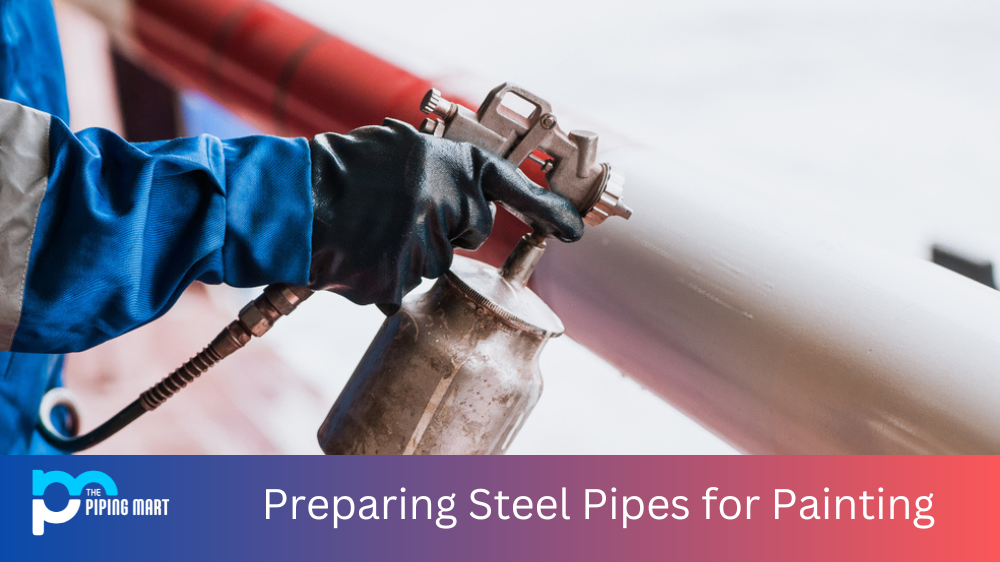
Steel pipes are commonly used in construction and other commercial applications. But before any steel pipe can be painted, it must first be properly prepped to ensure that the paint adheres evenly and adequately. This process can seem daunting at first, but anyone can clean steel pipes for painting with the right tools and techniques. Read on to learn how to clean steel pipes before painting.
Step 1: Inspect the Pipe
Before beginning any preparation work, inspect the pipe thoroughly to identify areas of damage or corrosion that need attention. Note any rust spots or scratches that need repair. If necessary, use a grinder or sander to remove any excess rust or dirt from the surface of the pipe. Once you’ve identified all problem areas, mark them with a grease pencil, so they are easier to find once you start cleaning.
Step 2: Clean & Degrease the Pipe
Once all problem areas have been identified and marked, it’s time to start cleaning and degreasing your steel pipe. Begin by using an industrial degreaser explicitly designed for steel surfaces. This will help remove any dirt or grease from the surface of the pipe. After applying the degreaser, let it sit for 5–10 minutes before scrubbing it off with a brush or cloth rag. To finish this step, rinse the entire pipe with fresh water and allow it to dry completely before moving on to Step 3.
Step 3: Sandblast & Clean Again
The next step is sandblasting—blasting small particles of sand at high speed against a hard surface to clean away debris and smooth out rough edges on metal surfaces like steel pipes. Start by wearing protective gear such as goggles, gloves, and a face mask when sandblasting your pipe to protect yourself from flying debris during this process. Then set up your sandblaster according to manufacturer instructions and begin blasting away debris from the surface of the pipe until it is free from rust spots and scratches (or until you reach your desired level of smoothness). Be sure not to overdo it here; too much sandblasting can damage your metal surface if done incorrectly! Finally, use compressed air (or a vacuum) to blow away any remaining dust particles left behind by sandblasting once finished.
Conclusion:
Preparing steel pipes for painting doesn’t have to be complicated—all you need is an understanding of what steps are necessary to complete this task successfully! By following these three steps—inspectpipe, clean/degreasepipe, sandblast/clean again —you will be well on your way toward achieving a professionally painted steel pipe ready for installation! Don’t forget that safety should always be paramount when working with power tools like sandblasters; make sure you wear protective gear whenever necessary! With these tips in mind, you’ll have no trouble prepping your steel pipes for painting like a pro!


