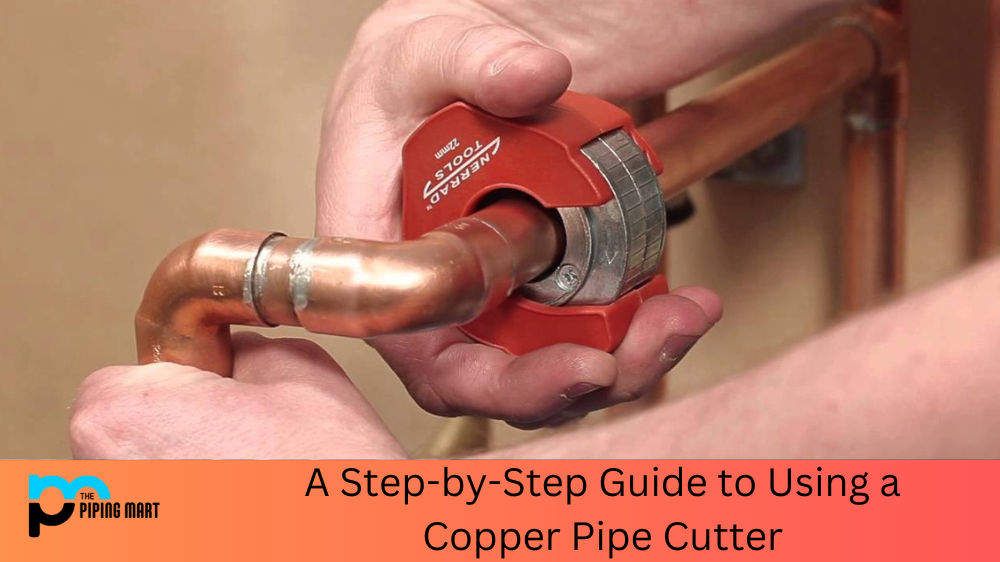
Copper pipe cutters are essential tools for anyone working with copper piping. If you’re looking to cut a piece of copper pipe, you’ll need the right equipment and know how to get the job done safely and effectively. This guide will provide a step-by-step overview of how to use a copper pipe cutter to complete your next project easily.
Step 1: Gather Your Materials
Before beginning any project, it is important to ensure that you have all the necessary materials. In this case, you will need your copper pipe cutter, gloves, safety glasses, and a straight edge to mark your desired cut’s length. Once you have everything ready, move on to step two.
Step 2: Measure and Mark Your Cut
The second step is to measure and mark your desired cut. Take the straight edge and place it along the copper pipe where you want the amount to be made. Use a marker or pencil to draw the line at this point so that it is clear where the end of your cut should be. Now that you have marked your location move on to step three.
Step 3: Begin Cutting
Now that you have marked your desired spot for cutting, it’s time to begin cutting! Place the blade of the copper pipe cutter along the line that you just drew on the copper pipe. Squeeze down on both sides of the handle until they meet to secure the blade around your desired cutting point. Then rotate around until your blade has gone through both sides of the copper pipe, and remove any excess material as needed before moving on to step four.
Step 4: Check for Smoothness
The last step is ensuring that your cut is successful by checking for smoothness along its edges. This can be done by placing one hand over each side of the newly cut ends and feeling if one end is higher than another or if there are any bumps or ridges along its edges, indicating an uneven cut or broken blade from inside the cutter itself.
Conclusion:
Suppose all looks good, then congratulations! You have successfully used a copper pipe cutter! With this guide, anyone can feel confident about using their copper pipe cutter for their next project or repair job! Just remember these four steps—gather materials; measure & mark; begin cutting; check for smoothness—and soon enough, you’ll be working with freshly-cut pieces of copper piping in no time!
A passionate metal industry expert and blogger. With over 5 years of experience in the field, Palak brings a wealth of knowledge and insight to her writing. Whether discussing the latest trends in the metal industry or sharing tips, she is dedicated to helping others succeed in the metal industry.