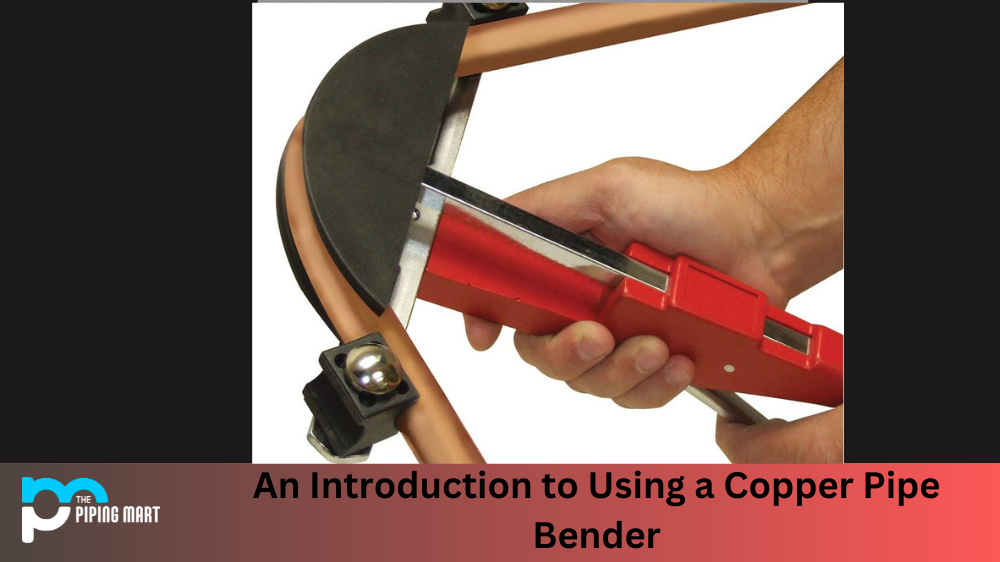
Copper pipe benders are excellent for DIYers who want to complete plumbing projects around their home. But before you start bending, it’s important to understand how a copper pipe bender works and the different bends you can make. This blog post will provide an overview of the basics of using a copper pipe bender so that you can confidently get started on your project.
Understanding Your Copper Pipe Bender
The first step in using your copper pipe bender is understanding the essential parts and how they work together. A typical copper pipe bender consists of three components: the handle, the body, and the head or die. The handle is used to move the head or die around the body so that it can be placed over the desired section of pipe. The body then holds the head in place while you bend it. The chair itself is round and has several slots cut into it that determines what type of bend your pipe will form when bent.
Types of Bends You Can Make
When using a copper pipe bender, there are several types of bends that you can make depending on your needs and preferences. For example, if you need to make a 90-degree bend in your copper pipe, you would use one of the slots cut into the die marked “90 degrees” or “right angle.” If you need to make an even tighter bend than 90 degrees, look for one of the smaller slots labeled “45 degrees” or “half right angle” – these will give you an even sharper bend in your pipes. And finally, if you need to make a gentle curve in your pipes, use one of the larger slots labeled “quarter radius” or “three-quarter radius” – these will let you create a smooth curve without any sharp angles or kinks in your pipes.
Bending Process
Once you have selected which type of bend you want to make and positioned your die accordingly, it’s time to start bending! To begin bending, turn the handle clockwise until it is tight against the body – this will secure everything in place so that nothing moves when bending takes place. Then slowly push down on the handle until you feel resistance from within – this is when most people stop pushing down as they feel like they may break something! However, keep pushing down on the handle until it reaches its maximum capacity (you should hear a loud click) – this is when your desired bends should be achieved! Finally, release pressure off the handle by turning counter-clockwise until it loosens completely – your project should be complete!
- Bending is a manufacturing process that produces a V-shape, U-shape, or channel shape along a straight axis in ductile materials such as metals, plastics, and wood.
- Bending is commonly used to make pipes, tubing, and other hollow objects.
- The process can also be used to create sheet metal parts with complex shapes.
- Bending is typically done using a press brake, which uses hydraulic pressure to bend the material.
- Some materials, such as wood, can also be bent using heat.
Conclusion:
Now that we’ve gone over how a copper pipe bender works and some essential tips on how to use one correctly, why not give it a try? With just these simple steps outlined above, anyone can quickly become an expert at making beautiful curves with their pipes – no matter their skill level! So don’t wait any longer – get out there and start bending some pipes today! You won’t regret it!
Bending Process
Abhishek is a seasoned blogger and industry expert, sharing his insights and knowledge on various topics. With his research, Abhishek offers valuable insights and tips for professionals and enthusiasts. Follow him for expert advice on the latest trends and developments in the metal industry.