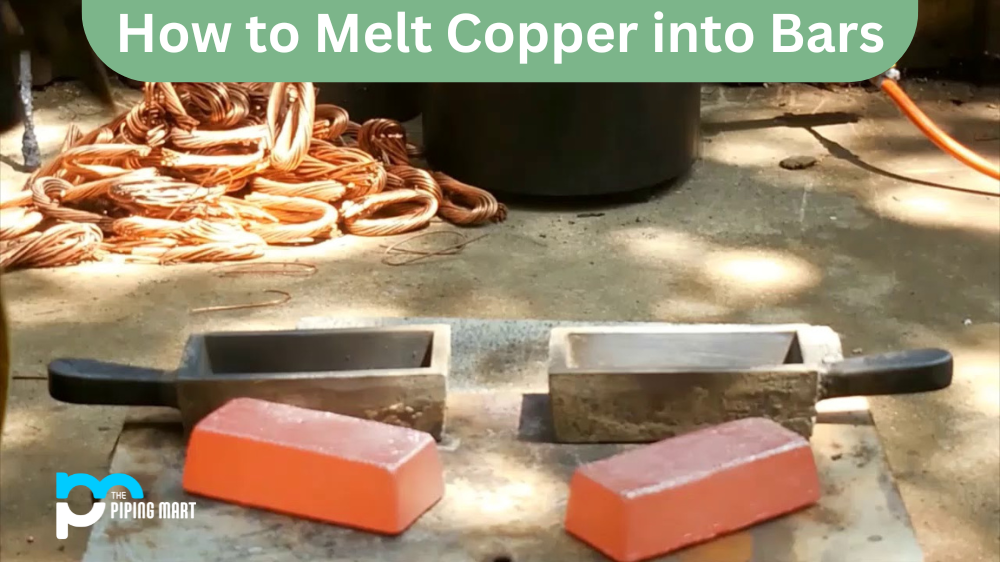
Copper is a malleable metal that can be crafted into various shapes and sizes. One popular use for copper is to create bars which can be used for architectural accents, jewellery, or even as currency. If you’re looking to melt copper into bars, then you’ll need to take the right steps to make sure your project is successful.
Step 1: Gather Your Materials
Before you begin melting your copper, it’s important that you have all the necessary materials at hand. This includes items like safety goggles, an oxygen-acetylene torch, tongs, and a melting pot. You will also need a container in which to pour the molten copper—you can use a pre-made mould or create your own using sand and clay.
Step 2: Heat the Copper
Next, turn on your torch and adjust its flame until it has a temperature of between 2,350°F and 2,400°F. Place your copper pieces in the melting pot and hold them in place with tongs while heating them up with the torch. Make sure that all pieces are heated evenly so that they melt at the same time. You may also want to add flux (such as borax) to help reduce oxidation during the melting process.
Step 3: Pour Into Molds
Once your copper is fully melted, turn off the flame and carefully pour it into your mould or container. Make sure not to overfill it, as this could cause spillage! Allow the molten copper some time to cool before handling it—this could take anywhere from 10 minutes to several hours, depending on how thick your bars are. Once cooled completely, remove them from their moulds and admire your work!
Conclusion:
Melting copper into bars isn’t complicated once you’ve gathered all of the necessary supplies and ingredients. Remember to always practice safety when working with high temperatures—wear protective gear such as safety glasses or goggles throughout the process! With just a few simple steps, you’ll have created beautiful custom bars out of pure copper!
Meet Heer, a dynamic and driven writer learning tricks of her trade in the metal industry. With a background in Digital Marketing, Heer brings a unique perspective to her writing, sharing valuable insights. Apart from blogging she like reading and hiking.


