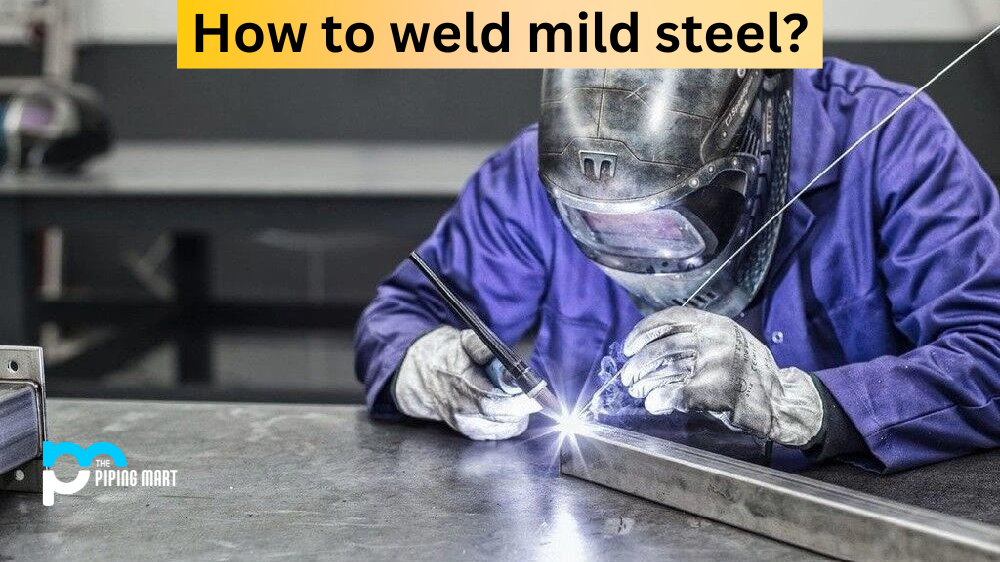
Welding is a great way to join two pieces of metal together. It’s an effective and efficient method of fabrication that can be used on a variety of materials, including mild steel. Mild steel is a type of low-carbon steel often used in the automotive and construction industries. Here’s what you need to know about welding mild steel.
Safety First
When welding any type of metal, it’s important to take certain safety precautions. Wear protective gear like gloves, goggles, and a face shield when handling hot metals or sparks that could fly off during the welding process. Also, make sure your workspace is well-ventilated—use an exhaust fan if possible—to prevent inhalation of noxious fumes produced from the welding process.
Welding Techniques
The most common technique for mild welding steel is MIG (Metal Inert Gas) welding. This method involves feeding a solid wire electrode through the welder while being shielded by an inert gas such as argon or carbon dioxide. This technique produces high-quality welds with less splatter than other types of welding processes because the gas shields the weld pool and electrode from oxygen contamination. Another popular technique for mild steel is TIG (Tungsten Inert Gas) welding which uses tungsten electrodes instead of wire electrodes and requires more skill than MIG welding as it gives you more control over the speed at which you feed in filler material into the weld pool. Lastly, oxy-fuel welding (also known as oxyacetylene or gas welding) is another popular method for mild steel that uses fuel gases like propane or natural gas and oxygen to produce heat for melting and joining two pieces of metal together.
How to MIG Weld Steel?
Step 1: Preparing Your Materials
The first step in MIG welding steel is to prepare your materials. Make sure that both pieces of steel are free from dirt, rust, paint, and other debris that could interfere with the weld. You should also make sure that both pieces are cut evenly and fit together snugly before attempting to weld them together. Once your materials are prepped, you can move on to the next step.
Step 2: Setting Up Your Welder
The next step is setting up your welder correctly so that it produces a quality weld without any problems or issues. The most important settings to adjust include the wire speed, amperage level, and voltage. For thin materials such as sheet metal, it is best to use a low amperage setting (around 70-80 amps), while thicker metals may require a higher amperage setting (upwards of 200 amps). It is also important to make sure that the feed rate for your wire matches the material thickness as well as the amperage level you have chosen; too much or too little wire feed can result in poor welds or even damage to your equipment.
Step 3: Begin Welding
Once everything has been properly set up, it’s time for you to begin welding! Start by slowly moving the torch along your joint in short strokes until it has been completely filled in with molten metal. Be sure not to stay in one spot for too long, as this can cause excessive heat buildup, which can weaken or even destroy your weld joint over time. Additionally, take frequent breaks from welding so that you don’t tire yourself out prematurely or become overwhelmed by the process; the good technique is just as important as having good equipment when it comes to producing quality welds every single time!
Conclusion:
Welding mild steel can be done using various techniques such as MIG, TIG, or Oxy-Fuel welding, depending on the project needs and skill level of the welder. No matter which method you choose, it’s important to always take safety precautions when handling hot metals or sparks during the process, as well as have proper ventilation in your workspace due to noxious fumes generated from the process itself! With these tips in mind, you should be well on your way to successfully completing your next mild steel project!
Meet Heer, a dynamic and driven writer learning tricks of her trade in the metal industry. With a background in Digital Marketing, Heer brings a unique perspective to her writing, sharing valuable insights. Apart from blogging she like reading and hiking.