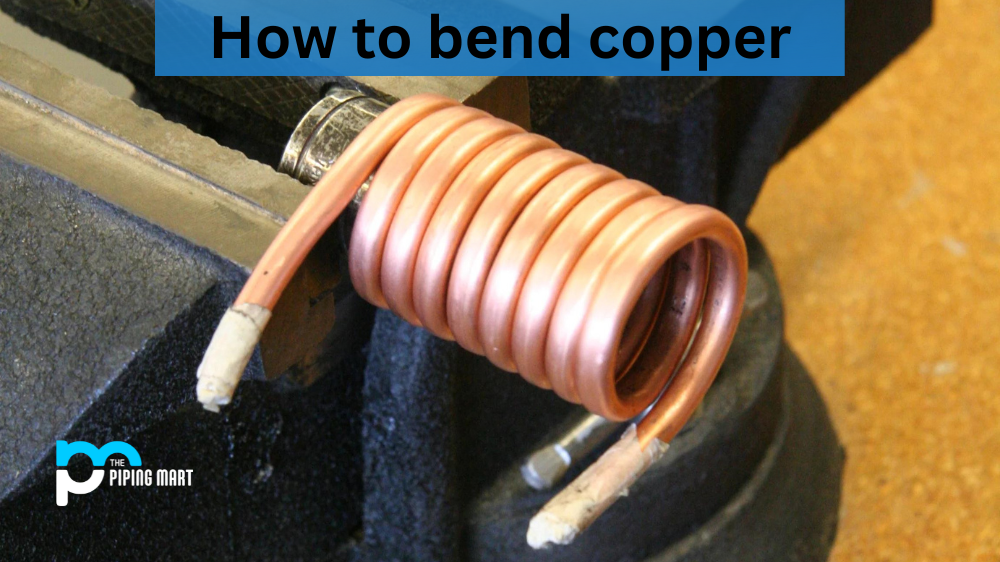
Splicing solid copper wire is a complicated and time-consuming process requiring specialized tools and knowledge. It’s an invaluable skill if you’re a DIY enthusiast or electrician. In this blog post, we’ll take a look at the steps involved in splicing copper wires together to help you understand the basics of this process.
Gather Your Tools and Materials
The first step in splicing solid copper wire is to make sure you have all the necessary tools and materials on hand before you start. You’ll need wire cutters, crimping pliers, electrical tape, heat shrink tubing, and the two pieces of solid copper wire you want to join together. Ensure both pieces are clean and free of rust or corrosion to make a good connection when spliced together.
Strip the Wires
Once your tools and materials are ready, it’s time to strip the wires. To do this:
- Use your wire cutters to remove about an inch of insulation from each end of each wire.
- Make sure not to nick or damage any of the strands inside, as this can weaken the connection when it’s made later on.
- Once both ends have been stripped, twist any stray strands together with your fingers, so they lay flat against the remaining length of insulation.
Crimp Together
Now it’s time for crimping. Take one end of each wire and place them side by side in your crimping pliers. This will ensure that each strand makes contact with its corresponding strand from the other cable when compressed into place by your pliers. Squeeze down firmly until you feel them click into place – this indicates that the two wires have been securely joined into one piece.
Secure with Heat Shrink Tubing
Once the wires are crimped, slide some heat shrink tubing over them to provide extra security for your connection point. Heat shrink tubing is a plastic material that shrinks when exposed to heat – so use either a heat gun or lighter to gently heat both sides of your newly created splice point until it tightens around it like a second layer of insulation! Finally, wrap electrical tape around both ends before testing your new connection point to ensure everything has been appropriately secured and nothing can come loose while in use!
Conclusion:
Splicing solid copper wires is not easy, but with practice and patience, anyone can learn how to do it correctly! With all these steps taken care of, you now have a secure bond between two pieces of copper wiring which can be used for whatever project you may be working on! As long as you take all safety precautions into account while working with electricity, there’s no reason why splicing solid copper wires shouldn’t be successful every time! Just remember – practice makes perfect! Good luck!
Rachana is a dedicated and ambitious young woman who has made a name for herself in the metal industry. From her earliest days in the industry, Rachana showed a natural talent for problem-solving and a keen eye for detail. In her free time, She enjoys reading up on the latest advancements in the industry, as well as exploring new ways to innovate and improve upon existing processes.