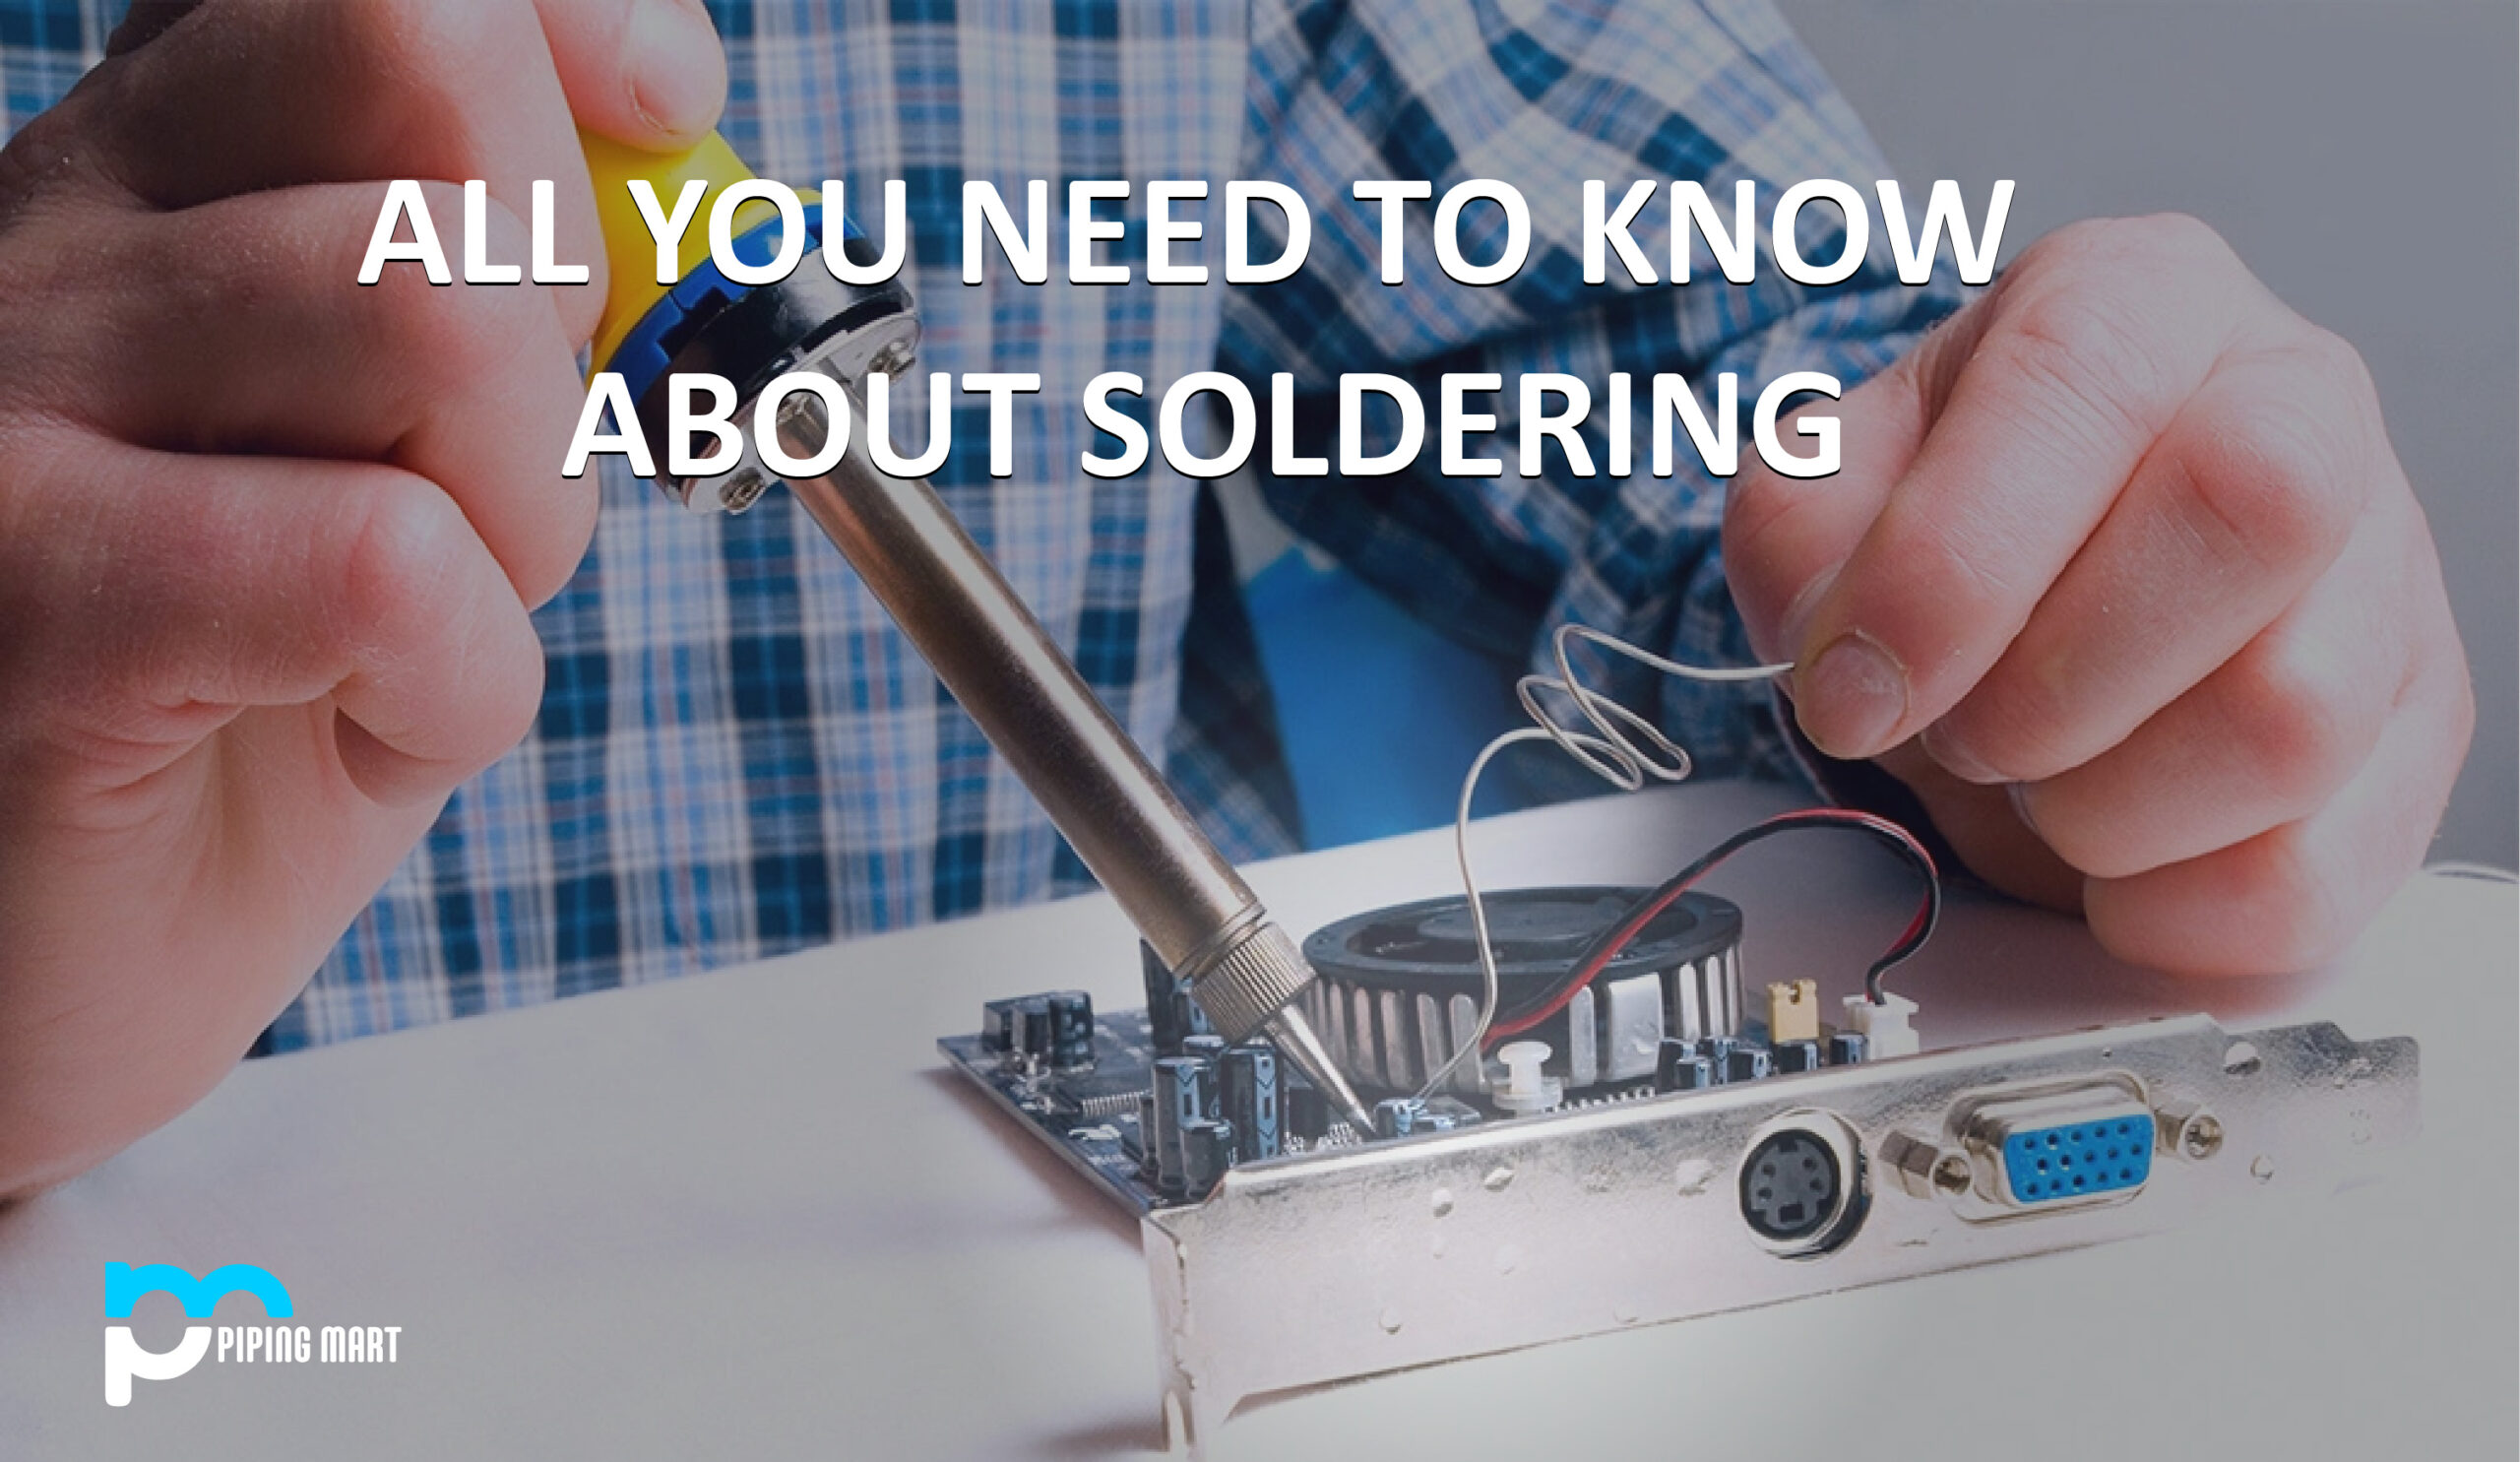
Any electrical gadget with a circuit board would be easy to disassemble to reveal that the components are connected using soldering methods. Two or more electronic components are connected together by melting solder around the connection. Even though soldering can make a permanent connection, it can be undone with a de-soldering tool’s help.
What Is Solder?
Different kinds of metals are connected by melting solder through the joining process known as soldering. A hot iron melts a metal alloy called “solder,” typically composed of tin and lead. Over 600 degrees Fahrenheit heats the iron, which is cooled to form a powerful electrical connection.
Different types of metals are joined together by melting solder, a process known as soldering. Solder is a metal alloy primarily made of tin and lead that is melted using a hot iron.
What Is Soldering?
A fusible metal alloy called solder is used to connect metal workpieces permanently. Since the solder has a lower melting point than the pieces being joined, it must be melted to stick to and connect them after cooling, which necessitates using an appropriate alloy.
Additionally, the solder must protect the joint’s ability to withstand oxidative and corrosive impacts over time. Additionally, the solder that is used to connect electrical components needs to have good electrical properties.
Soft solder is frequently used in sheet metal, piping, and electronics, with a typical melting point range of 90 to 450 °C (190 to 840 °F; 360 to 720 K). Alloys that melt between 180 and 190 °C (360 and 370 °F; 450 and 460 K) are the most popular. It is referred to as “hard soldering,” “silver soldering,” or brazing when alloys with melting points of over 450 °C (840 °F; 720 K) are used in the soldering process.
Some alloys are eutectic, meaning that when those components are combined in a given ratio, the alloy’s melting point is also its freezing point. Since non-eutectic alloys have separate liquid and solid transitions, their solidus and liquidus temperatures can differ substantially.
As they get close to high enough temperatures, non-eutectic combinations frequently exist as a paste of solid particles in a melted matrix of the lower-melting phase. A poor electrical connection may arise from electrical work if the joint is disturbed during this “pasty” state before it fully hardens; using eutectic solder solves this issue.
For example, plumbing can take advantage of a non-eutectic solder’s pasty state since it enables molding of the solder during cooling, for example, to ensure a watertight union of pipes, creating a so-called “wiped joint.”
Solder wire with flux-filled cores is available for electrical and electronic work in various thicknesses for hand-soldering (manual soldering is done with a soldering iron or soldering gun).
There are other forms of it, including a paste that can be used at room temperature. This preformed foil is shaped to fit the workpiece. It may be better suited for automated mass production and small “tabs” that can be wrapped around a joint and melted with a flame when the iron is not appropriate or accessible, such as in-field repairs.
How Does Soldering Work?
The heat from an iron attached to a temperature controller is used to melt the solder. Around 600 degrees Fahrenheit is used to heat it above its melting point, causing it to melt and cool, forming the solder junction.
A de-soldering tool can remove solder in addition to creating reliable electrical connections.
A solder metal alloy is used to make solid, long-lasting connections, such as copper joins on printed circuit boards and copper tube joints. It can also range from 0.032″ to 0.062″ in diameter and be available in two different varieties, lead and lead-free. The flux is a substance added to the solder’s core to strengthen and enhance its mechanical qualities.
What Metals Are Used?
Lead-based filler metals were once employed in soldering (lead solder). Regulations have gradually replaced lead-containing solders with lead-free ones, which can be made of antimony, bismuth, brass, copper, indium, tin, or silver.
Which Flux Can Be Used For Soldering?
At the site of connection, contaminants like oil, dirt, or oxidation may occasionally occur. The flux shields the metal from oxidation and sometimes cleans it with dry ice. Rosin flux is the type of flux employed, and it helps the electrical connections’ mechanical stability and electrical contact. To lower surface tension, a wetting agent may occasionally be used.
Steps in the process of soldering
Two or more electronic components are connected together by melting solder around the connection. When it cools, metal alloy solder forms a solid electrical bond between the components. Even though soldering might produce a permanent connection, it can be undone with a de-soldering tool.
Steps in the process of soldering are as follows:
- Step 1: Mount The Component: Start by putting the LED cables into the circuit board’s holes. Turn the board over and make a 45-degree bend in the wires. By doing this, the component will form a stronger bond with the copper pad and won’t slip out while being soldered.
- Step 2: Heat the Joint: If you have a soldering iron, turn it on and set the temperature dial to 400 °C. At this moment, simultaneously touch the resistor lead and copper pad with the iron’s tip. To heat the pad and the lead, you must hold the soldering iron stationary for 3–4 seconds.
- Step 3: Solder the joint by touching it with your solder while keeping the soldering iron on top of the copper pad and lead. Avoid using the iron tip to connect the solder directly. When touched, the solder should melt at the junction. A poor connection develops if the joint is too cold.
- Step 4: Remove the Leads; the solder should naturally cool when the soldering iron is removed. Avoid blowing on the solder, as this may lead to a poor joint. Cut the excess wire from the cables once they have cooled.
A good solder joint has a volcano-or cone-shaped appearance that is glossy, smooth, and well-defined. The ideal amount of solder is just enough to cover the joint without being so much that it forms a ball or overflows onto a nearby joint or lead.
How to Solder Wires?
It’s time to demonstrate soldering wires together. It is advised that you perform this process with your hands or another kind of clamping tool.
Start by removing the insulation from the ends of the two wires you plan to solder together. Twist the strands of the wire together after it has been stranded. As soon as the soldering iron is hot enough, touch the tip to the end of a wire. Hold it by the wire for 3-4 seconds.
Touch the wire with the solder until it is completely covered while keeping the iron in place. On the other wire, repeat this procedure. Touch both wires with the soldering iron while holding the two tinned wires atop one another. The solder should melt throughout this procedure and coat both wires equally.
After waiting a little while for the solder joint to cool and harden, remove the soldering iron. To seal off the connection, use heat shrink tubing.
Pipingmart is B2B portal specializes in industrial, metal and piping products. Also, share latest information and news related to products, materials and different types grades to help business dealing in this industry.