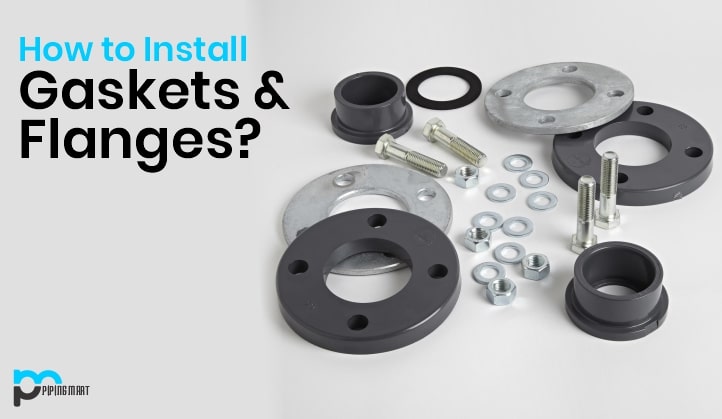
The Gaskets are a sealing agent positioned between the connecting flanges to create a permanent seal that maintains the leakage evidence sealed under all operating conditions. Various types of gaskets were used to attain leak-proof sealing between the flange of the pipe. The main function of the gaskets is to hose each side of the flange irregularities so that the provider liquid will not flow into the flange joint. A gasket tries to fill the flange faces with microscopic spaces and irregularities and then forms a clamp designed to preserve fluids and gasses. A leak-free flange connection is required for the correct installation of damage-free gaskets and damage-free flange faces.
How to Install Gaskets
Select the Appropriate Gasket Material
Clean the Surfaces to be Sealed.
After choosing the suitable gasket material, the next step involves cleaning the surfaces to be sealed. This step is crucial as any dirt or debris on the surface can hinder proper gasket sealing. Using a solvent like acetone or isopropyl alcohol, thorough cleaning ensures an optimal surface condition for effective gasket performance.
Apply Adhesive to One Side of the Gasket
Following surface cleaning, the next step involves applying adhesive to one side of the gasket to secure it during installation. A thin, even layer of adhesive should cover the entire gasket surface. This ensures proper adhesion, preventing displacement and facilitating a secure fit during installation.
Install the Gasket
After applying adhesive to one side of the gasket, place it onto the intended sealing surface. Ensure alignment by making it flush with the surface before firmly pressing it into position. Use a roller or suitable tool to install a secure and effective gasket.
How to Install Flanges
Materials Used for Flanges
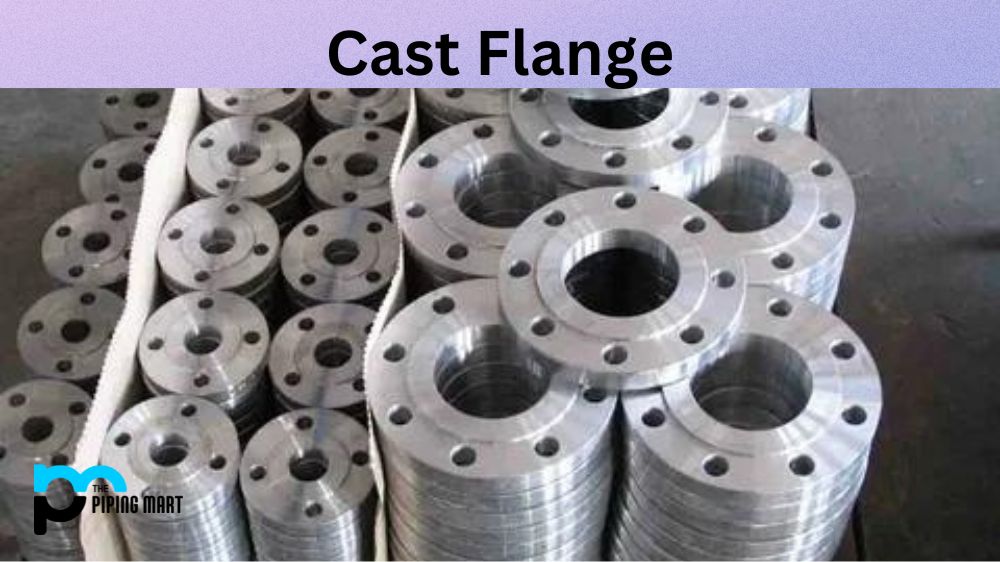
Flanges can be made from a variety of materials, including: carbon steel, stainless steel, alloy steel, plastic and copper. The most common material used for flanges is carbon steel.
Installation
Installing flanges is not a difficult task, but there are a few things that you need to keep in mind. First, make sure that the area where you will be installing the flange is clean and free from debris. Second, align the holes in the flange with the holes in the pipe or fitting that you are attaching it to. Third use bolts and nuts to secure the flange in place.
Types of Flange Gaskets
The Piping processes use three different types of Flange Gaskets that are classified based on the nature of their material.
Non-Metallic
Non- metallic gaskets are generally composite sheet materials used in low-pressure class applications with flat-faced and raised-faced flanges. Made of arid yarn, fiberglass, elastomer, Teflon ® (PTFE), graphite, etc. are some of the materials that are used for the manufacturing of the Non-metallic Gaskets.
Composite
The composite gasket is a combination of both Metallic and non-metallic flanges. They are also referred to as Semi-Metallic Flanges. The metallic property of these gaskets helps them have higher strength and resilience. The Non-metallic properties help them to have the ability to seal and conform to the Flanges.
Difference between gasket and flange
Metallic
Metallic gaskets are made from one or a mixture of metals to the shape and scale required. Metallic gaskets often used are ring-type connected (RTJ) gaskets.
Purpose and Function:
Gasket: A gasket is a sealing material that fills irregularities between two connecting surfaces, ensuring a tight and leak-free seal.
Flange: A flange is a projecting rim or collar on the end of a pipe or other equipment, providing a connection point for joining pipes or attaching valves, pumps, or other components.
Material and Composition:
Gasket: Typically made of materials like rubber, metal, or composite materials, gaskets are chosen based on their compatibility with the fluids, temperature, and pressure in the system.
Flange: Flanges are usually made of metal, with common materials including carbon steel, stainless steel, and alloy steel. The material choice depends on the specific application and environmental conditions.
Location and Placement:
Gasket: Placed between two connecting surfaces, gaskets are positioned within the joint to create a reliable seal.
Flange: At the end of pipes or equipment, flanges provide a structured point for connecting and securing components within the piping system.
Application and Role:
Gasket: Primarily responsible for preventing leaks and maintaining the integrity of the joint in pipes, valves, or machinery.
Flange: Serves as a connecting interface, allowing for the secure attachment of pipes, valves, and other equipment in a piping system.
Conclusion:
Installing gaskets and flanges requires precision. Clean the surfaces, position the gasket correctly, align the flanges, and tighten bolts gradually and evenly. Confirm specifications and torque values and follow recommended procedures. Regular maintenance ensures a lasting, leak-free seal, which is critical for the optimal performance and safety of piping systems.

Pipingmart is B2B portal specializes in industrial, metal and piping products. Also, share latest information and news related to products, materials and different types grades to help business dealing in this industry.


